Bacon has made its way from being an “All-American” staple breakfast item (bacon & eggs) to novelty flavored gag gifts and food items (i.e: bacon toothpaste, bacon chocolate, etc). The world of bacon is larger than ever and still expanding.
Reality is: bacon will never be kosher. How do we kosherize such a product? you ask. Well, we have several options and luckily, these options are healthier ones. We can use turkey bacon which is still a meat substitute. Or, we can use a vegan/veggie option.
I recently bought Smart Bacon, which is a vegan, kosher, parve option. It tasted good. However, it did not smell like bacon (smelled good though) and I’m pretty sure won’t fool anyone into thinking they are eating bacon. I would still recommend trying it, as it did add a pleasurable crisp to my sandwich.
I have not tried turkey bacon yet so stay tuned for Bacon-Bakeoff Part Deux.
Since the Middle Ages, garlic has been known for its variety of health benefits from reducing blood pressure and cholesterol, to curing the common cold. Not only is it a friend to our health but an essential ingredient in the kitchen. Many recipes call for minced garlic therefore, it’s a pretty handy item to have ready-made in the fridge. You can either buy your own pre-made minced garlic (longer shelf life) or you can make your own (shorter shelf life but fresh taste).
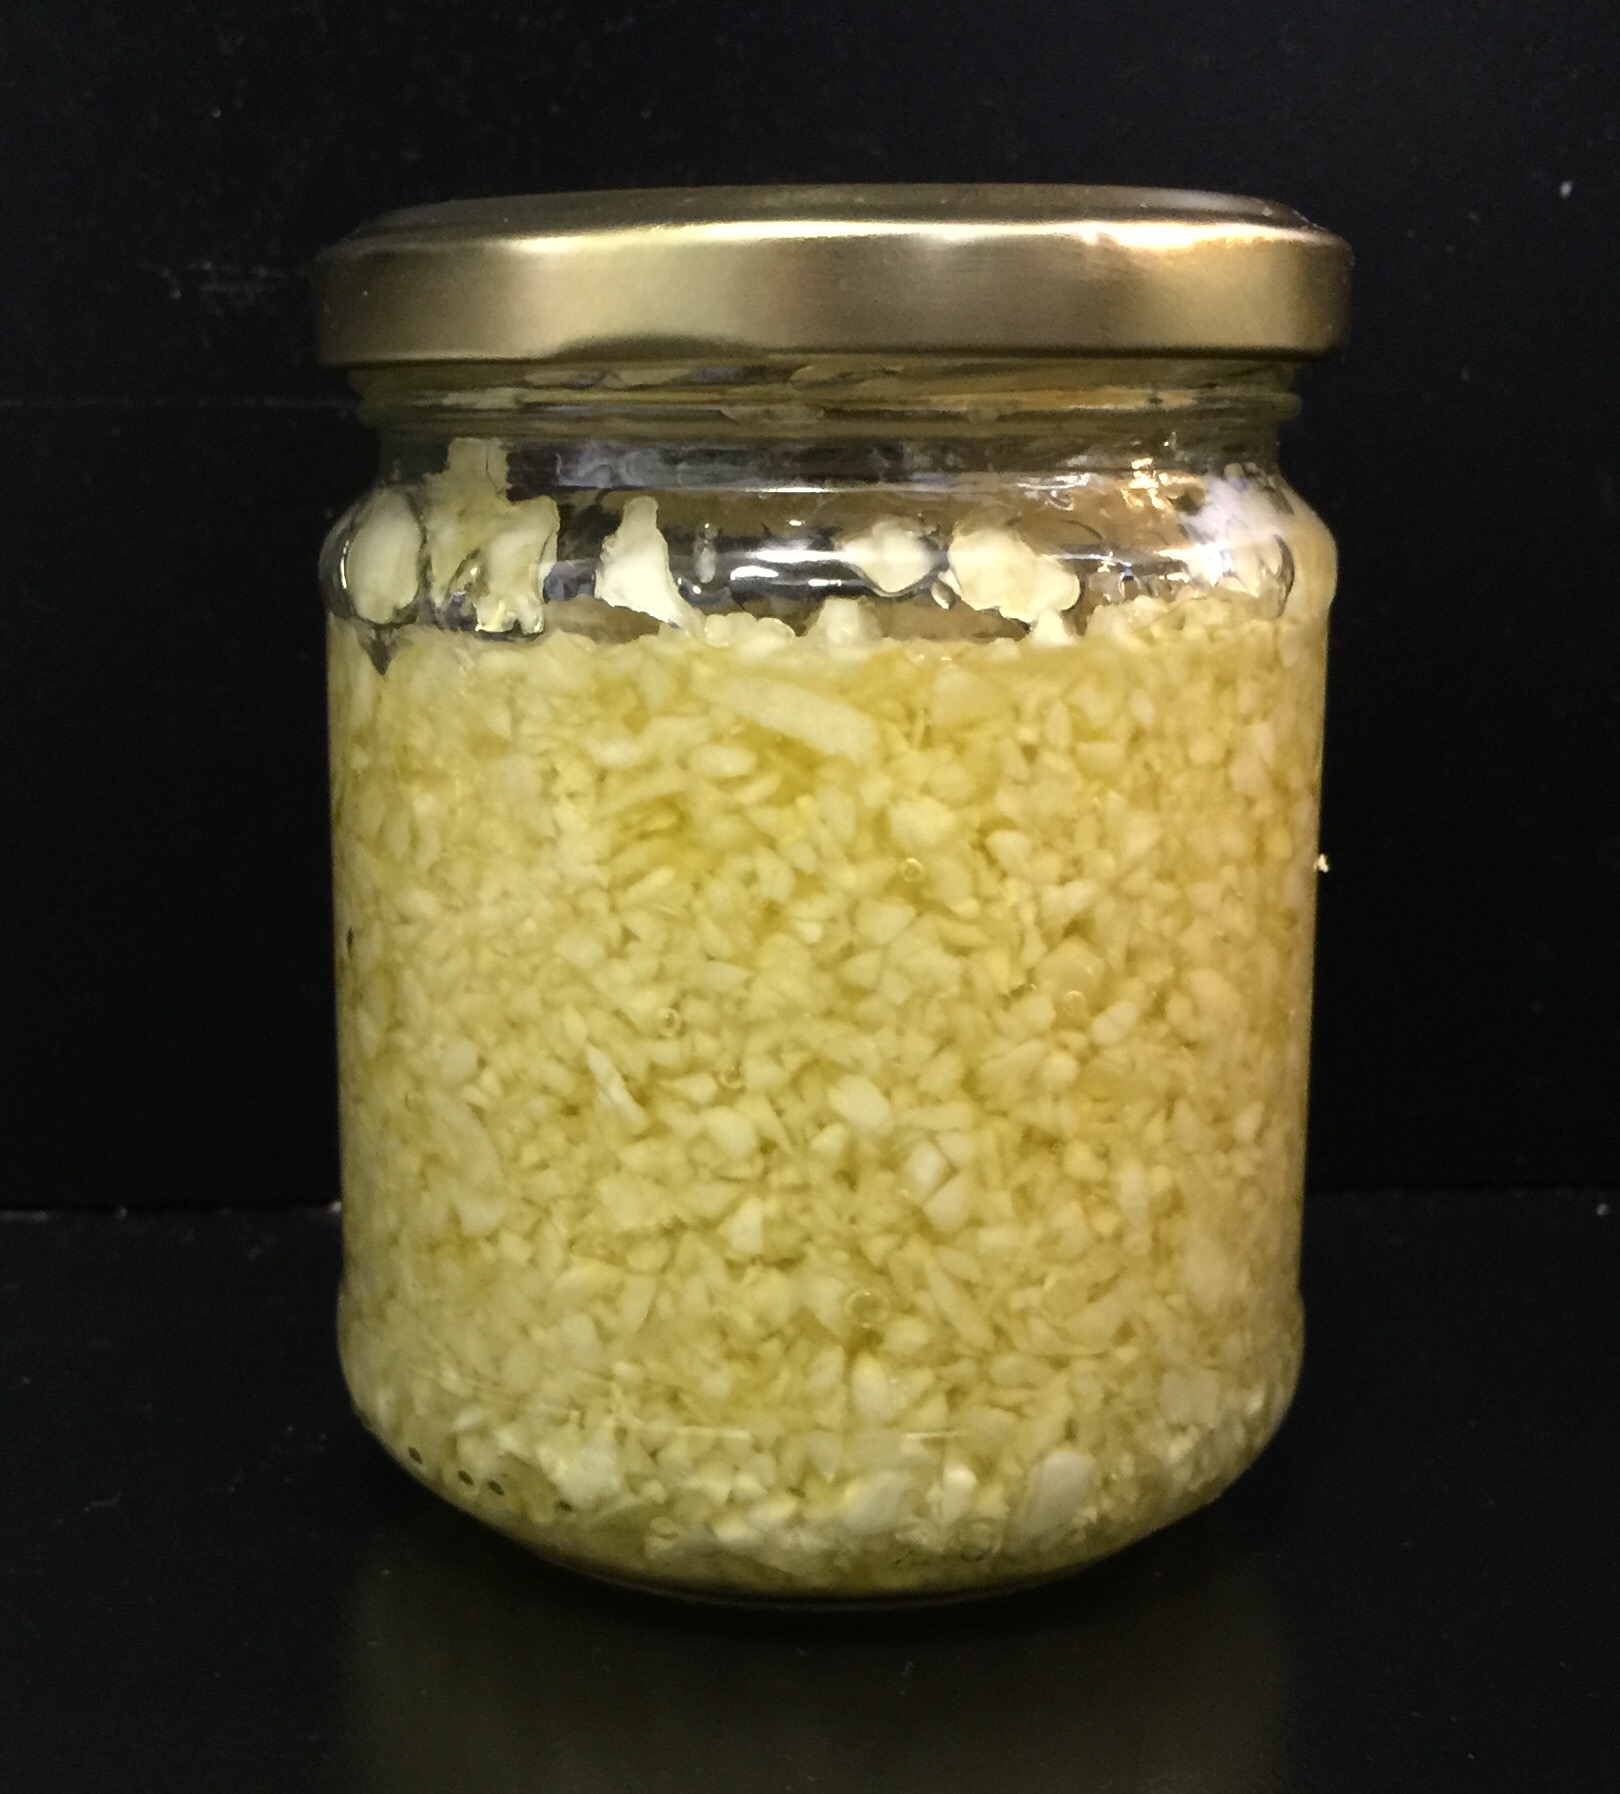
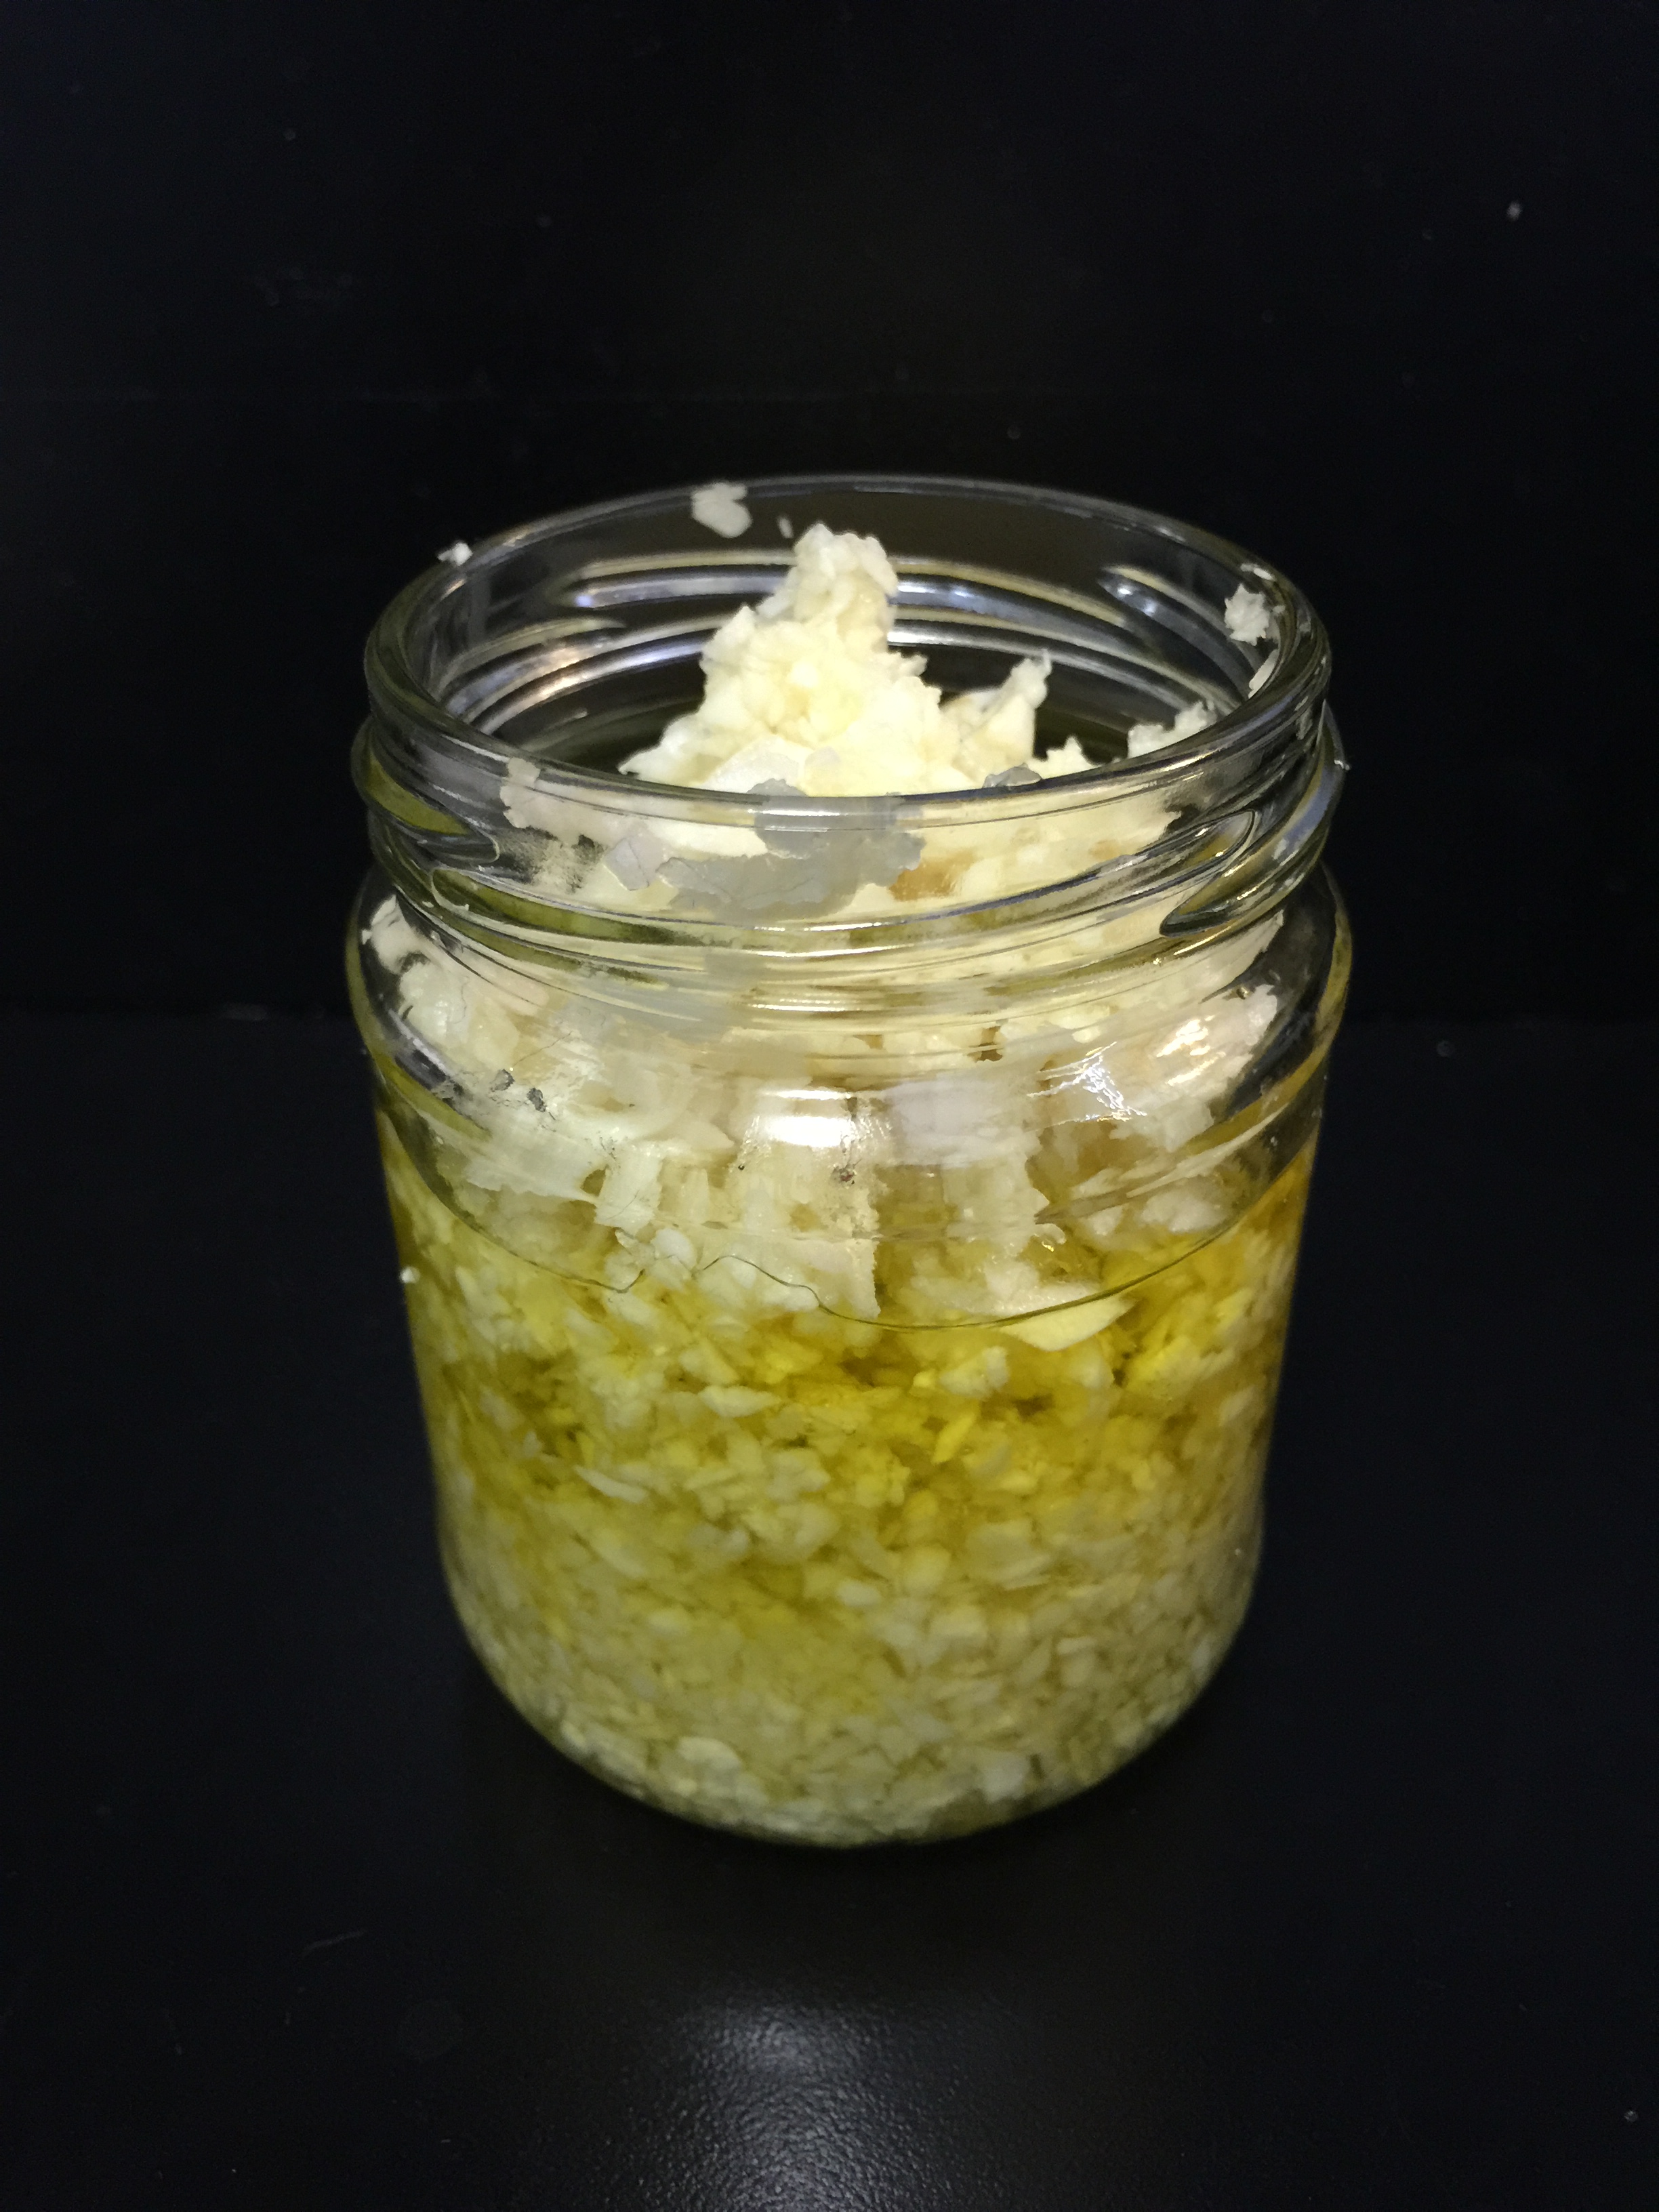
I like to store my minced garlic in a glass jar soaked in olive oil. Like garlic, olive oil is also known for its health benefits. Olive oil helps with obesity, diabetes, lowers blood pressure and has other medicinal benefits. Note: ask your doctor for dosage information.
It is important to note you must refrigerate immediately and use within the week as there are no preservatives and you want to avoid botulism. If you buy a pre-packaged minced garlic be sure to check the expiration date and storage instructions.
MINCED GARLIC: a glass jar, garlic (whatever you will need for the week), olive oil, garlic mincer or food processor.
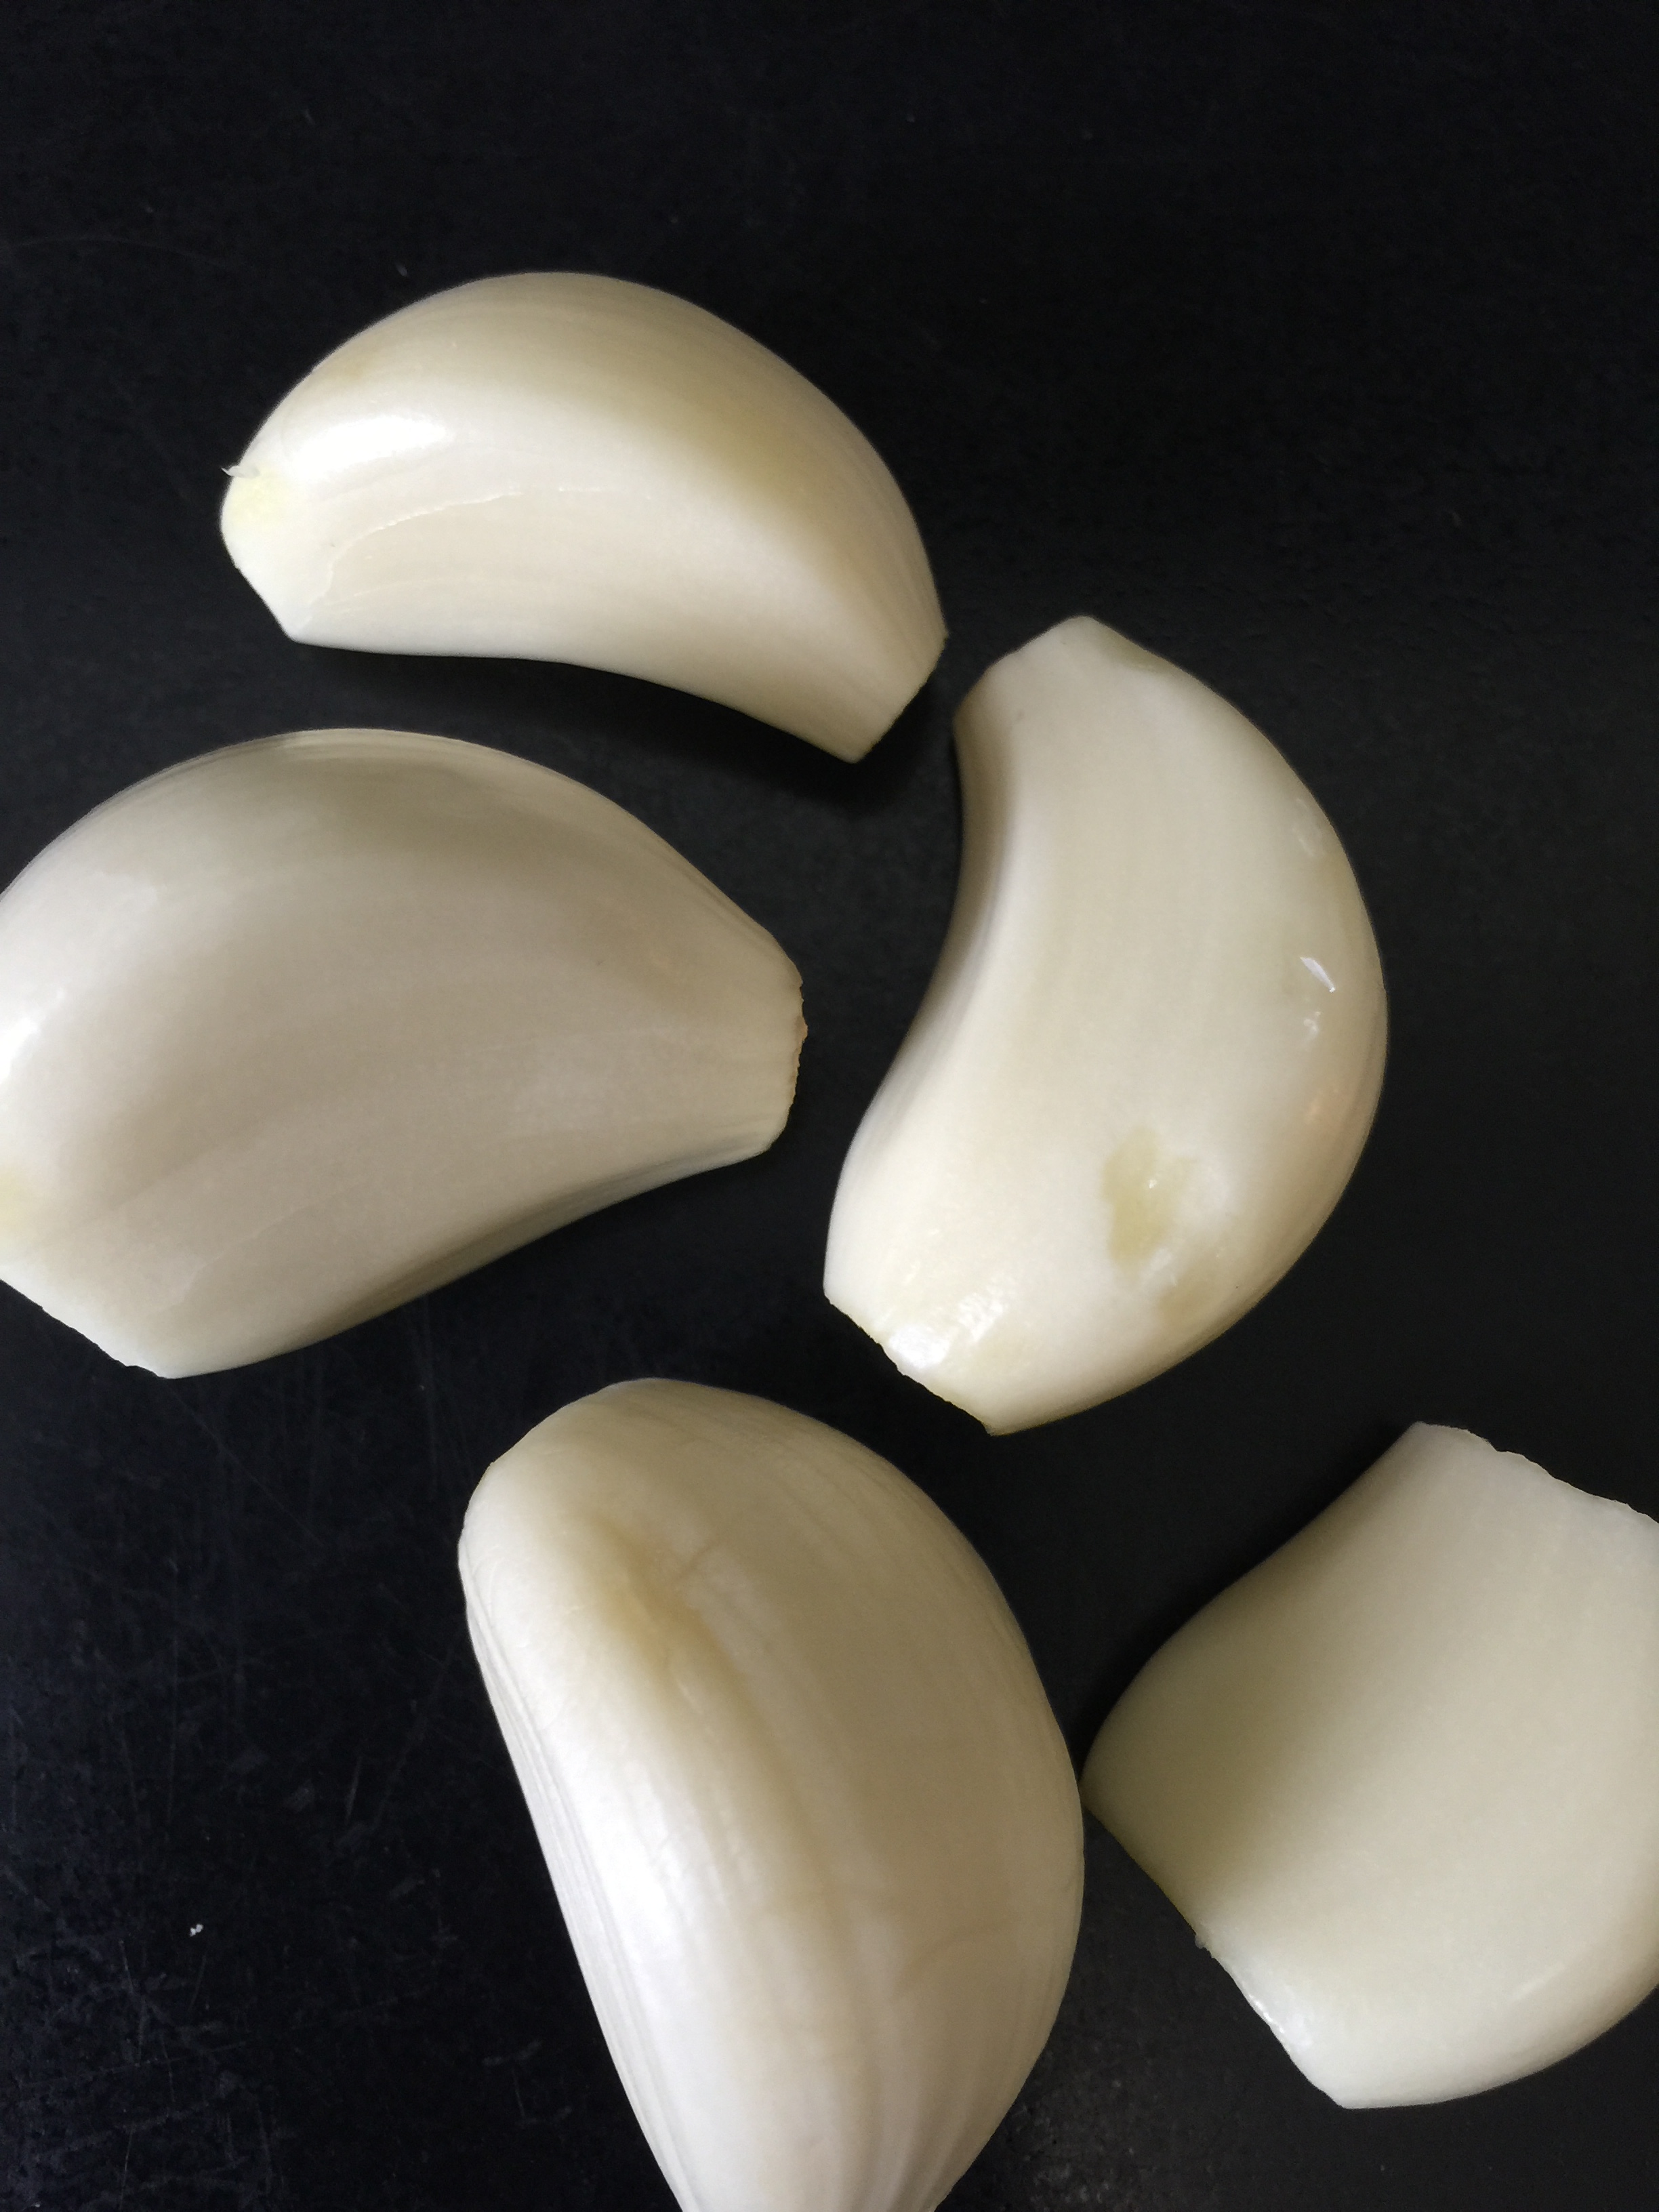
Circumcise each clove of garlic and remove all the skin.
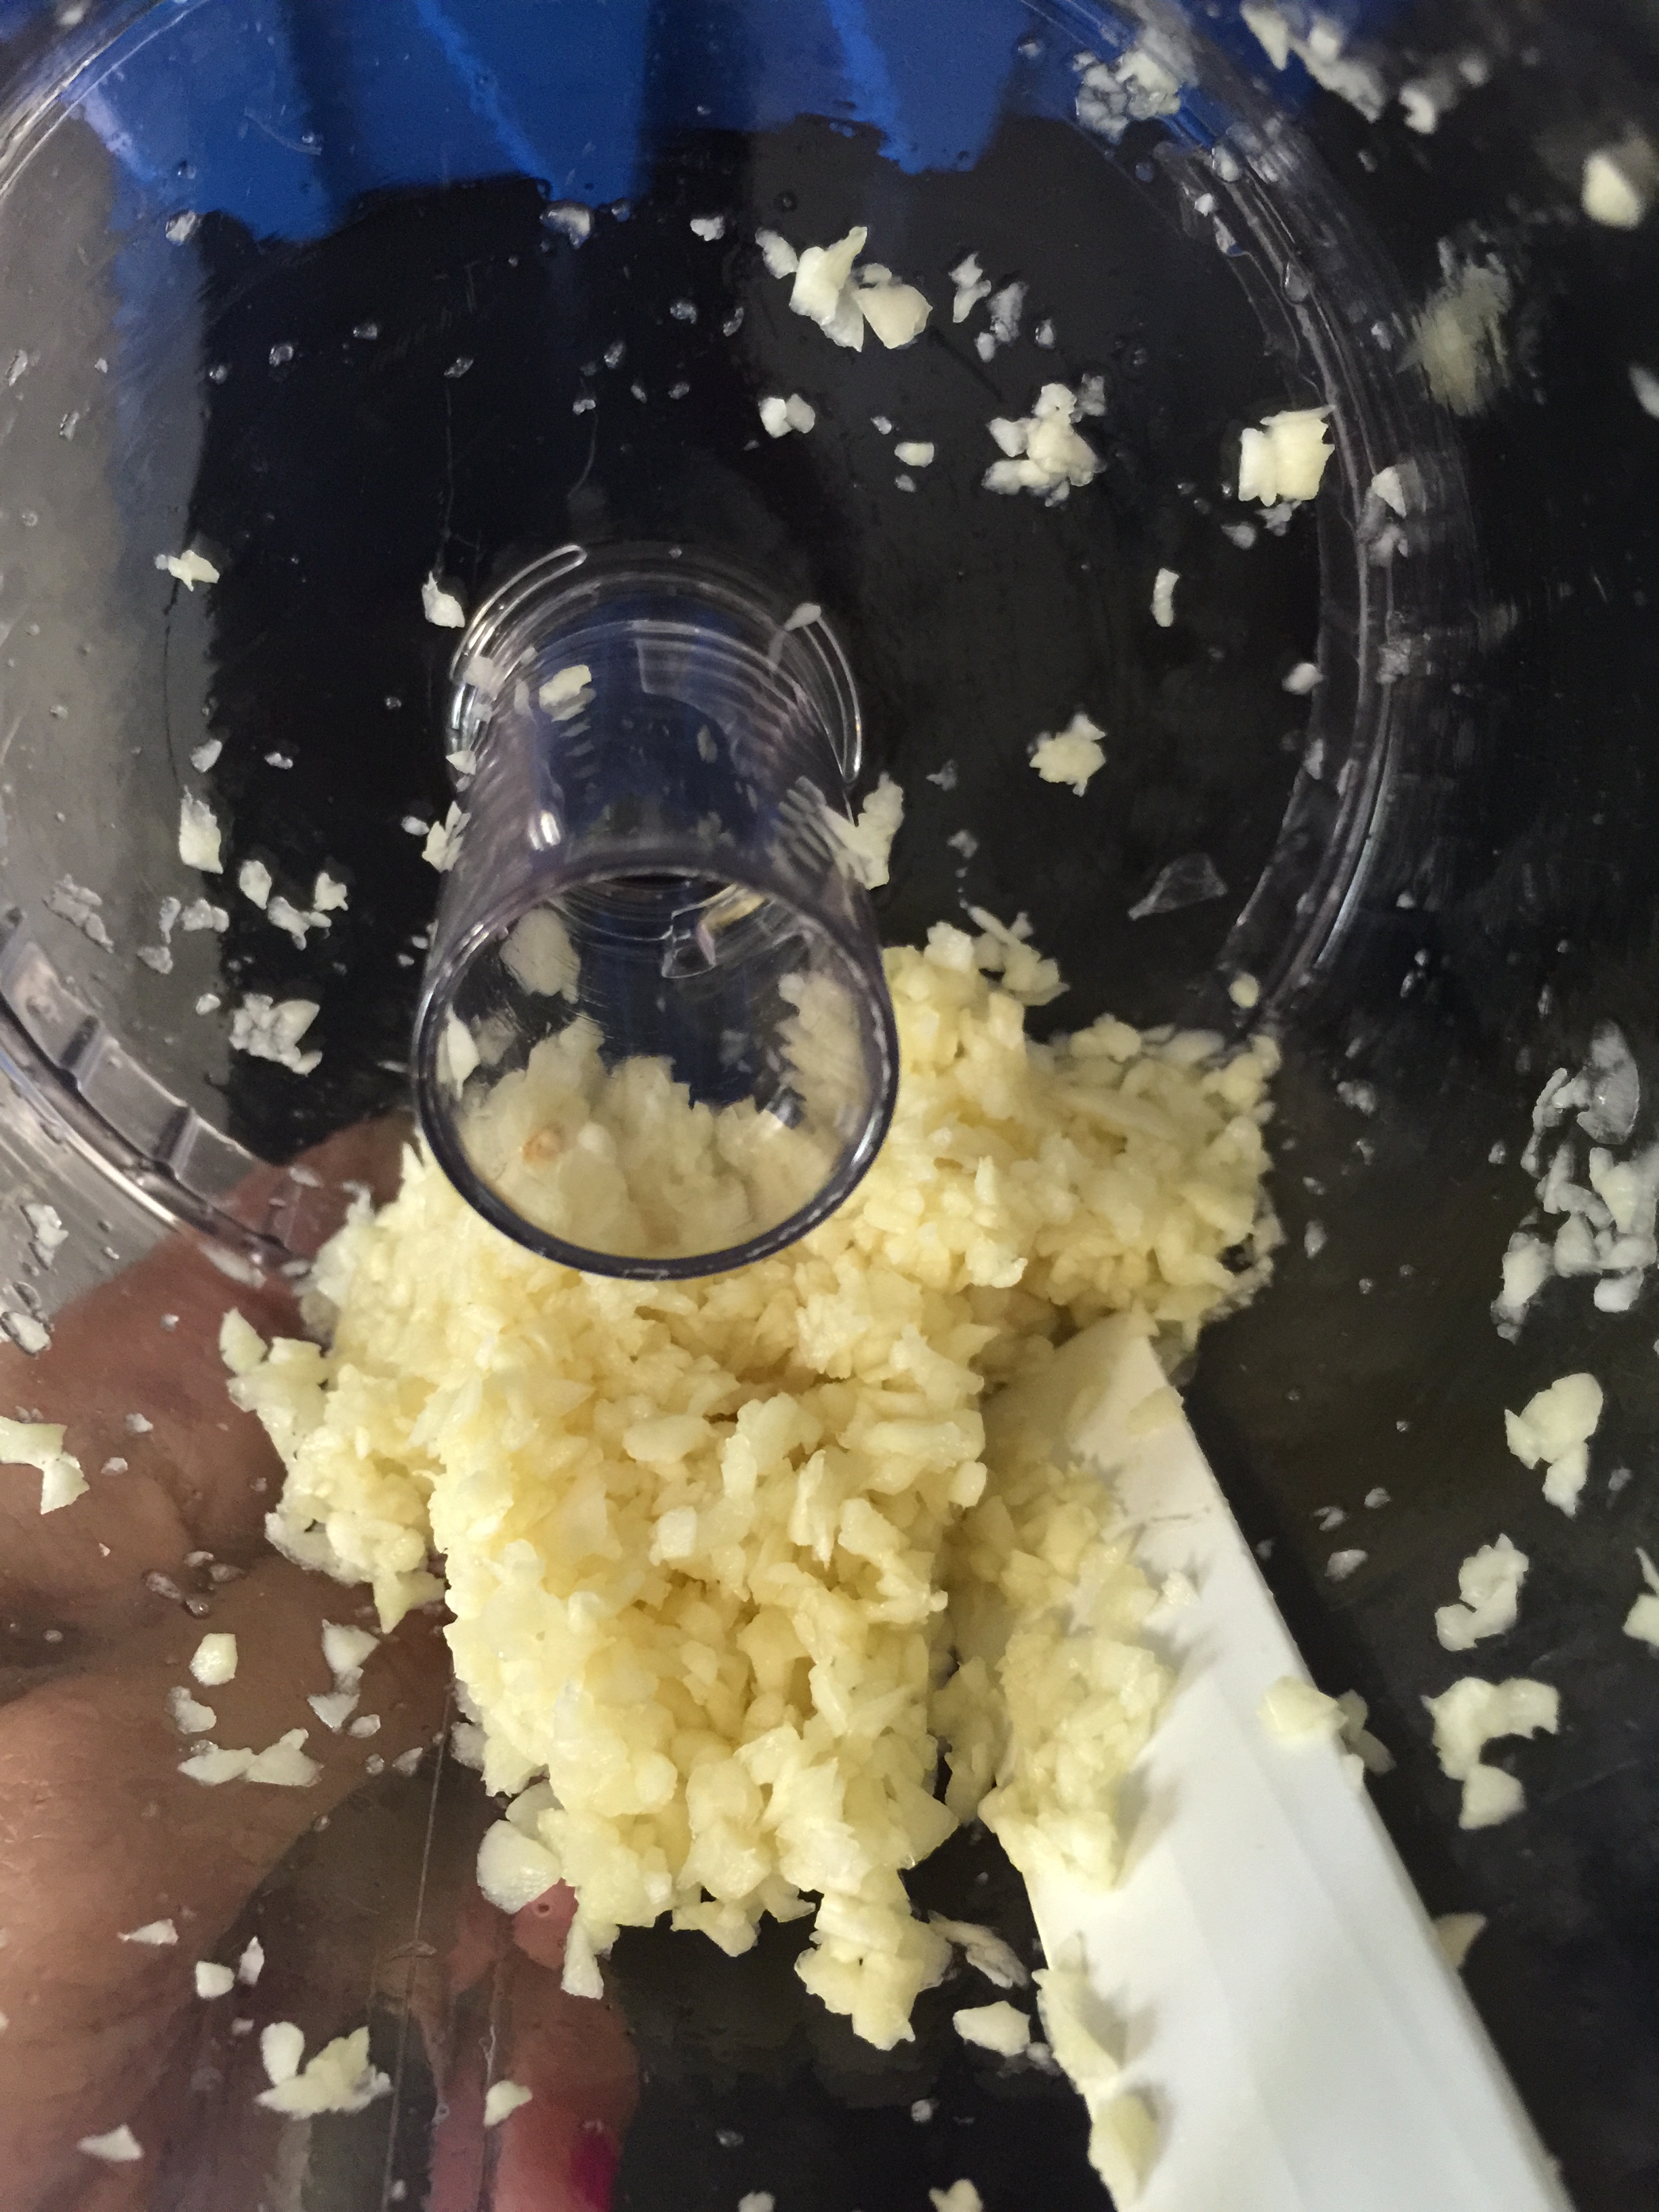
Either mince or place in a food processor and pulse until garlic is minced.
Pour olive oil in a glass jar.
Add the minced garlic and add olive oil if needed.
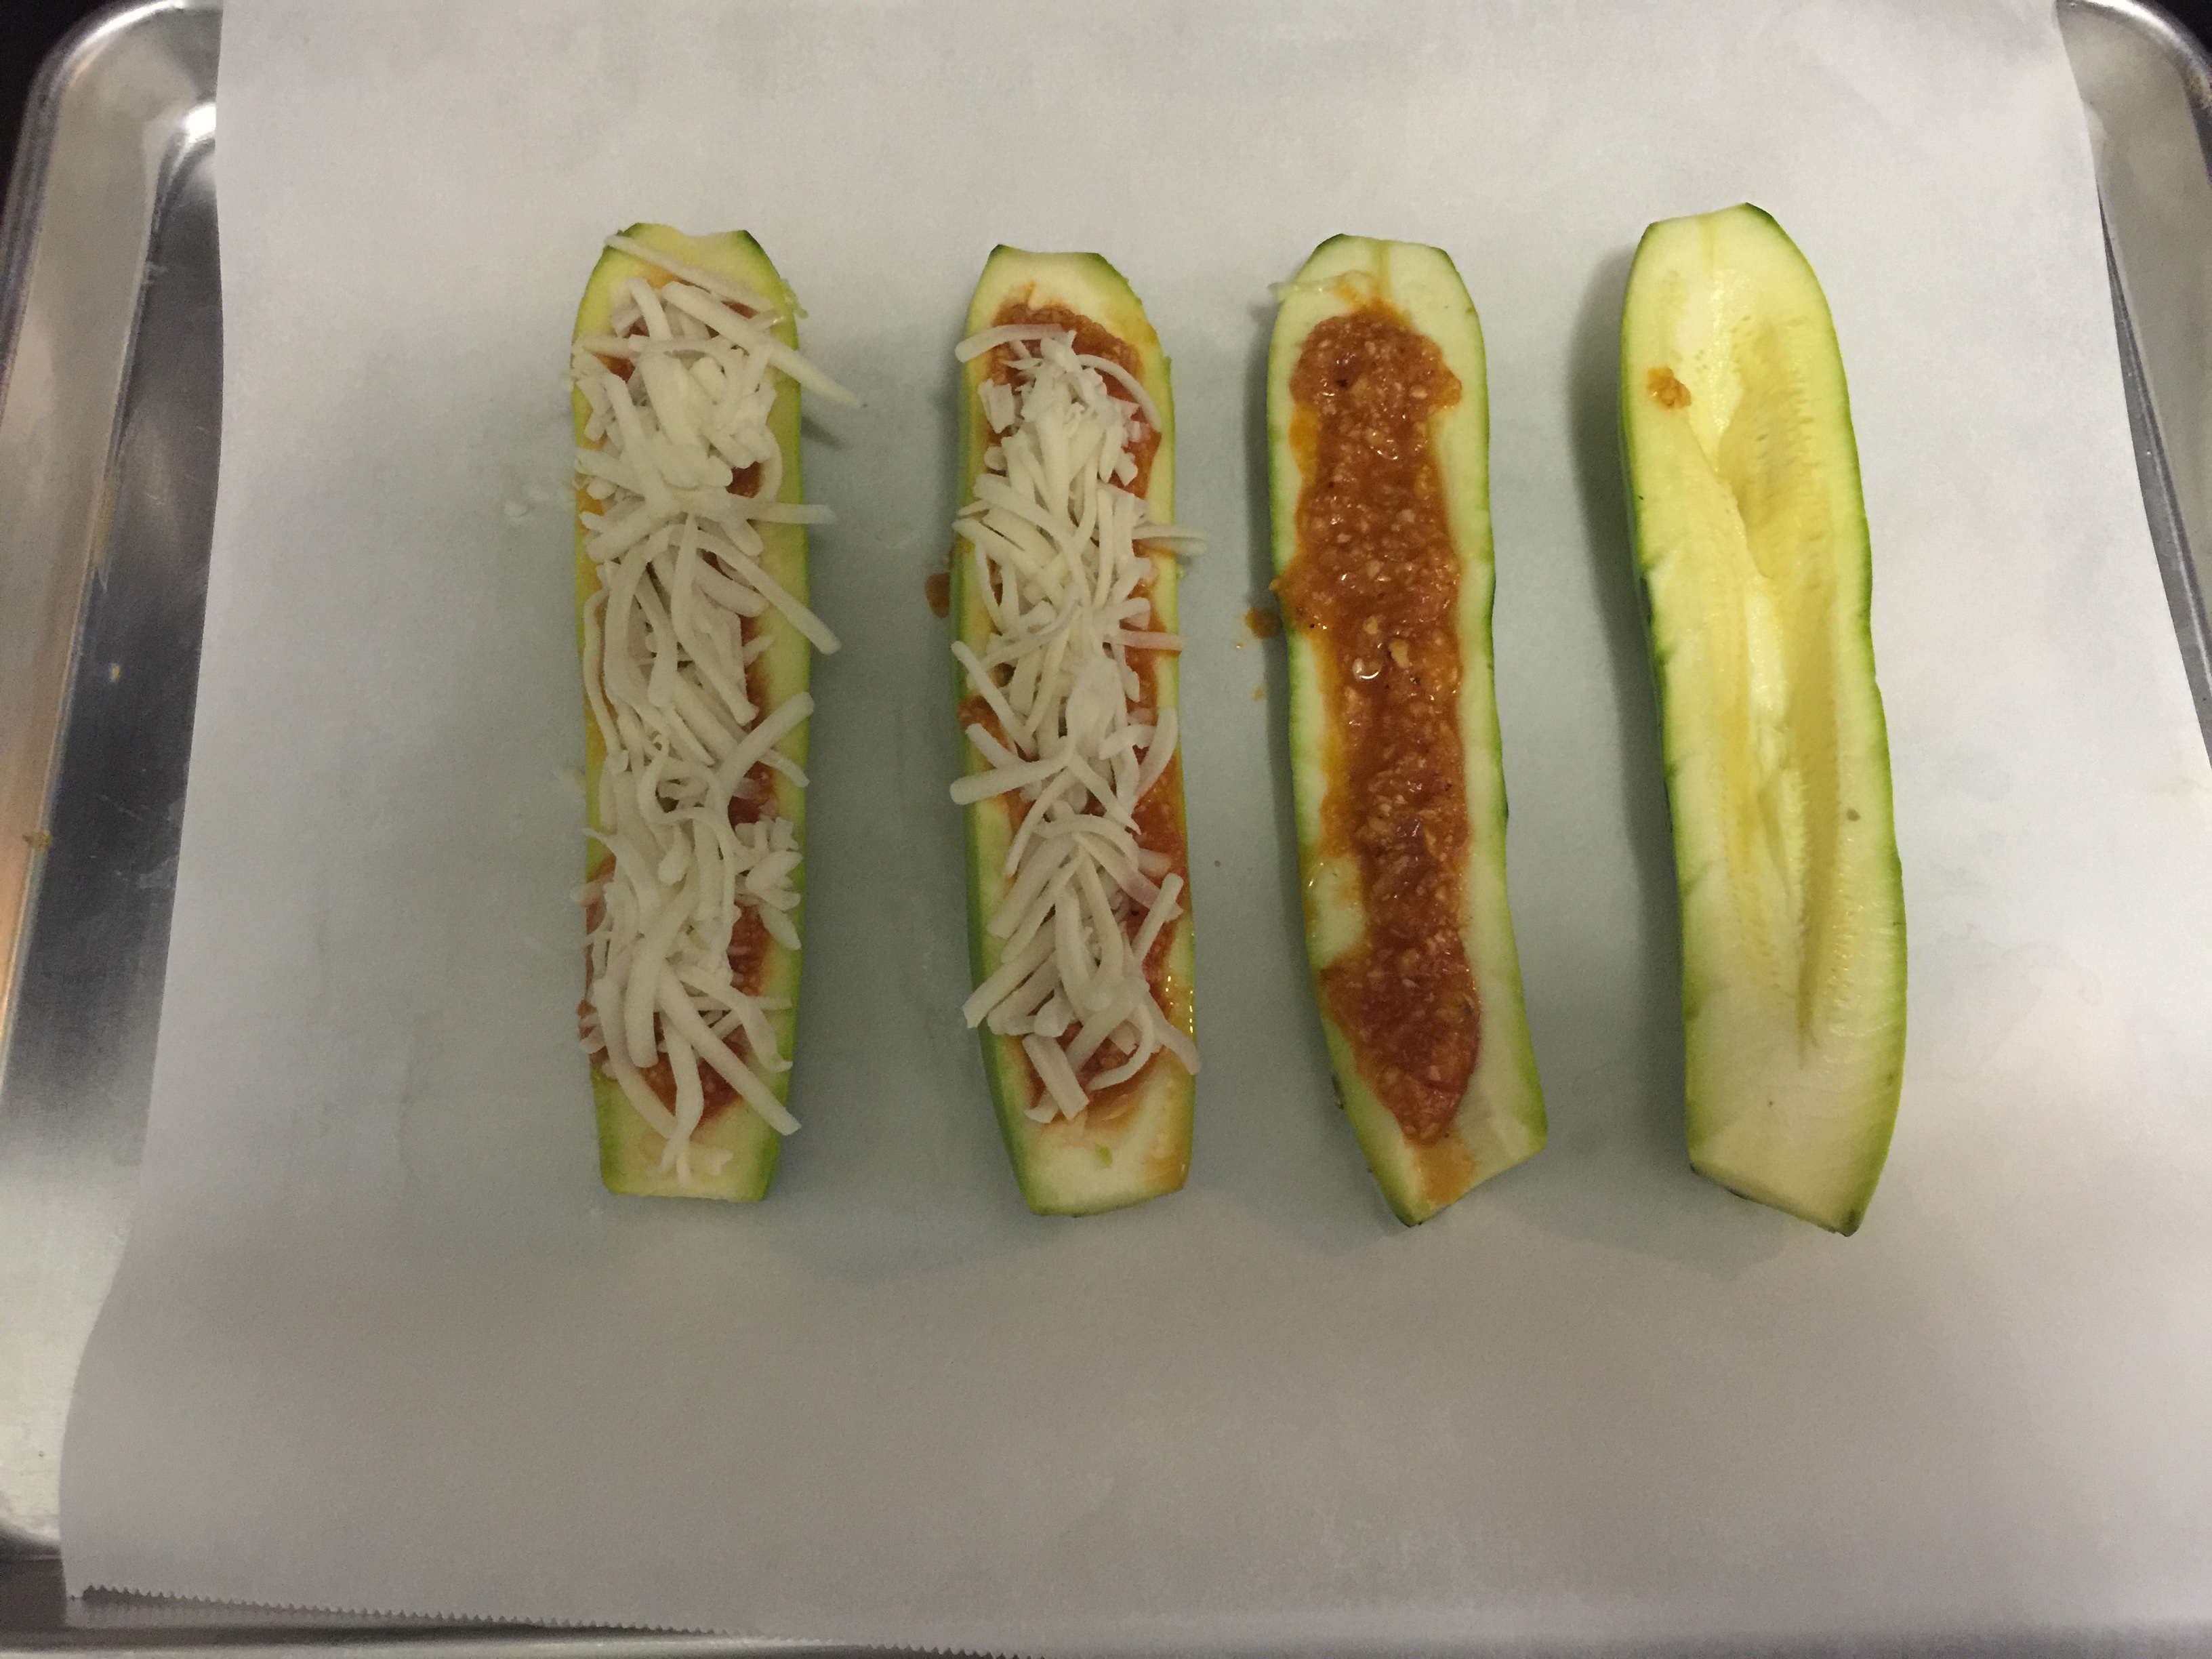
It’s summertime and I’ll never say no to a boat ride. Since I don’t actually have a boat, may as well make one using one of my favorite summertime squashes: the zucchini. This summer vegetable (also a fruit) is not only delicious but low in calories, contains potassium and Vitamins A and C.
Cut the zucchini down the middle and scoop out the inside. Lay on a baking sheet with parchment paper.
Mix spices and minced garlic with marinara sauce.
Fill zucchini with marinara sauce. Top with mozzarella cheese.
You can also add chopped onions or any other spices you desire.
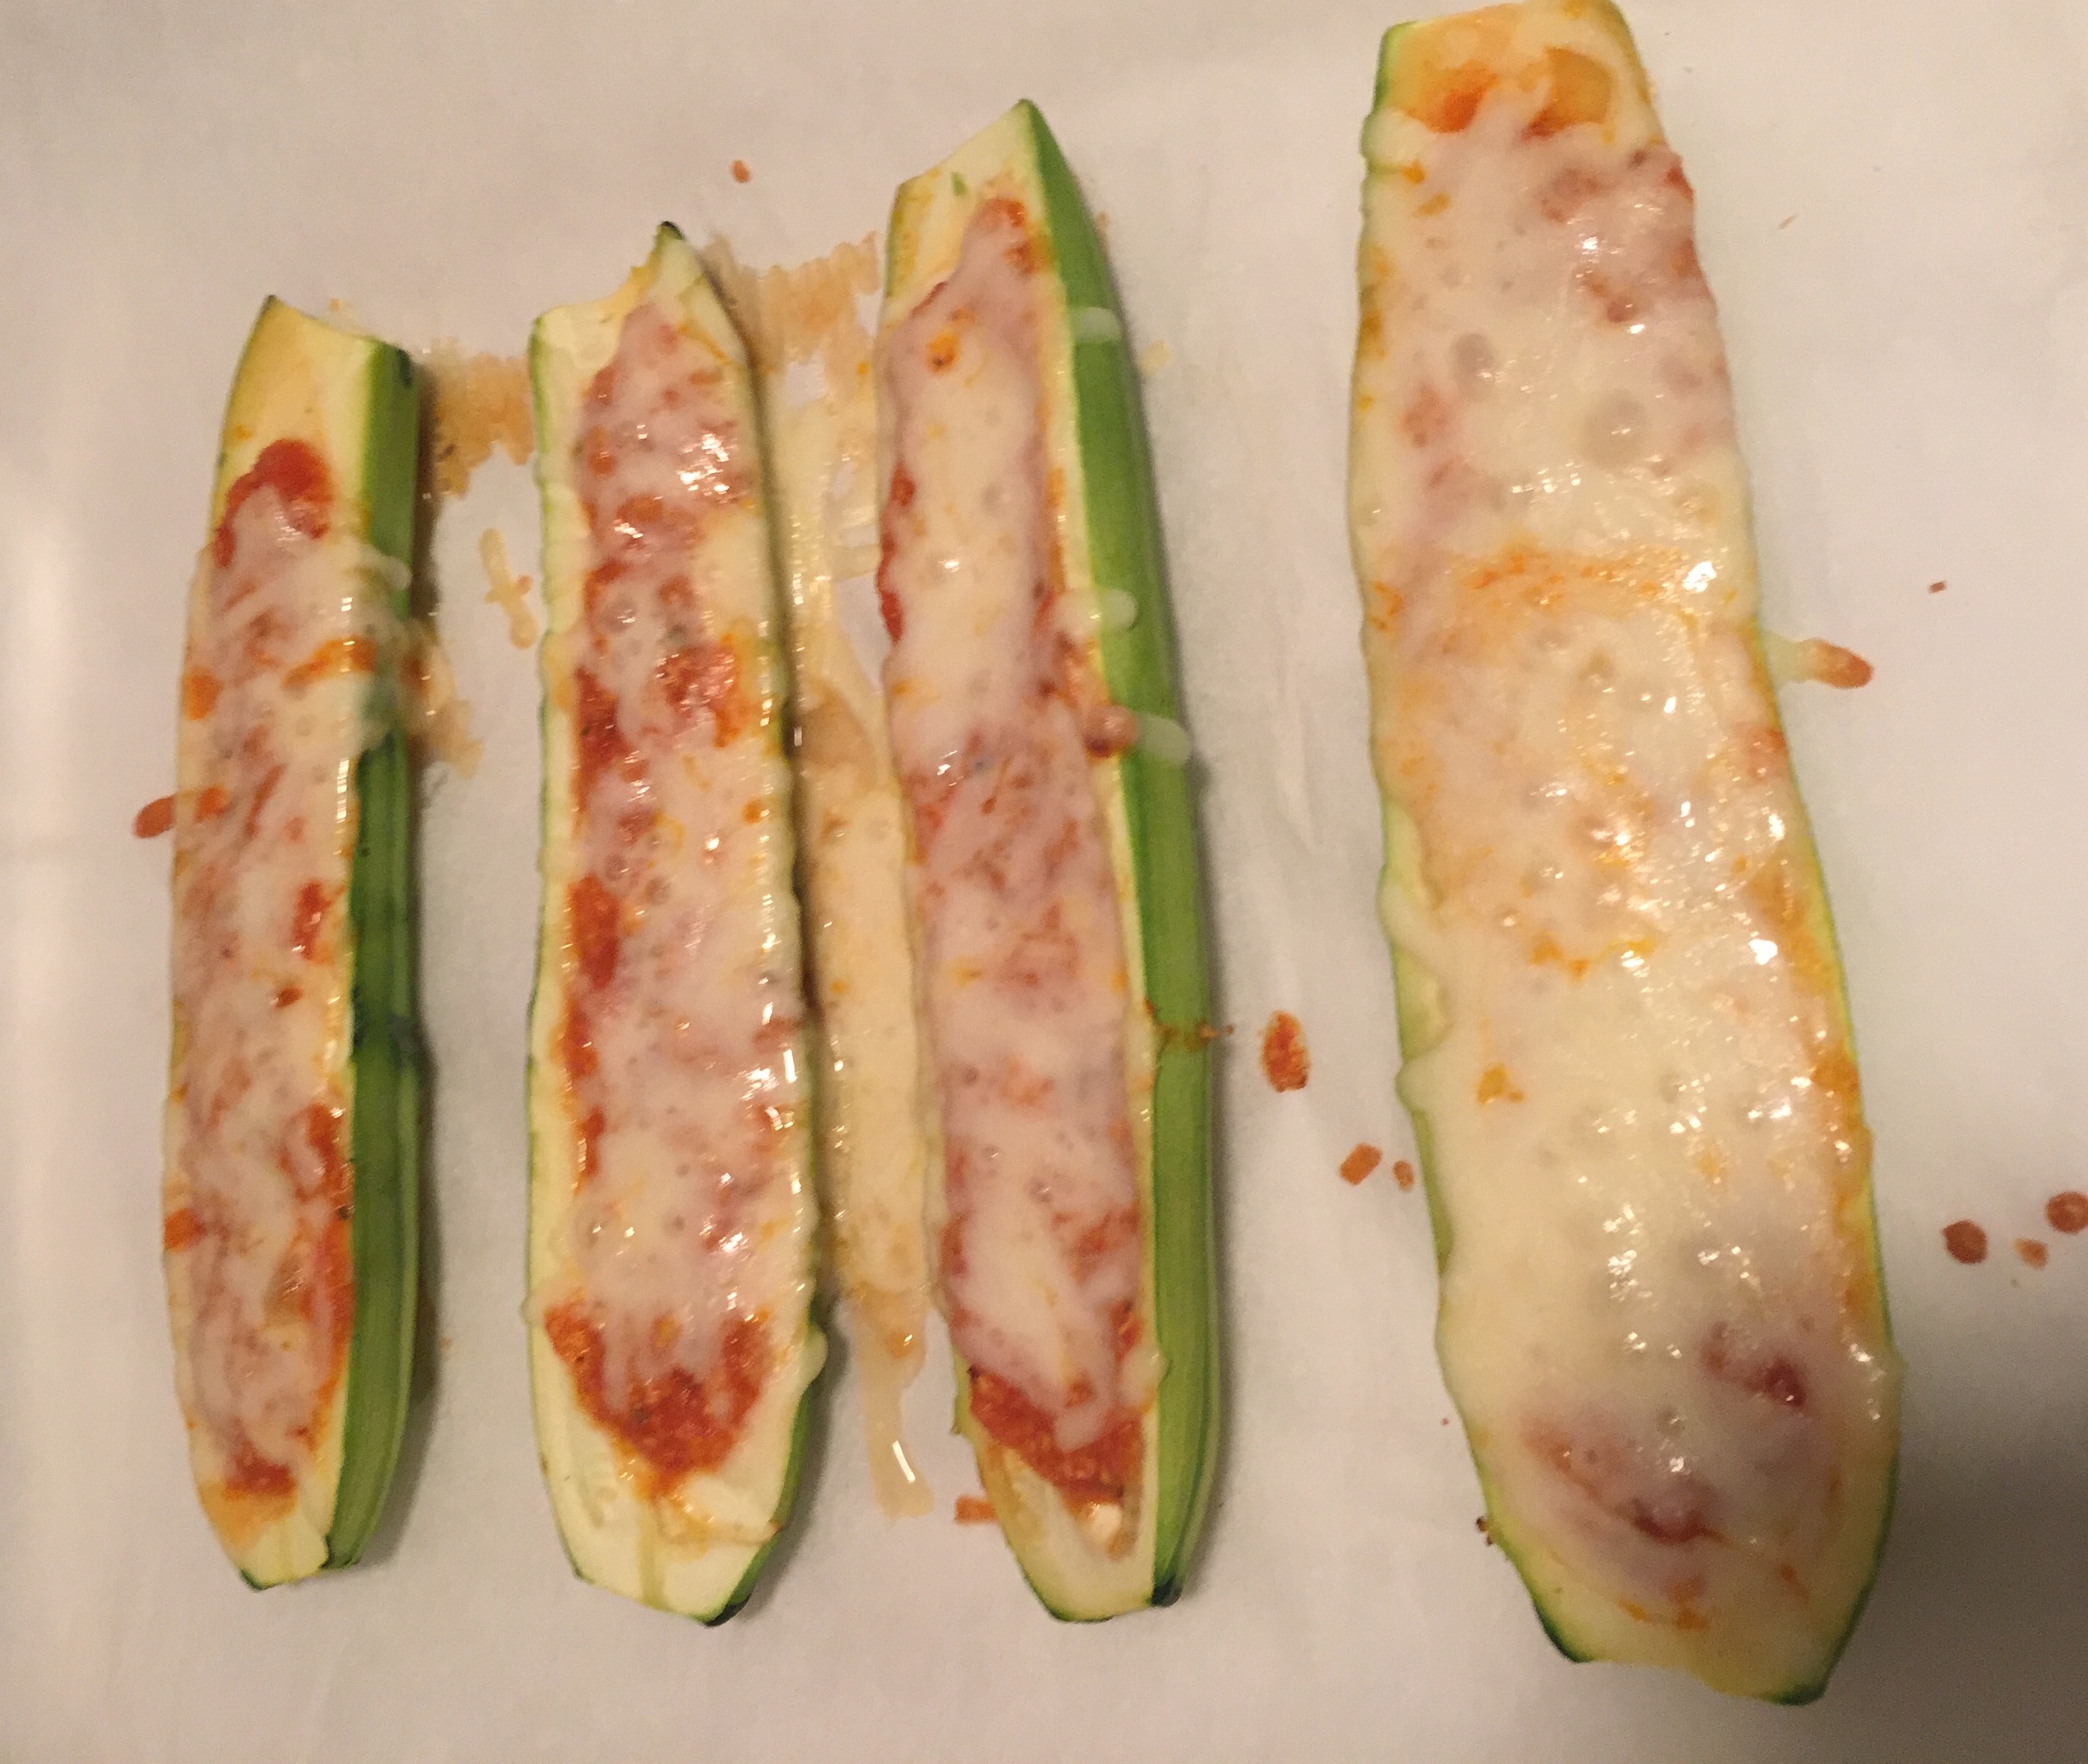
Bake in oven at 350 degrees for 18 minutes.
Tip: If you want the zucchini to be softer first bake zucchini with the sauce for 18 mins. Take out of oven then add the cheese and bake another 12 minutes. Serve with salad.
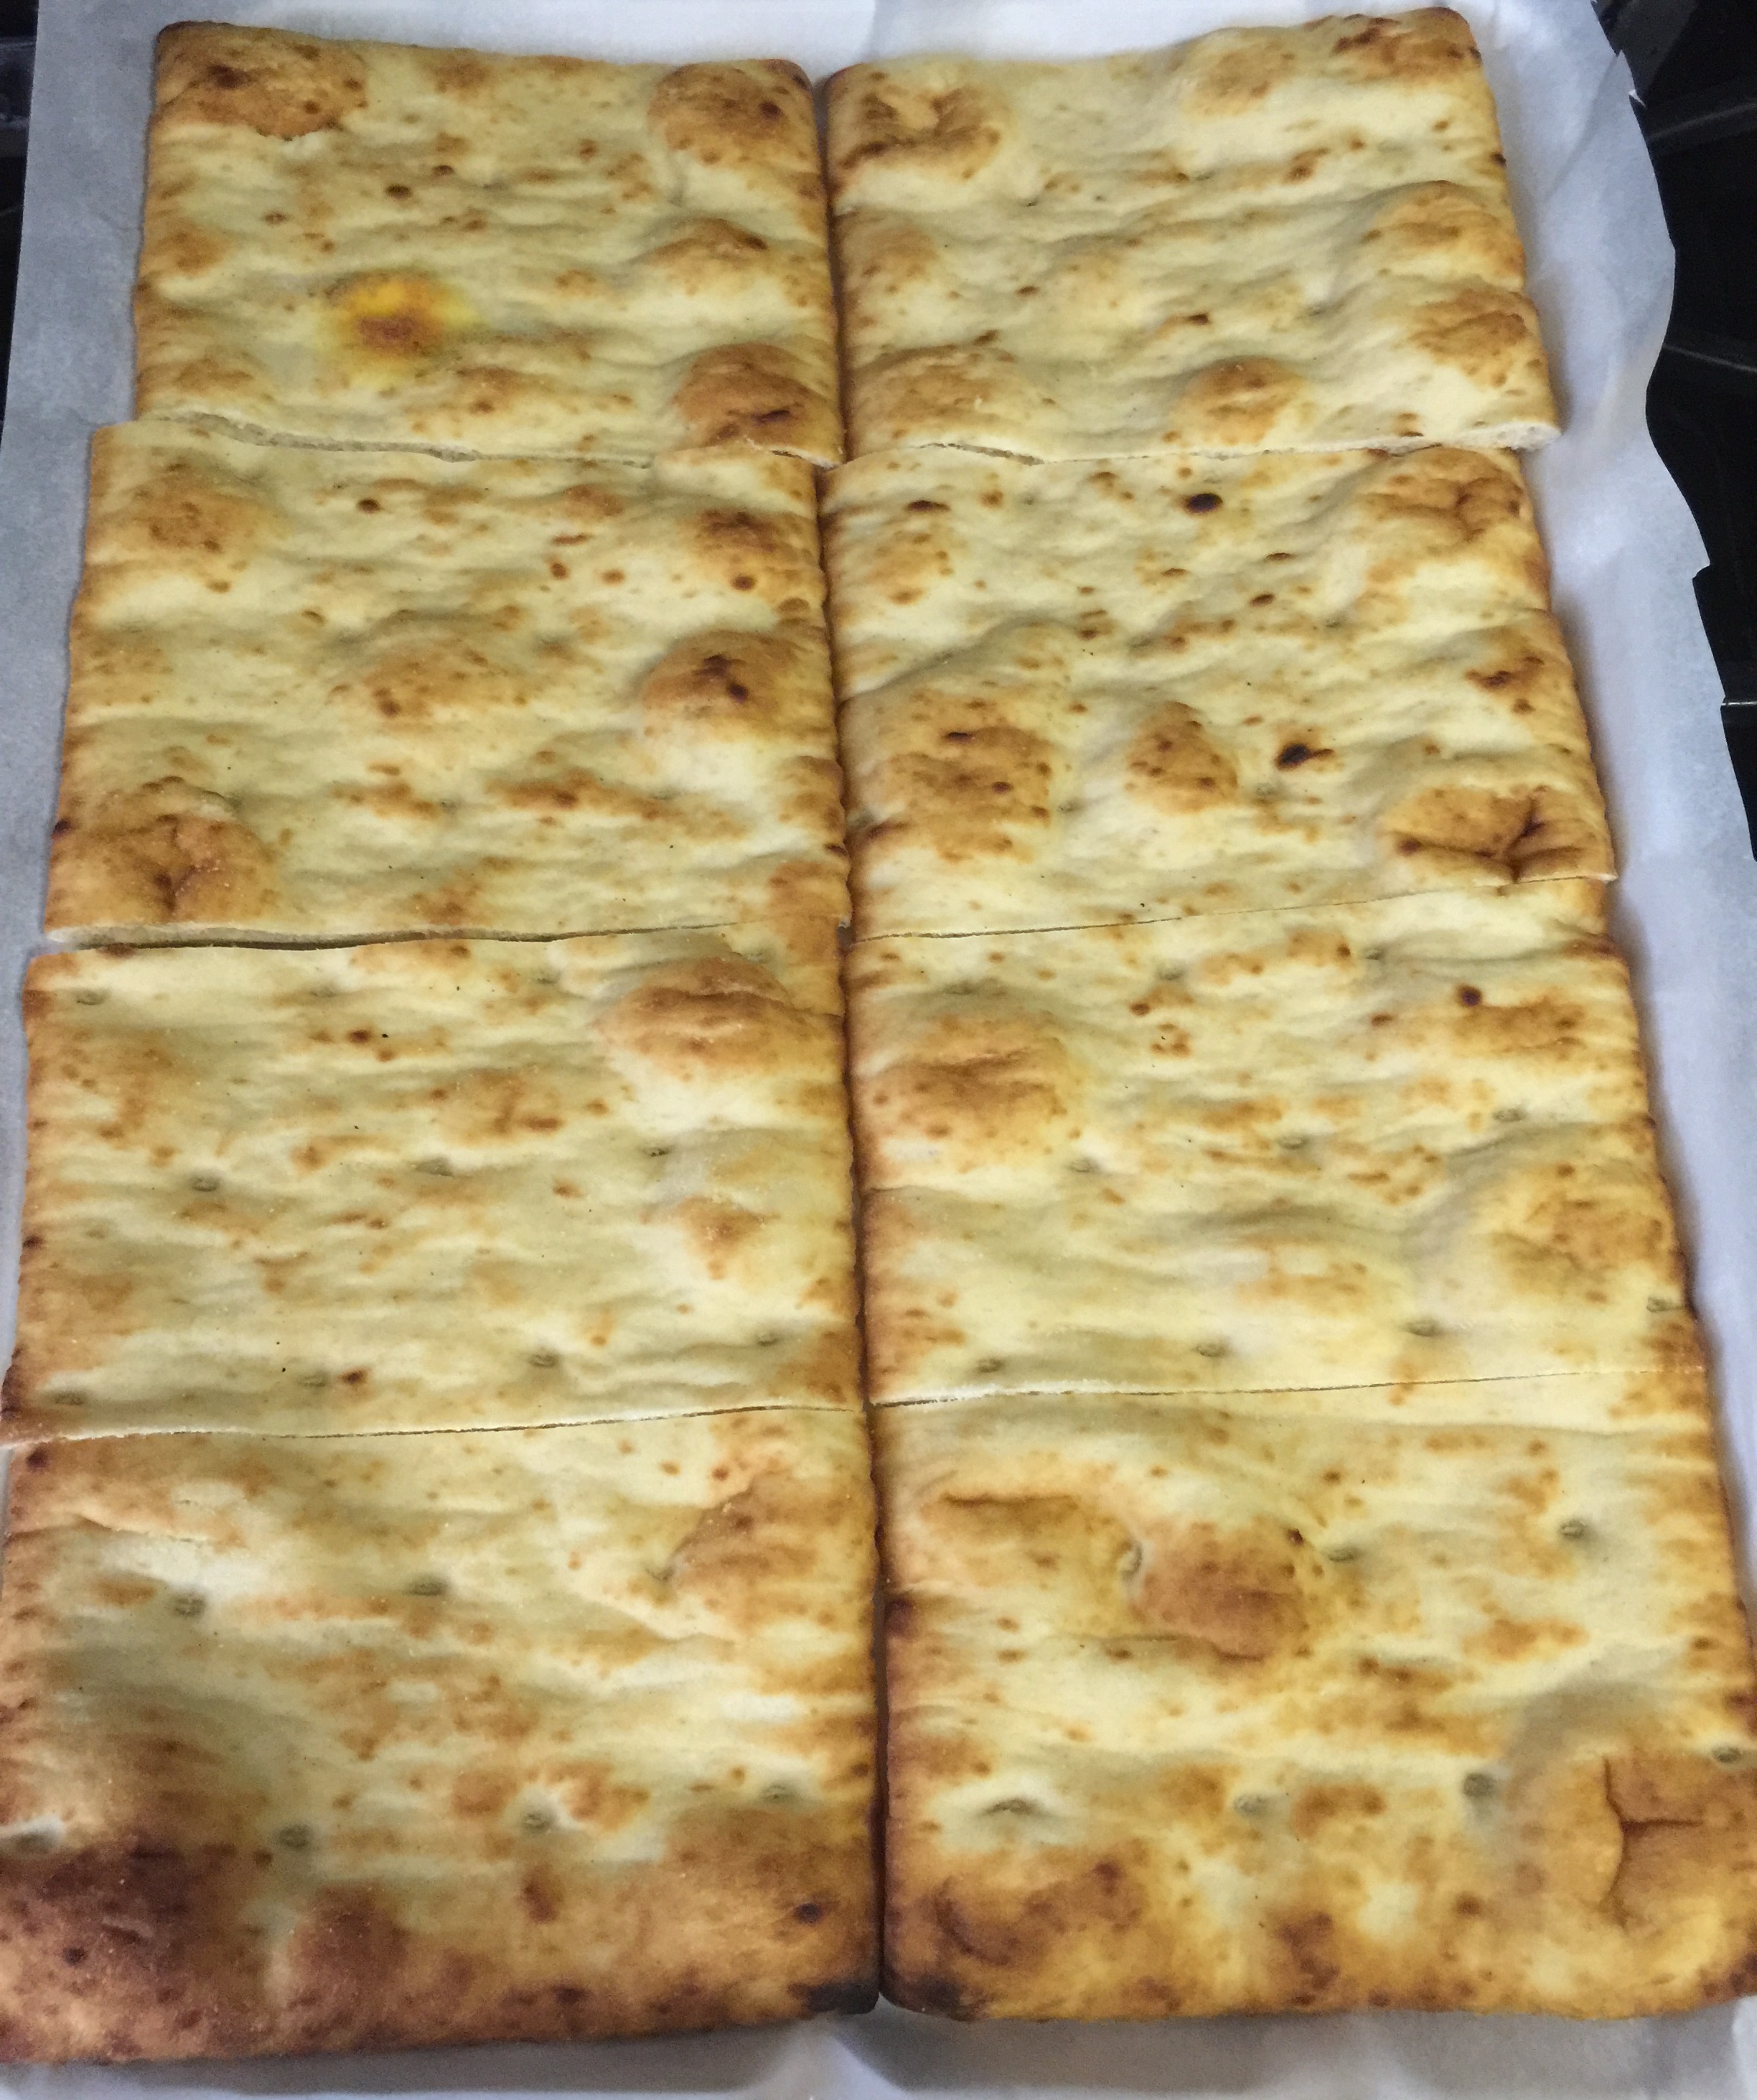
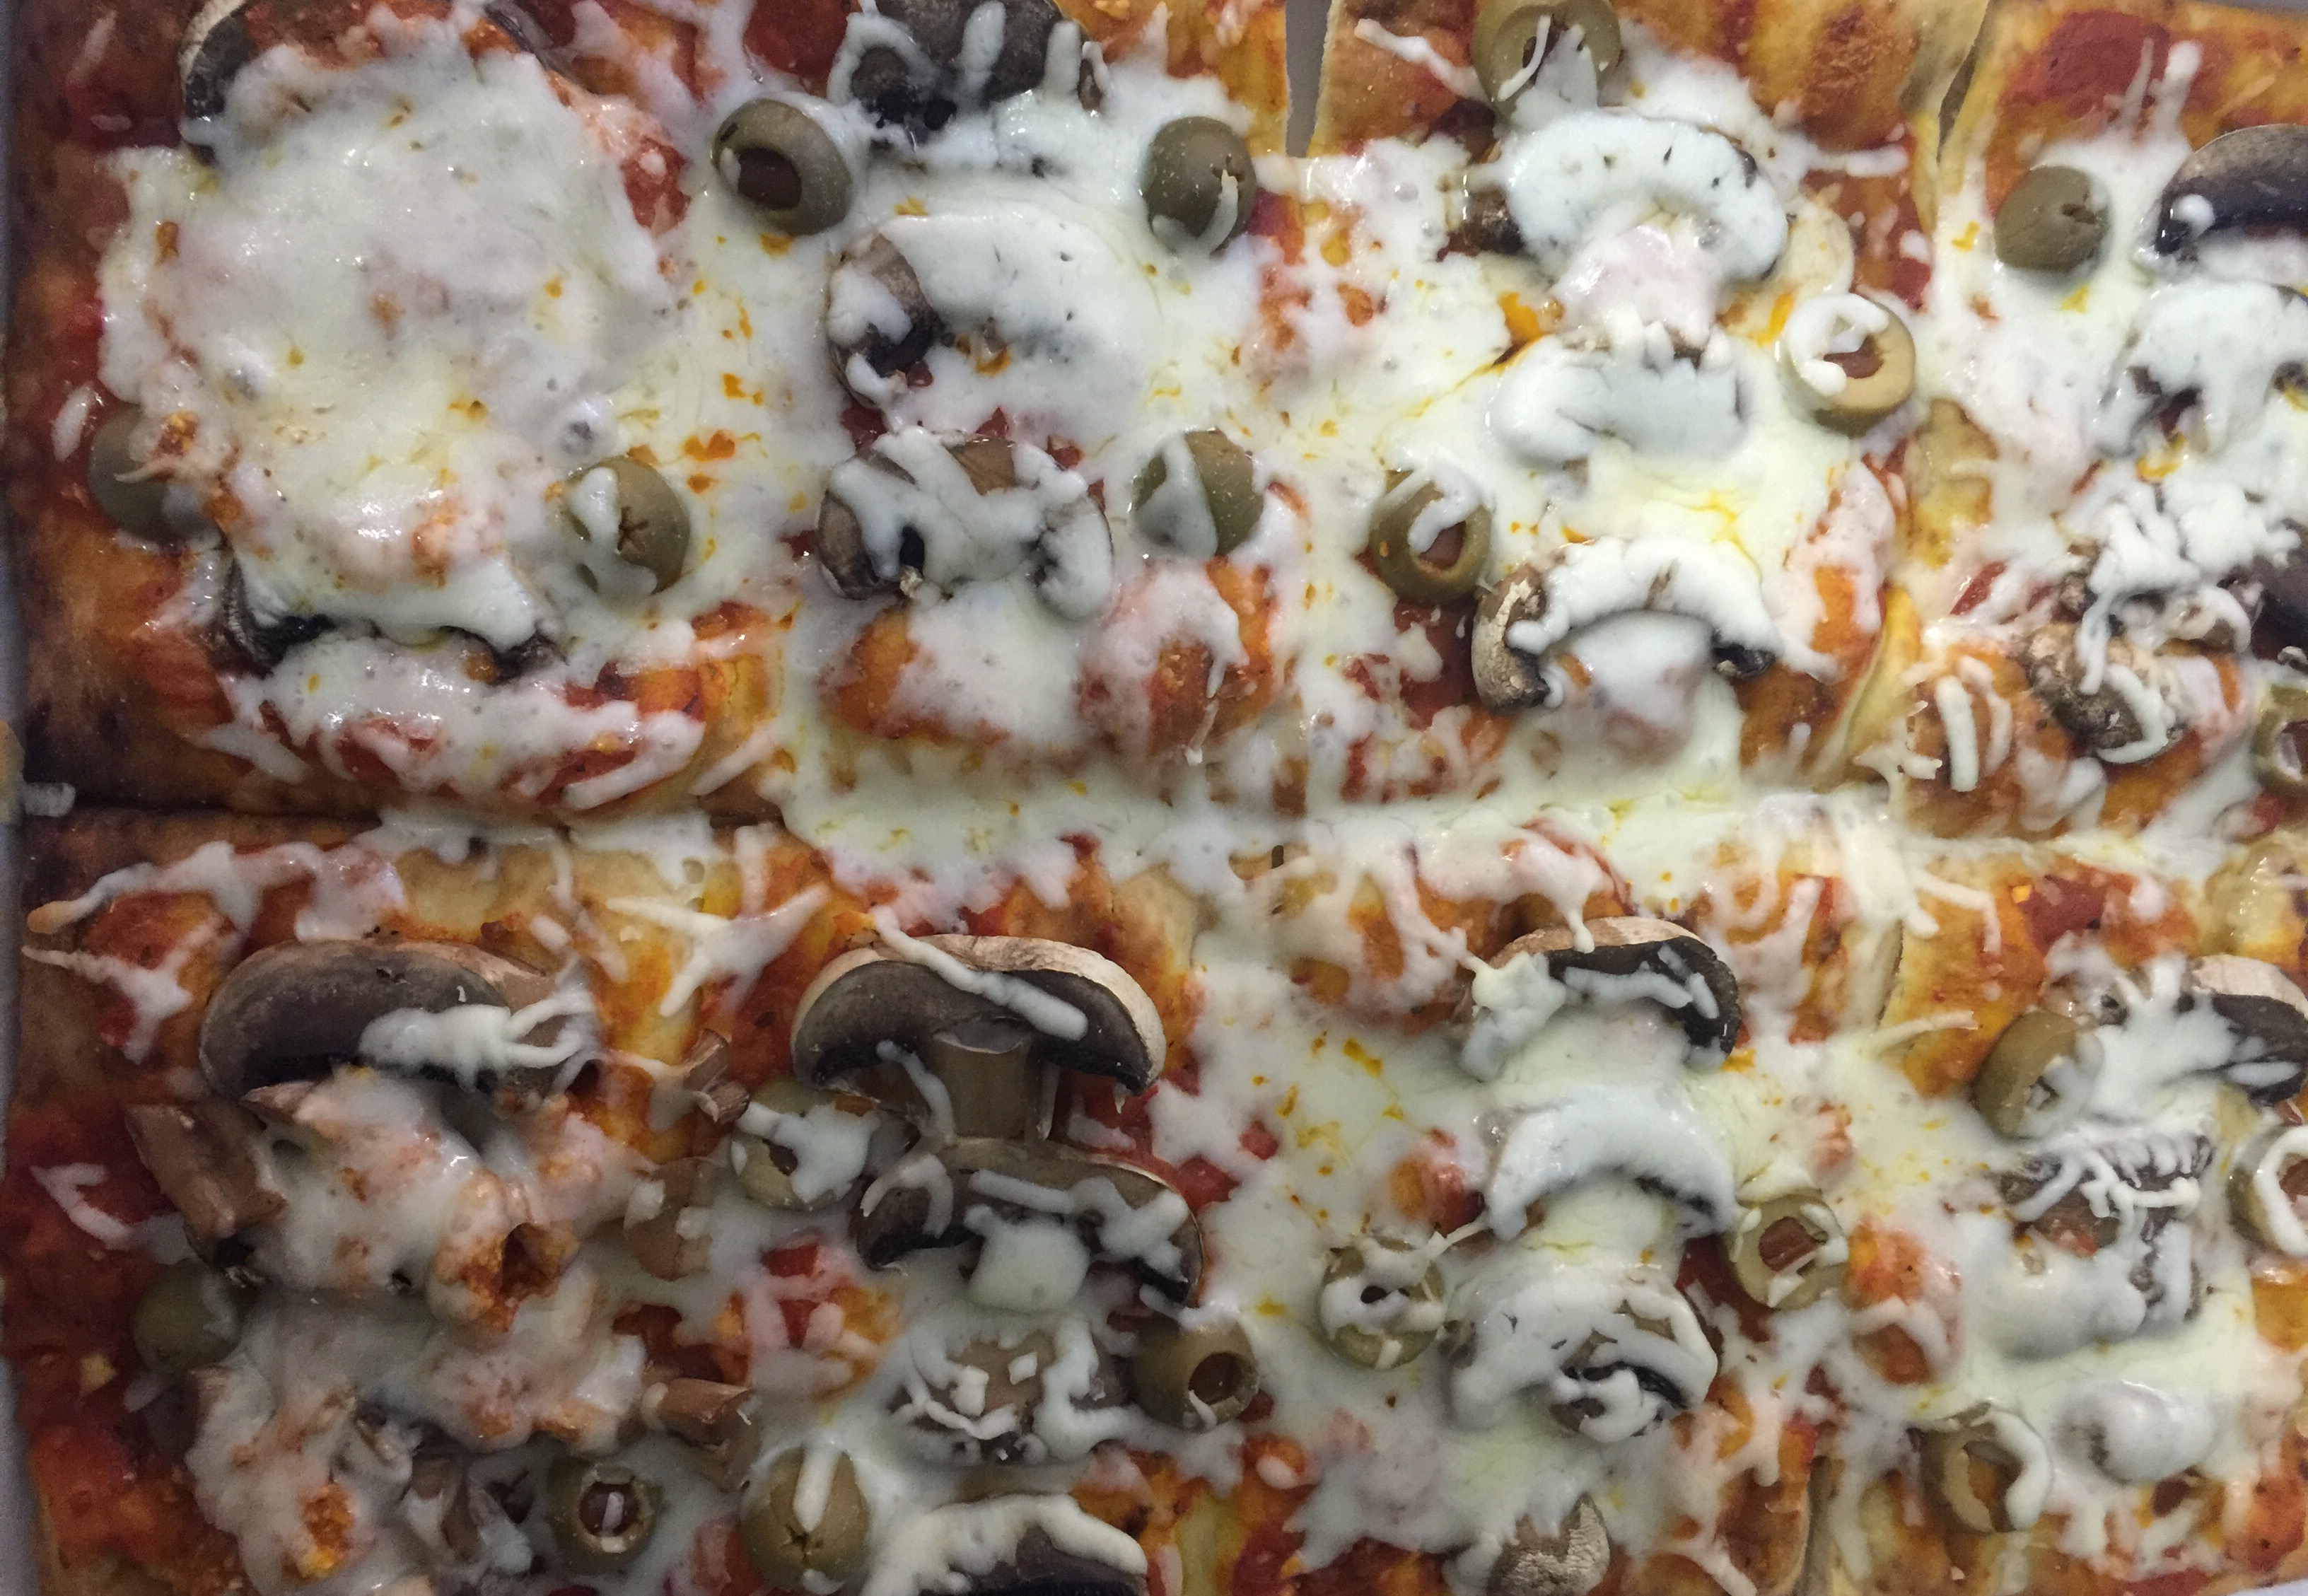
Flatbread pizza originated in Naples as the “poor man’s meal.” It only became popular once Queen Margherita and King Umberto I visited Naples in 1889 and were tired of their fancy French cuisine. The Queens favorite pizza (can you guess?) was a pie with mozzarella, tomatoes, and basil. Hence, the popular name today- Pizza Margherita. I enjoy a good margherita pizza but I also love to add my favorite toppings! What’s your favorite topping?
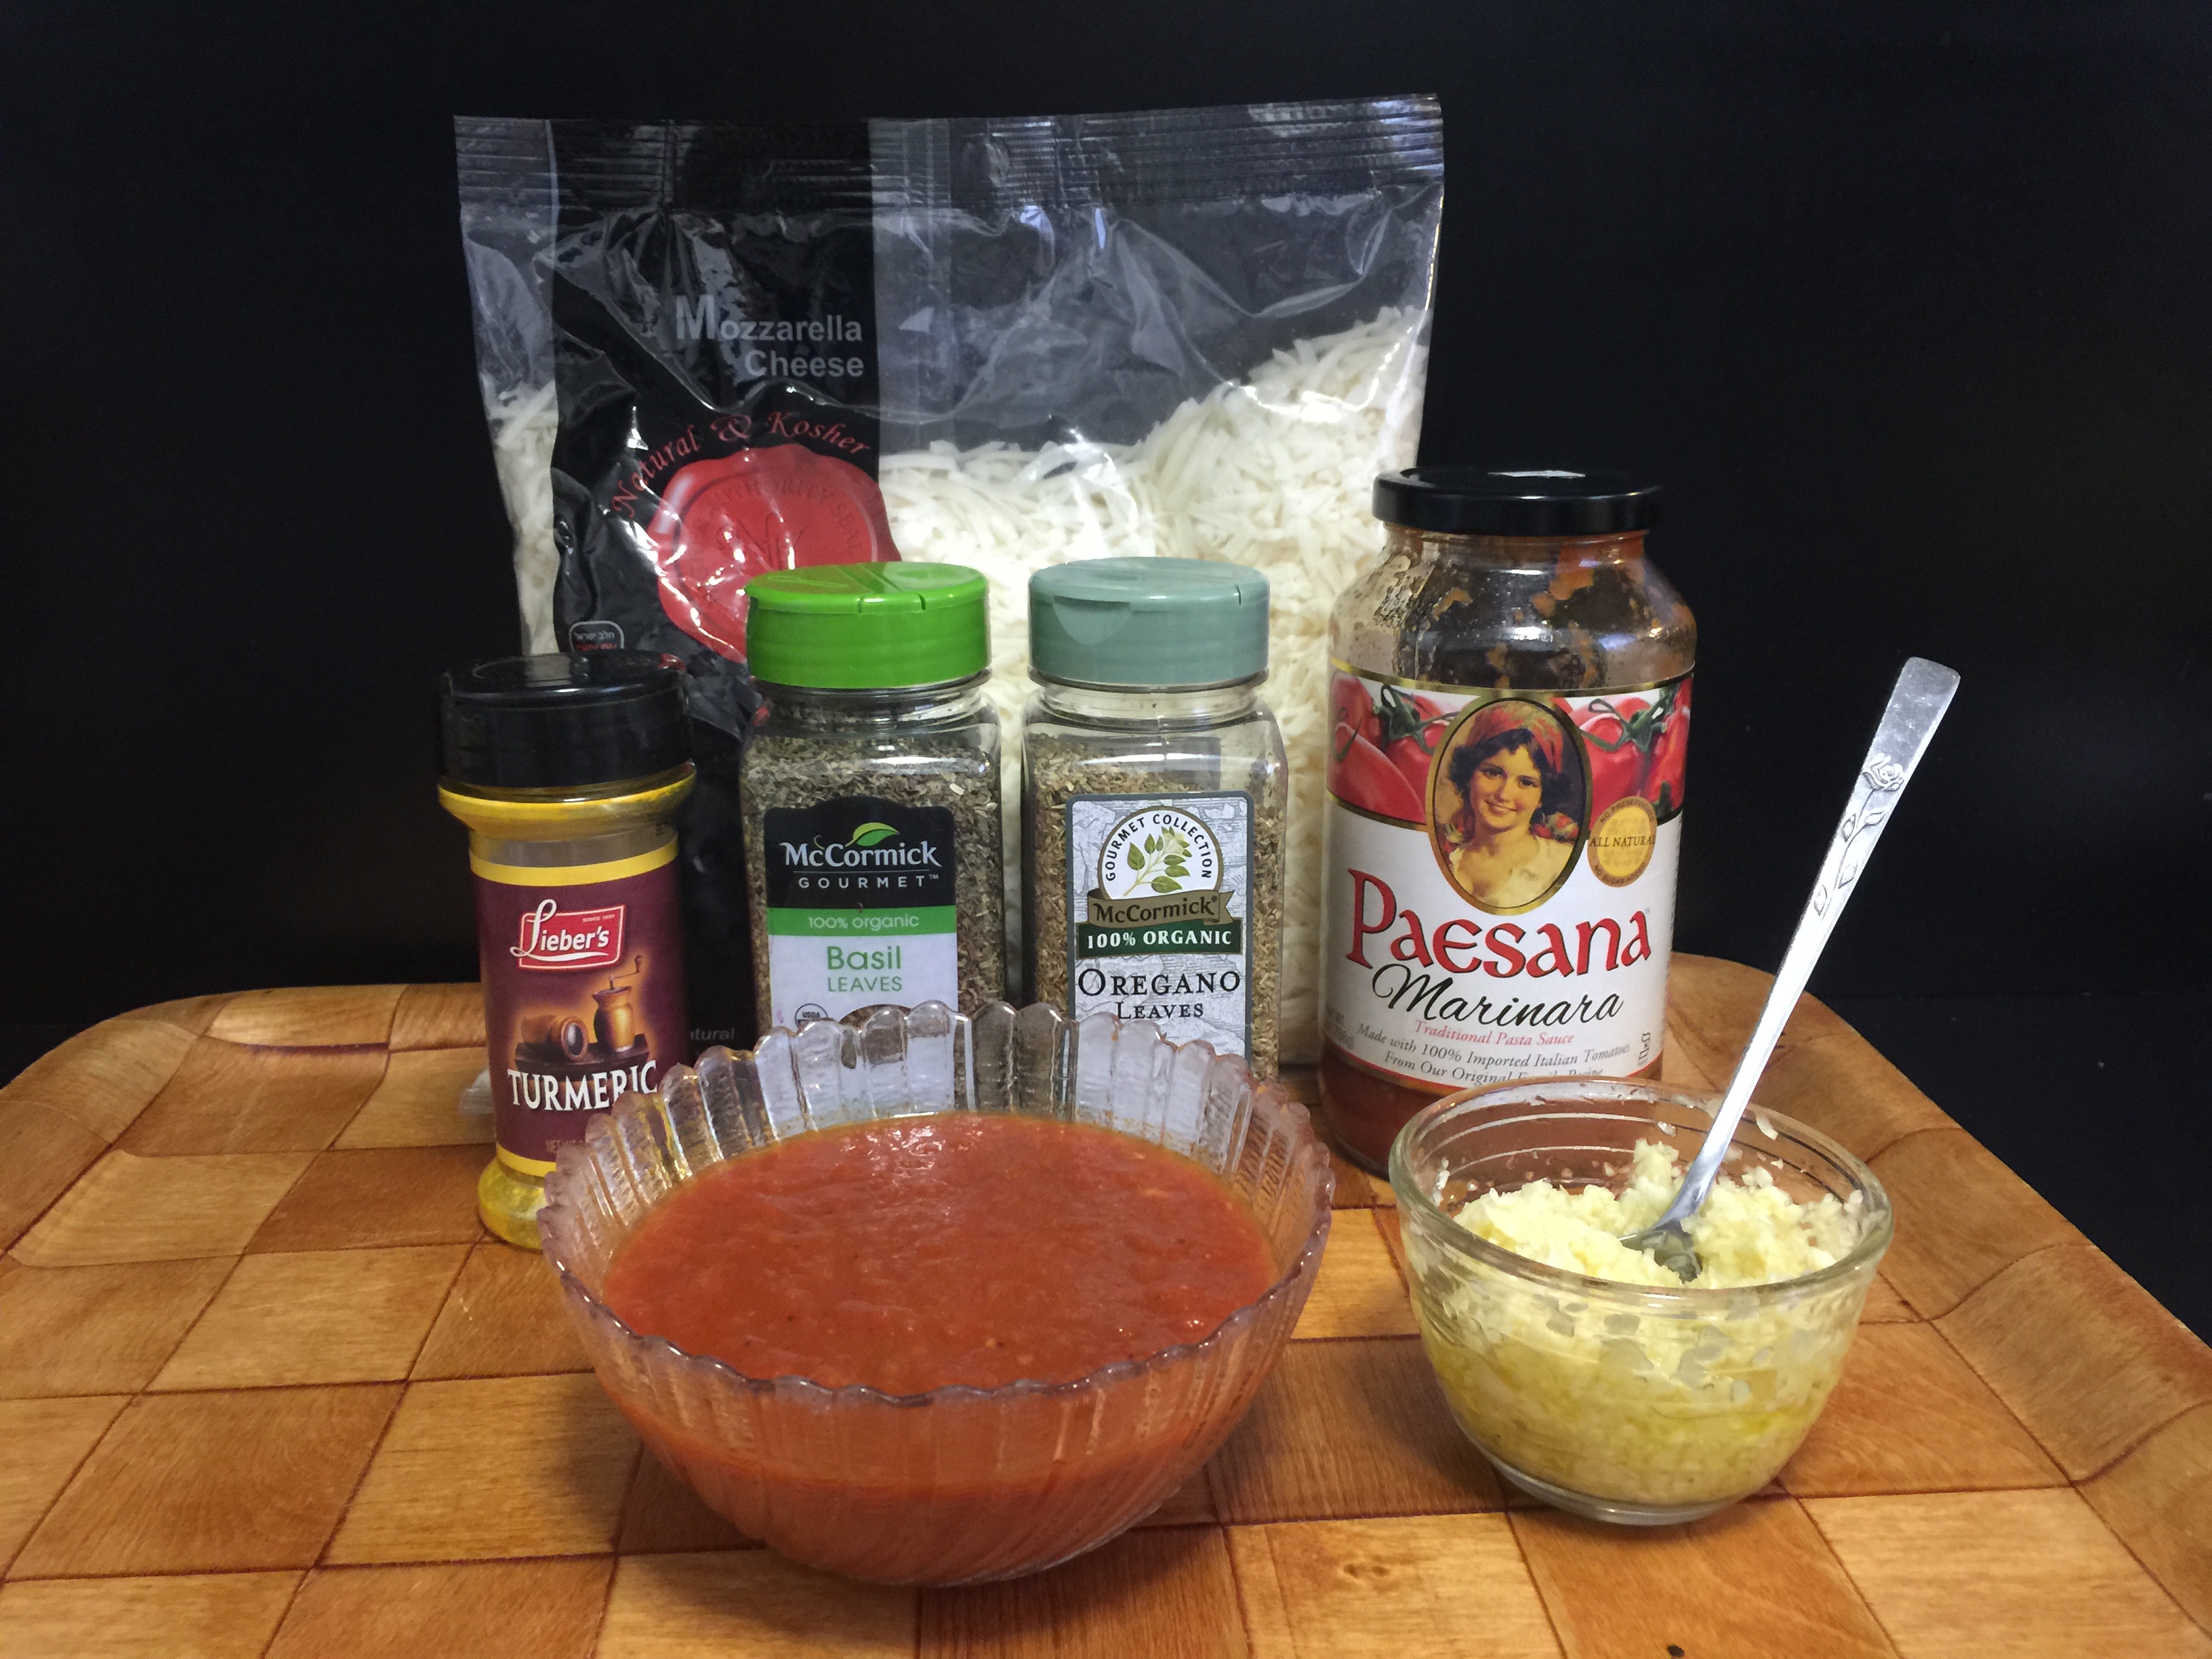
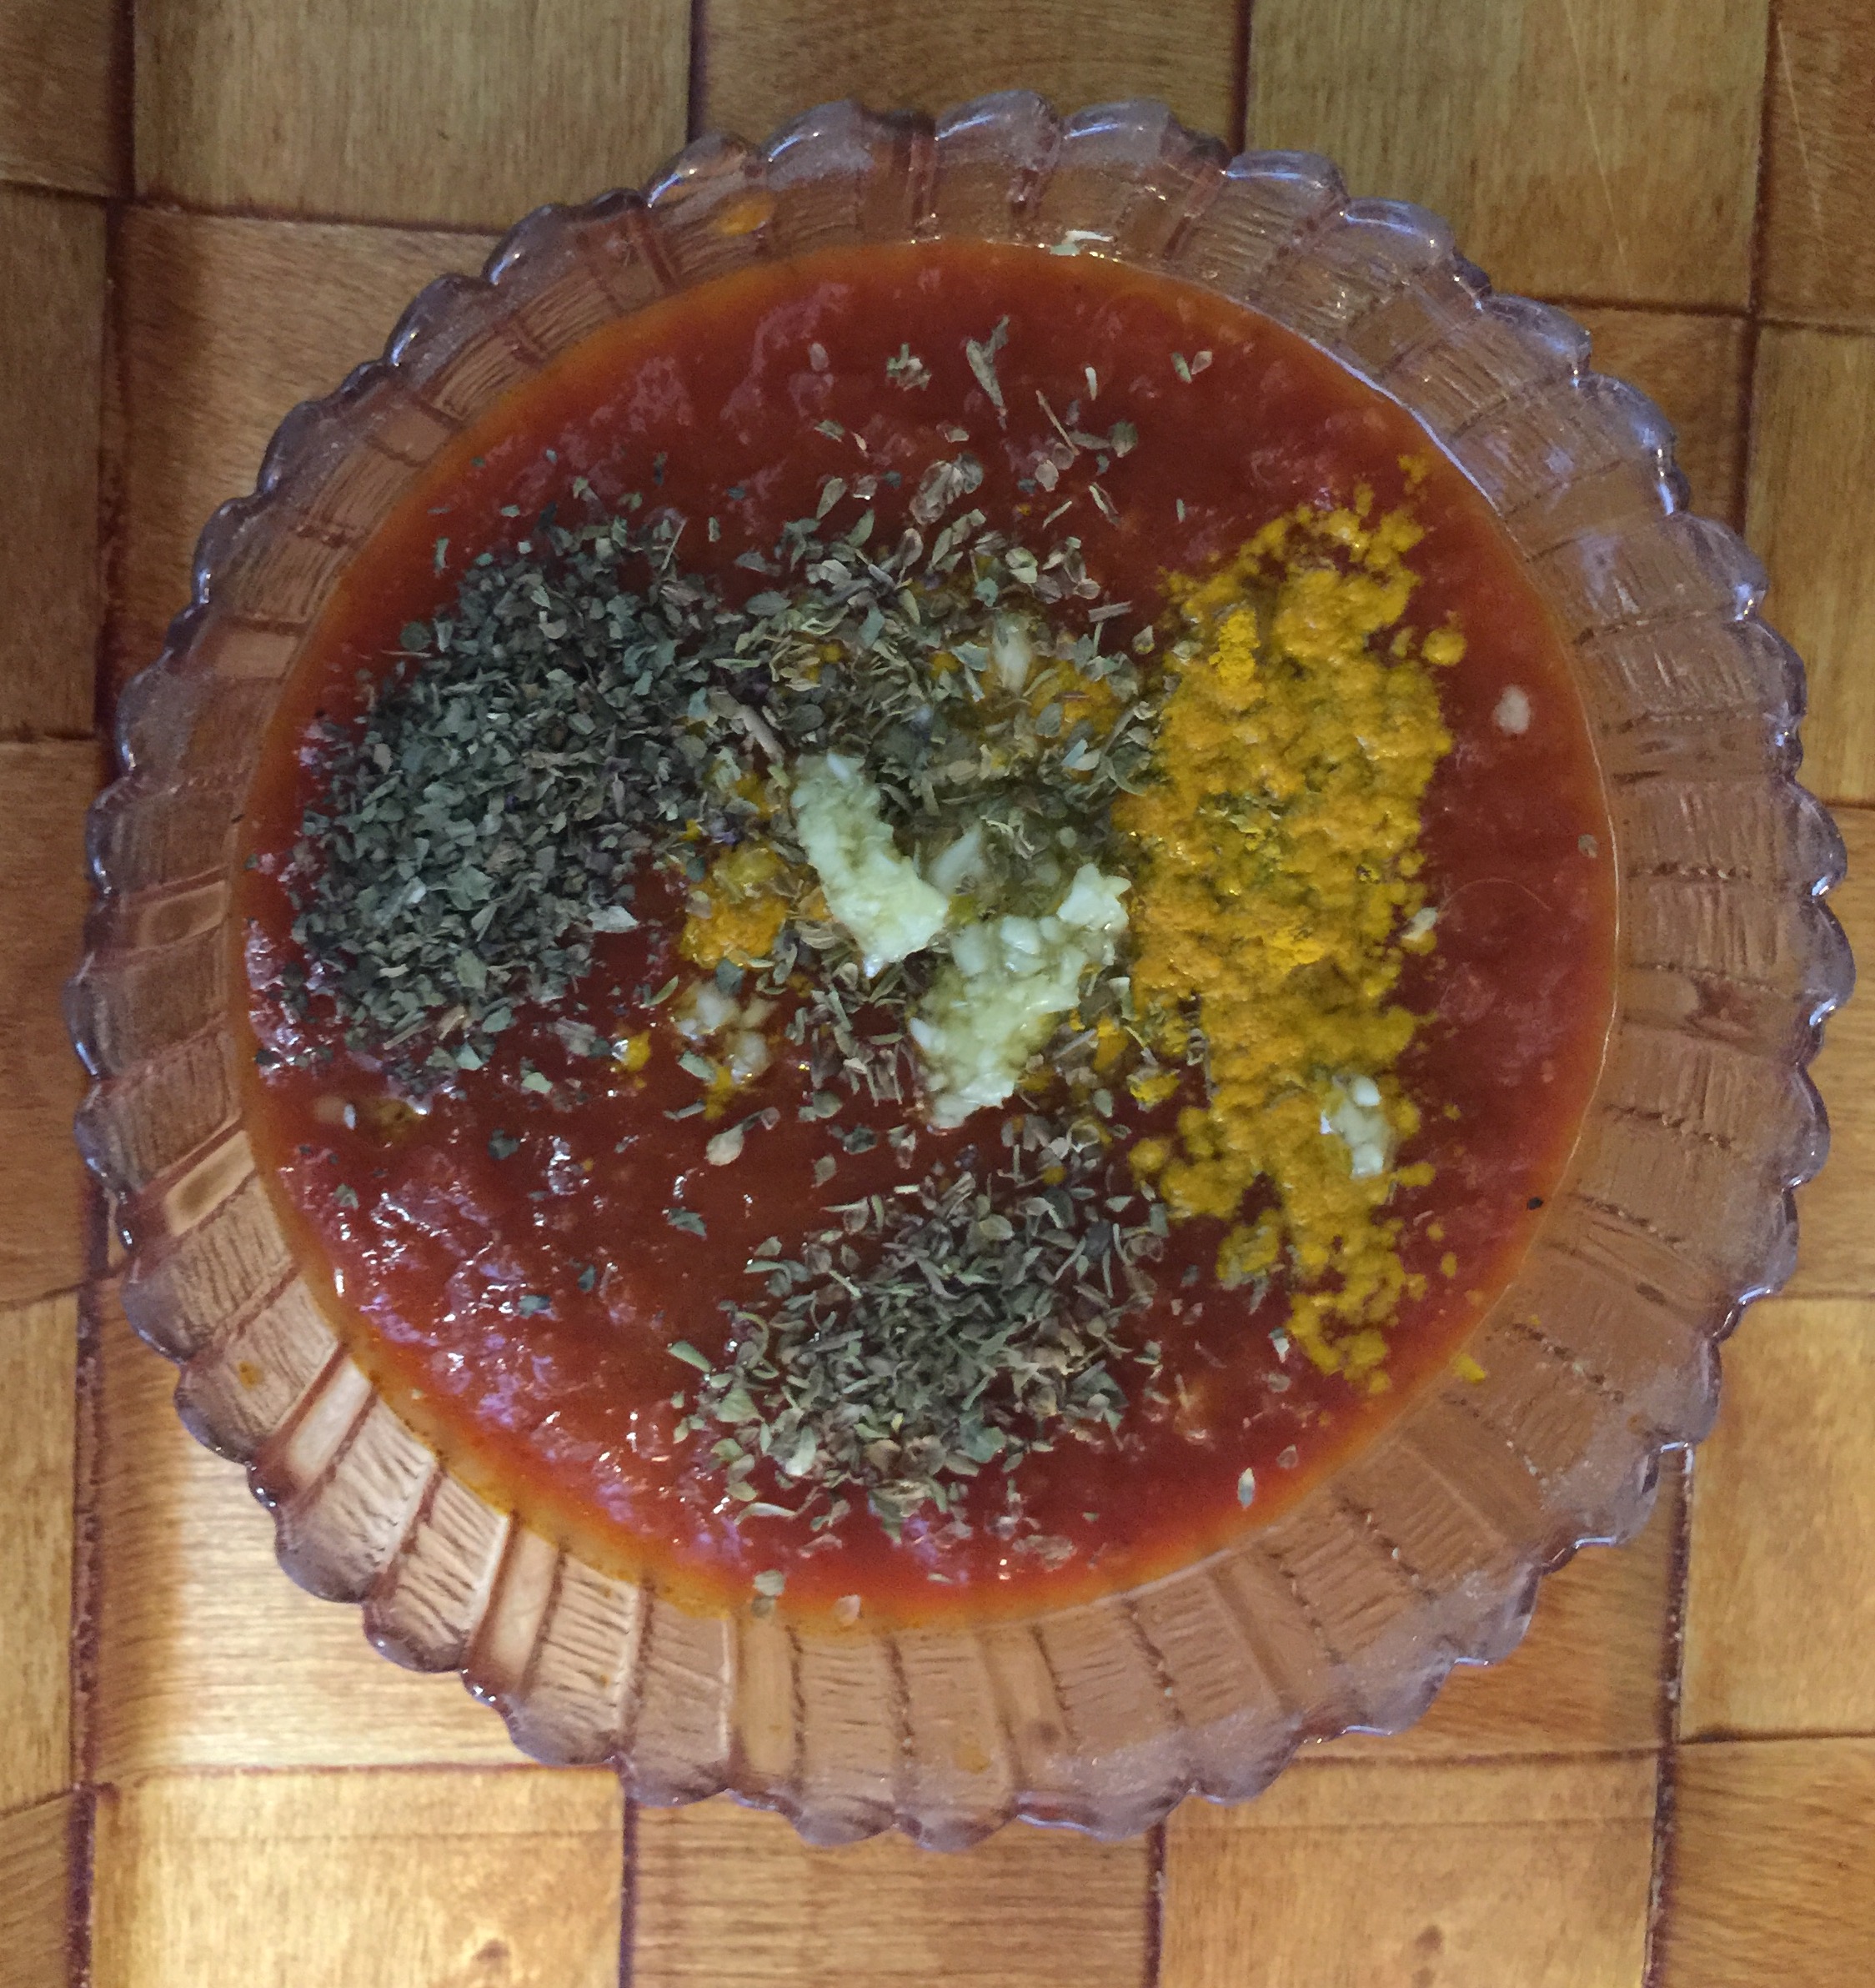
PIZZA DELIZIOSO: Flatbread, 1 Tbsp olive oil, 1 tsp minced garlic, basil leaves, oregano, turmeric, marinara sauce, mozzarella cheese, mushrooms, olives. **Note: I pre-mince my garlic and store in glassware with olive oil and refrigerate for later use. Soaking the minced garlic in olive oil enhances the effects of the antioxidants from the garlic.
Put parchment paper on a baking pan and lay the flatbread down.
Take a bowl full of marinara sauce and add 1 Tbsp olive oil, 1 tsp minced garlic, basil leaves, oregano, turmeric. Stir.
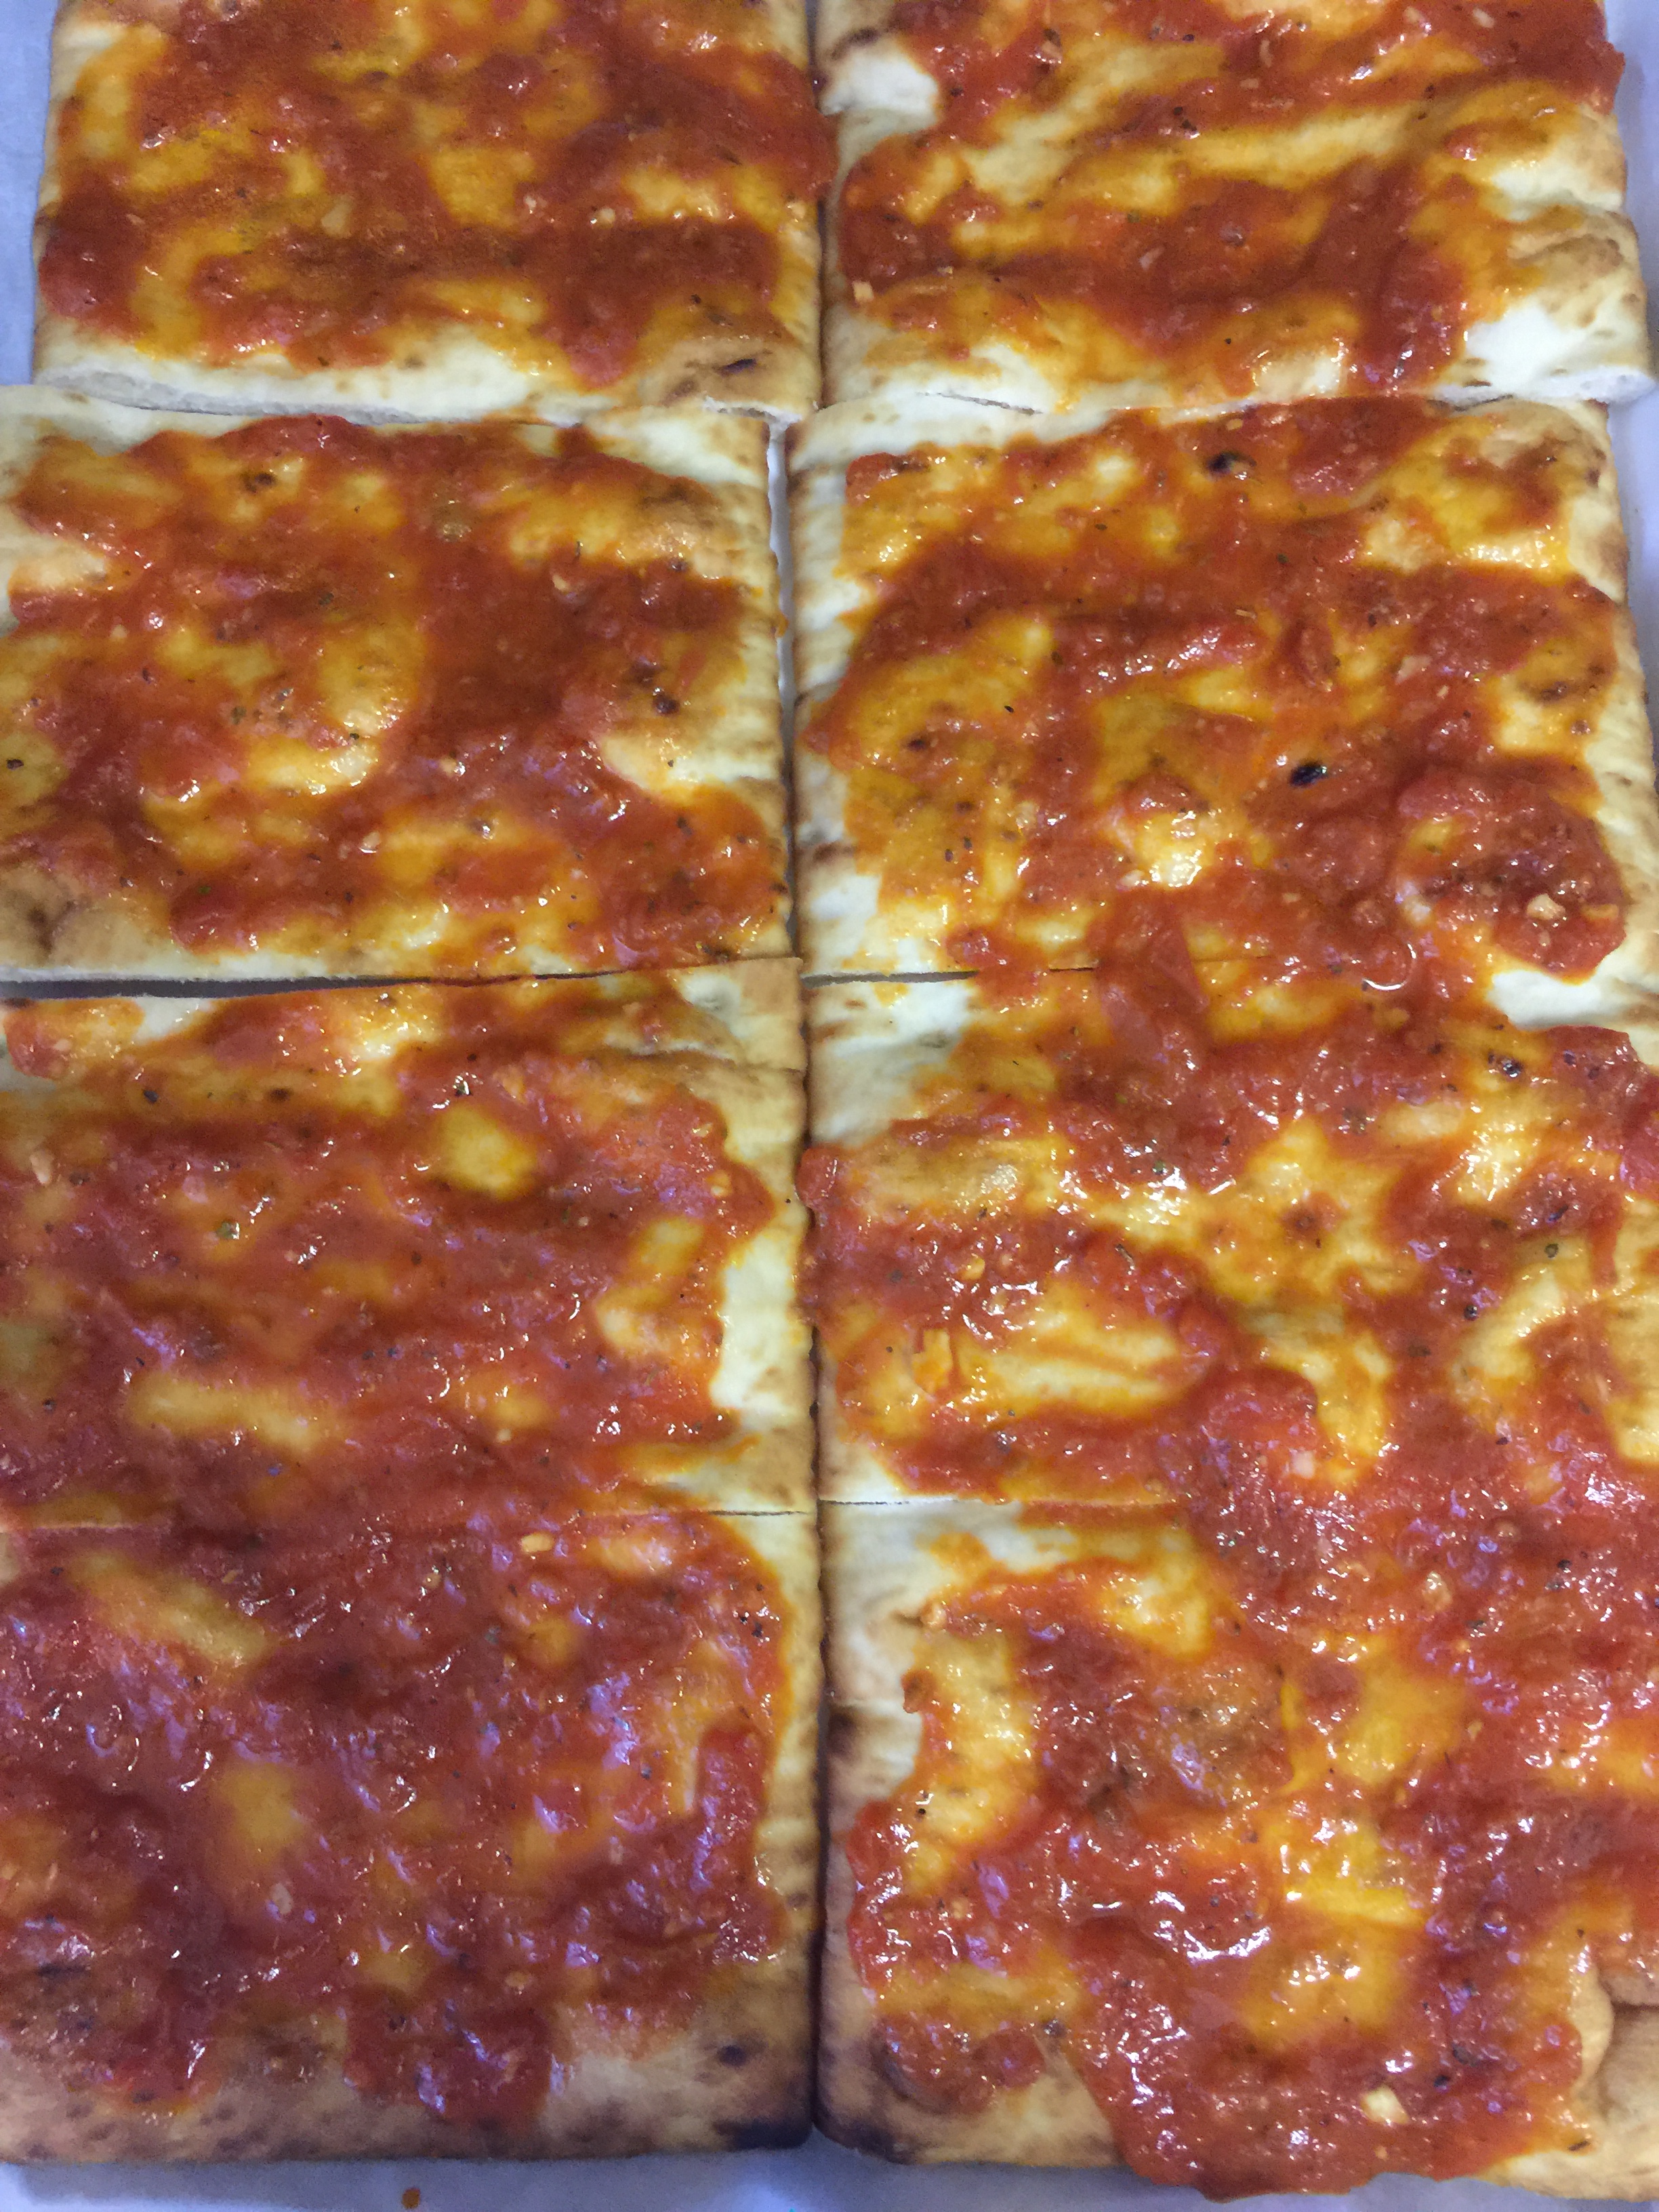
Lightly (to your liking) spread the sauce on the flatbread.
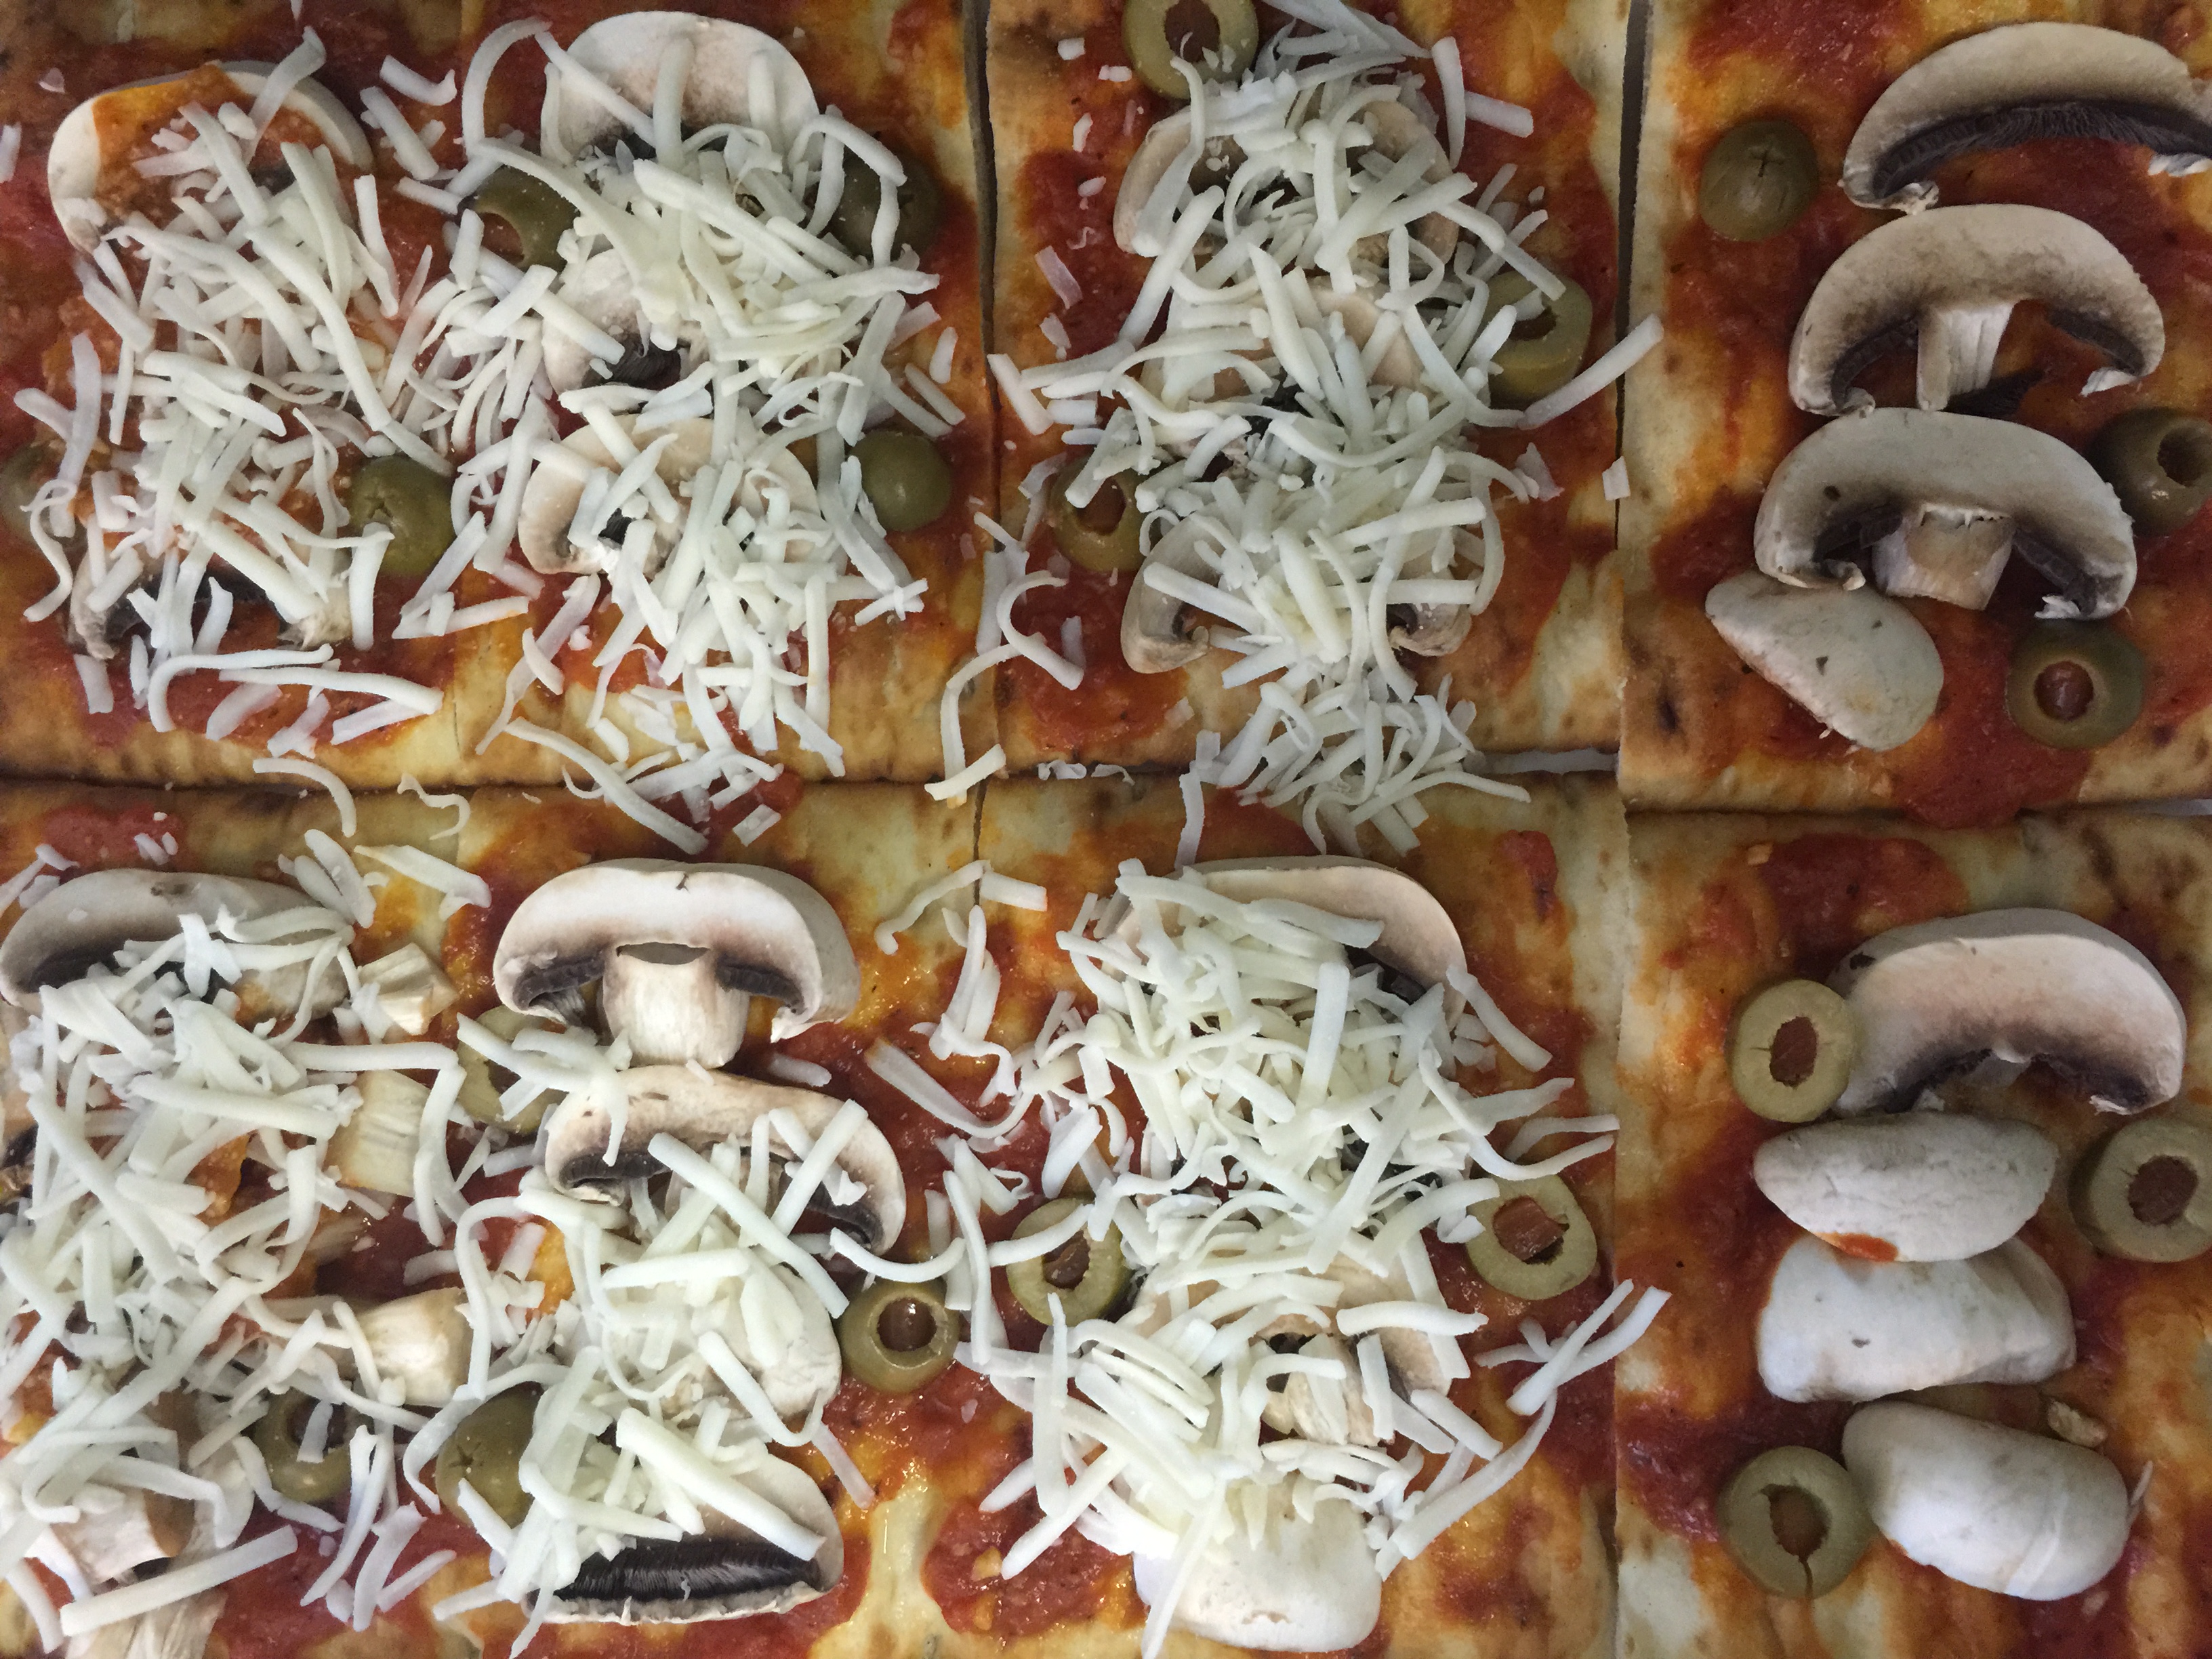
Add mushrooms, olives (any topping you choose), and mozzarella.
Bake for 18 minutes at 350 degrees.
Bon Appetit!
**Tip: scoop out a zucchini and blend with marinara sauce and garlic for a delicious sauce.
The month of Av is very special because we are taught to be happy and sad at the same time. Though we are mourning the loss of the destruction of both holy temples, we are happy to be alive and to be able to serve G-d. This is a great month of reflection; not only about what happened to our ancestors but what we do today to make ourselves a bit holier.
During the nine days of Av leading up to the fast of Tisha B’av, the Torah tells us to avoid certain actions and activities which include weddings/celebrations, shaving, haircuts, listening to music, wearing new clothing, washing clothes, and eating meat (except on shabbat).
To respect the Nine Days, I will only post dairy or parve recipes. I hope you enjoy them (but not too much).
July is National Ice Cream month. What better way to celebrate than with a parve recipe that tastes dairy?! Last fall I bought this easy to use Cuisinart Ice Cream Yogurt Maker and kept it parve since ice cream is always a big hit!
The key to a tasty parve ice cream is the heavy cream/half and half substitute. I use the canned Unsweetened Organic Coconut Milk which is gluten-free, kosher parve, vegan. You can mix the classic version with the lite version for a healthier option. The coconut milk found in cartons is usually too thin and won’t thicken enough for ice cream. *It is important to note that this ice cream recipe results in a gelato like consistency as it is non-dairy and less creamy than your usual dairy ice cream. The taste will not fail you so don’t expect leftovers with this recipe!
I used the Williams-Sononma Classic Vanilla Bean Ice Cream recipe and substituted the half and half with coconut milk. I prefer to use organic ingredients to keep it as natural as possible.
VANILLA ICE CREAM (PARVE): 3 cups of Coconut Milk, 1 Vanilla Bean, 3/4 cup of sugar, 6 egg yolk
Pour the coconut milk into a heavy saucepan. Cut the vanilla beans in half lengthwise. Scrape the seeds from the vanilla bean and add the seeds and bean halves to the coconut milk. Bring to a simmer over medium-high heat. Remove from the heat, cover and let stand for 30 mins.
Return the saucepan to the stove over medium high heat and bring to a simmer.
In a heatproof bowl, whisk the sugar and egg yolks until blended.
Gradually pour the hot coconut milk mixture into the yolk mixture (make sure the bowl is placed in a sturdy area and does not move as you pour), whisk constantly.
Return the mixture to the same saucepan over medium-low heat. Stir constantly until the custard is thick enough to coat the back of the spoon and leaves a clear trail when a finger is drawn through it (about 5 mins).
DO NOT LET THE CUSTARD BOIL
Pour the custard through a medium-mesh sieve set over a clean bowl. Refrigerate until cold, about 1 hour.
Transfer the custard to an ice cream maker.
Store ice cream in a freezer safe container, cover and freeze until firm (at least 4 hours before serving).
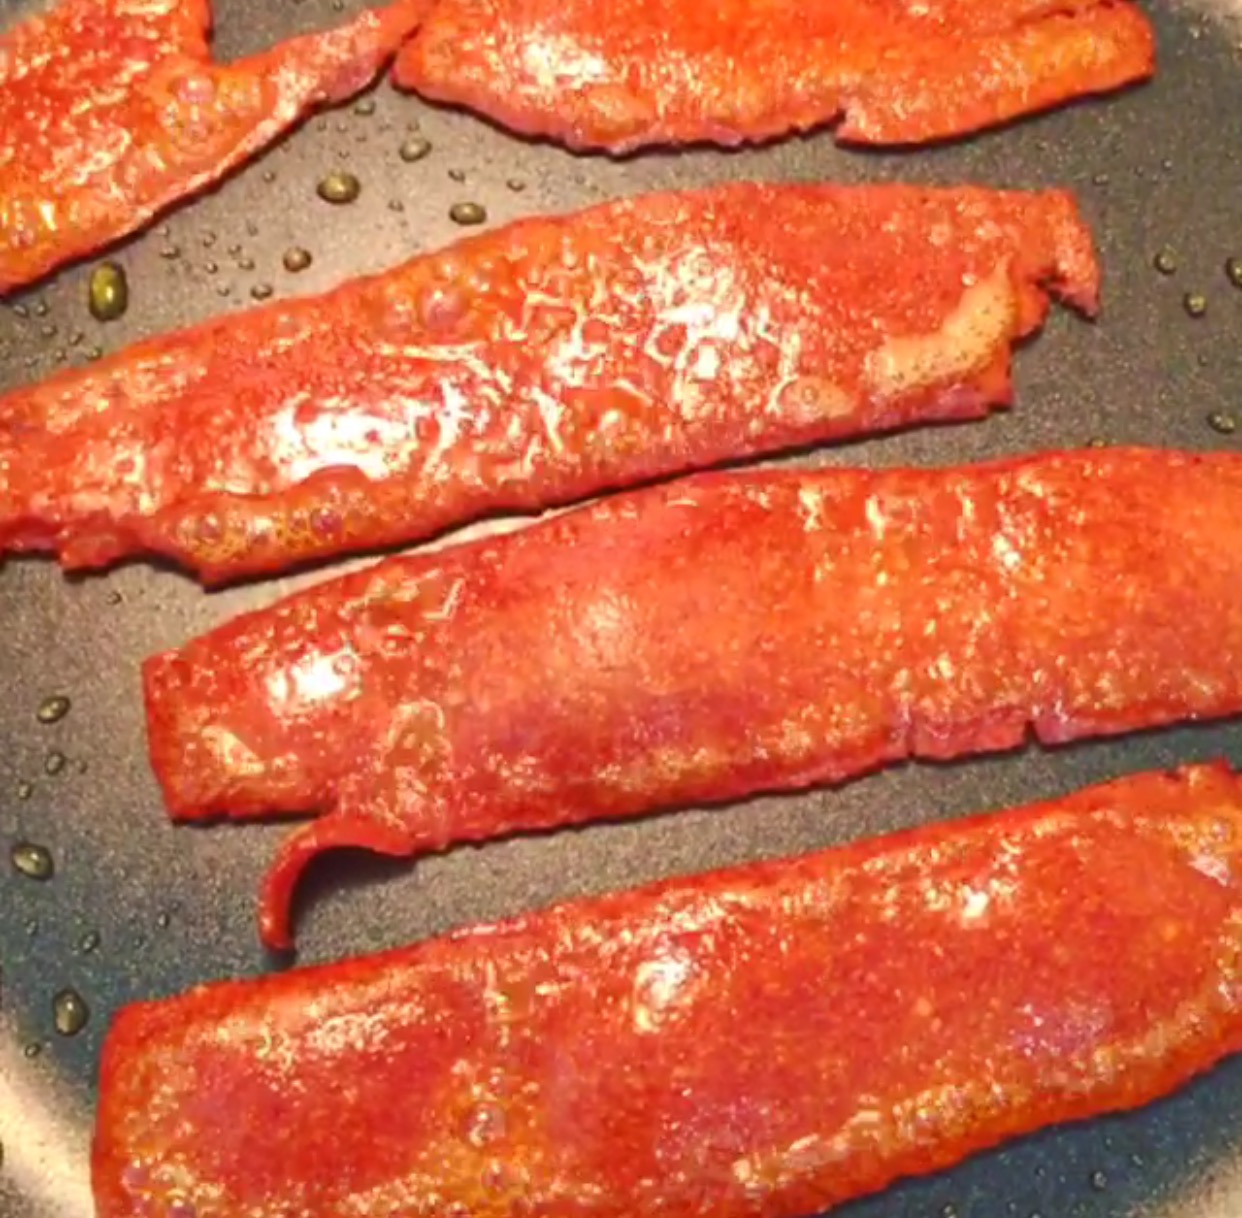
Crab Cakes have been one of sea food lovers favorite dishes since the early 19th century. They can be served as an appetizer, dinner delicacy, or even a beach treat. Crab Cakes are great to eat during a holiday, occasion, or any ordinary day. The best recipes usually include fresh crab meat or lump crab, however, both those are highly non-kosher! Next step: Kosherize this fabulous dish!
The most important part of kosherizing this meal is choosing the right kosher substitute for crab. The most popular substitute to use are “crab sticks” made of pulverized white fish. Dyna-Sea Imitation Crab Meat is the brand I used in my Crab Cakes. Side Note: The link has them on sale for $4.99 which is great because I paid $10.00. You must unwrap each crab stick and cut in preparation for the recipe.
Williams Sonoma is one of my “go-to recipe” sites. I used the Crab Cakes with Lemon Aioli recipe. Minor changes: added 1 onion finely chopped, 1/2 a red pepper finely chopped, and used an additional beaten egg. Also added 1/2 tsp more garlic to the Aioli – season to taste.
LEMON AIOLI: (prepare first because you will need some for the crab cakes) 1 cup mayonnaise, finely grated lemon zest of 1 lemon, 2 Tbs fresh lemon juice, 1-1.5 clove garlic-minced, fine sea salt and freshly ground pepper.
Mix the mayo, lemon zest, lemon juice and garlic. Season with salt and pepper. Set aside 1/4 cup of the aioli for the crab cakes. Cover and refrigerate the remaining aioli.
Prepare a baking sheet with parchment paper for the uncooked crab cakes. In a bowl, mix 1/4 cup of panko, 1/4 cup lemon aioli, the egg, mustard, Worcestershire sauce, hot pepper sauce, and parsley. Add the crabmeat and mix gently until combined. Divide the mixture into equal cake portions. Spread the remaining panko on a dish. Coat the prepared cakes evenly with panko and transfer onto the baking sheet. Refrigerate for 15 mins.
In a large frying pan, heat the oil over medium-high until it shimmers. Add the cakes and cook until golden brown (2-3 mins). Flip the cakes until the other side is golden brown. Using a slotted spatula, transfer cakes to paper towels to drain.
{Side Note: crabs and imitation crabs are not amongst the healthiest of meals, you can substitute the crab with salmon though the taste will definitely differ.}