Search

Kosherize It

The Chosen Blog

Tag

healthy

When Life Gives You Lemons….Make The Best Lemon-Thyme Tuna Steak

When life gives you lemons make a marinade!

The following Lemon-Thyme Marinade was exquisite  for our tuna steak BBQ this past weekend. It was light, healthy, delicious and the perfect meal during the Nine Days of Av.

INGRIEDIENTS:
2 pounds fresh wild tuna steak
1 1/4 cups of olive oil
10 teaspoons of fresh thyme
4 cloves of minced garlic
5 teaspoons of salt
2 1/4 teaspoons of pepper
1 1/4 cups of fresh squeezed lemon juice

DIRECTIONS:

1- Cut tuna steaks in small strips

TUNA STEAK

2- In a gallon sized freezer bag add olive oil, thyme, salt, pepper, lemon juice, garlic, mix thoroughly.

IMG_5822   IMG_5812

IMG_5830   IMG_5783


3- Add the tuna steaks in the bag making sure they are fully covered in the marinade. Place bag on a plate and put in the refrigerator for at least an hour.

4- Grill on a BBQ for 6-7 minutes or until fish is cooked to your liking.

IMG_5773


Bon Apetit!


Fishing For Salmon: Wild Sockeye Salmon in Dijon Sauce with Vegetables

IMG_6851

Salmon is one of the healthiest foods you can eat.  It’s an excellent source of omega-3 fatty acids, vitamin D, protein and vitamin B6 (just to name a few).   Not only is it healthy but tastes great (if you have a good recipe).  The recipe below incorporates fish, veggies, and flavor!  Best part is, it doesn’t smell fishy!

(I use wild sockeye salmon as I prefer not to eat farmed fish, however if you prefer farmed you can still follow the recipe.)  **Prepare the vegetables first because you will need liquid from the vegetables for the sauce.**

WILD SOCKEYE SALMON:  wild sockeye salmon, 1 onion slightly chopped, 1 carrot cut in circles, 12 mushrooms, grape seed oil, minced garlic.

STEP 1: VEGETABLES 

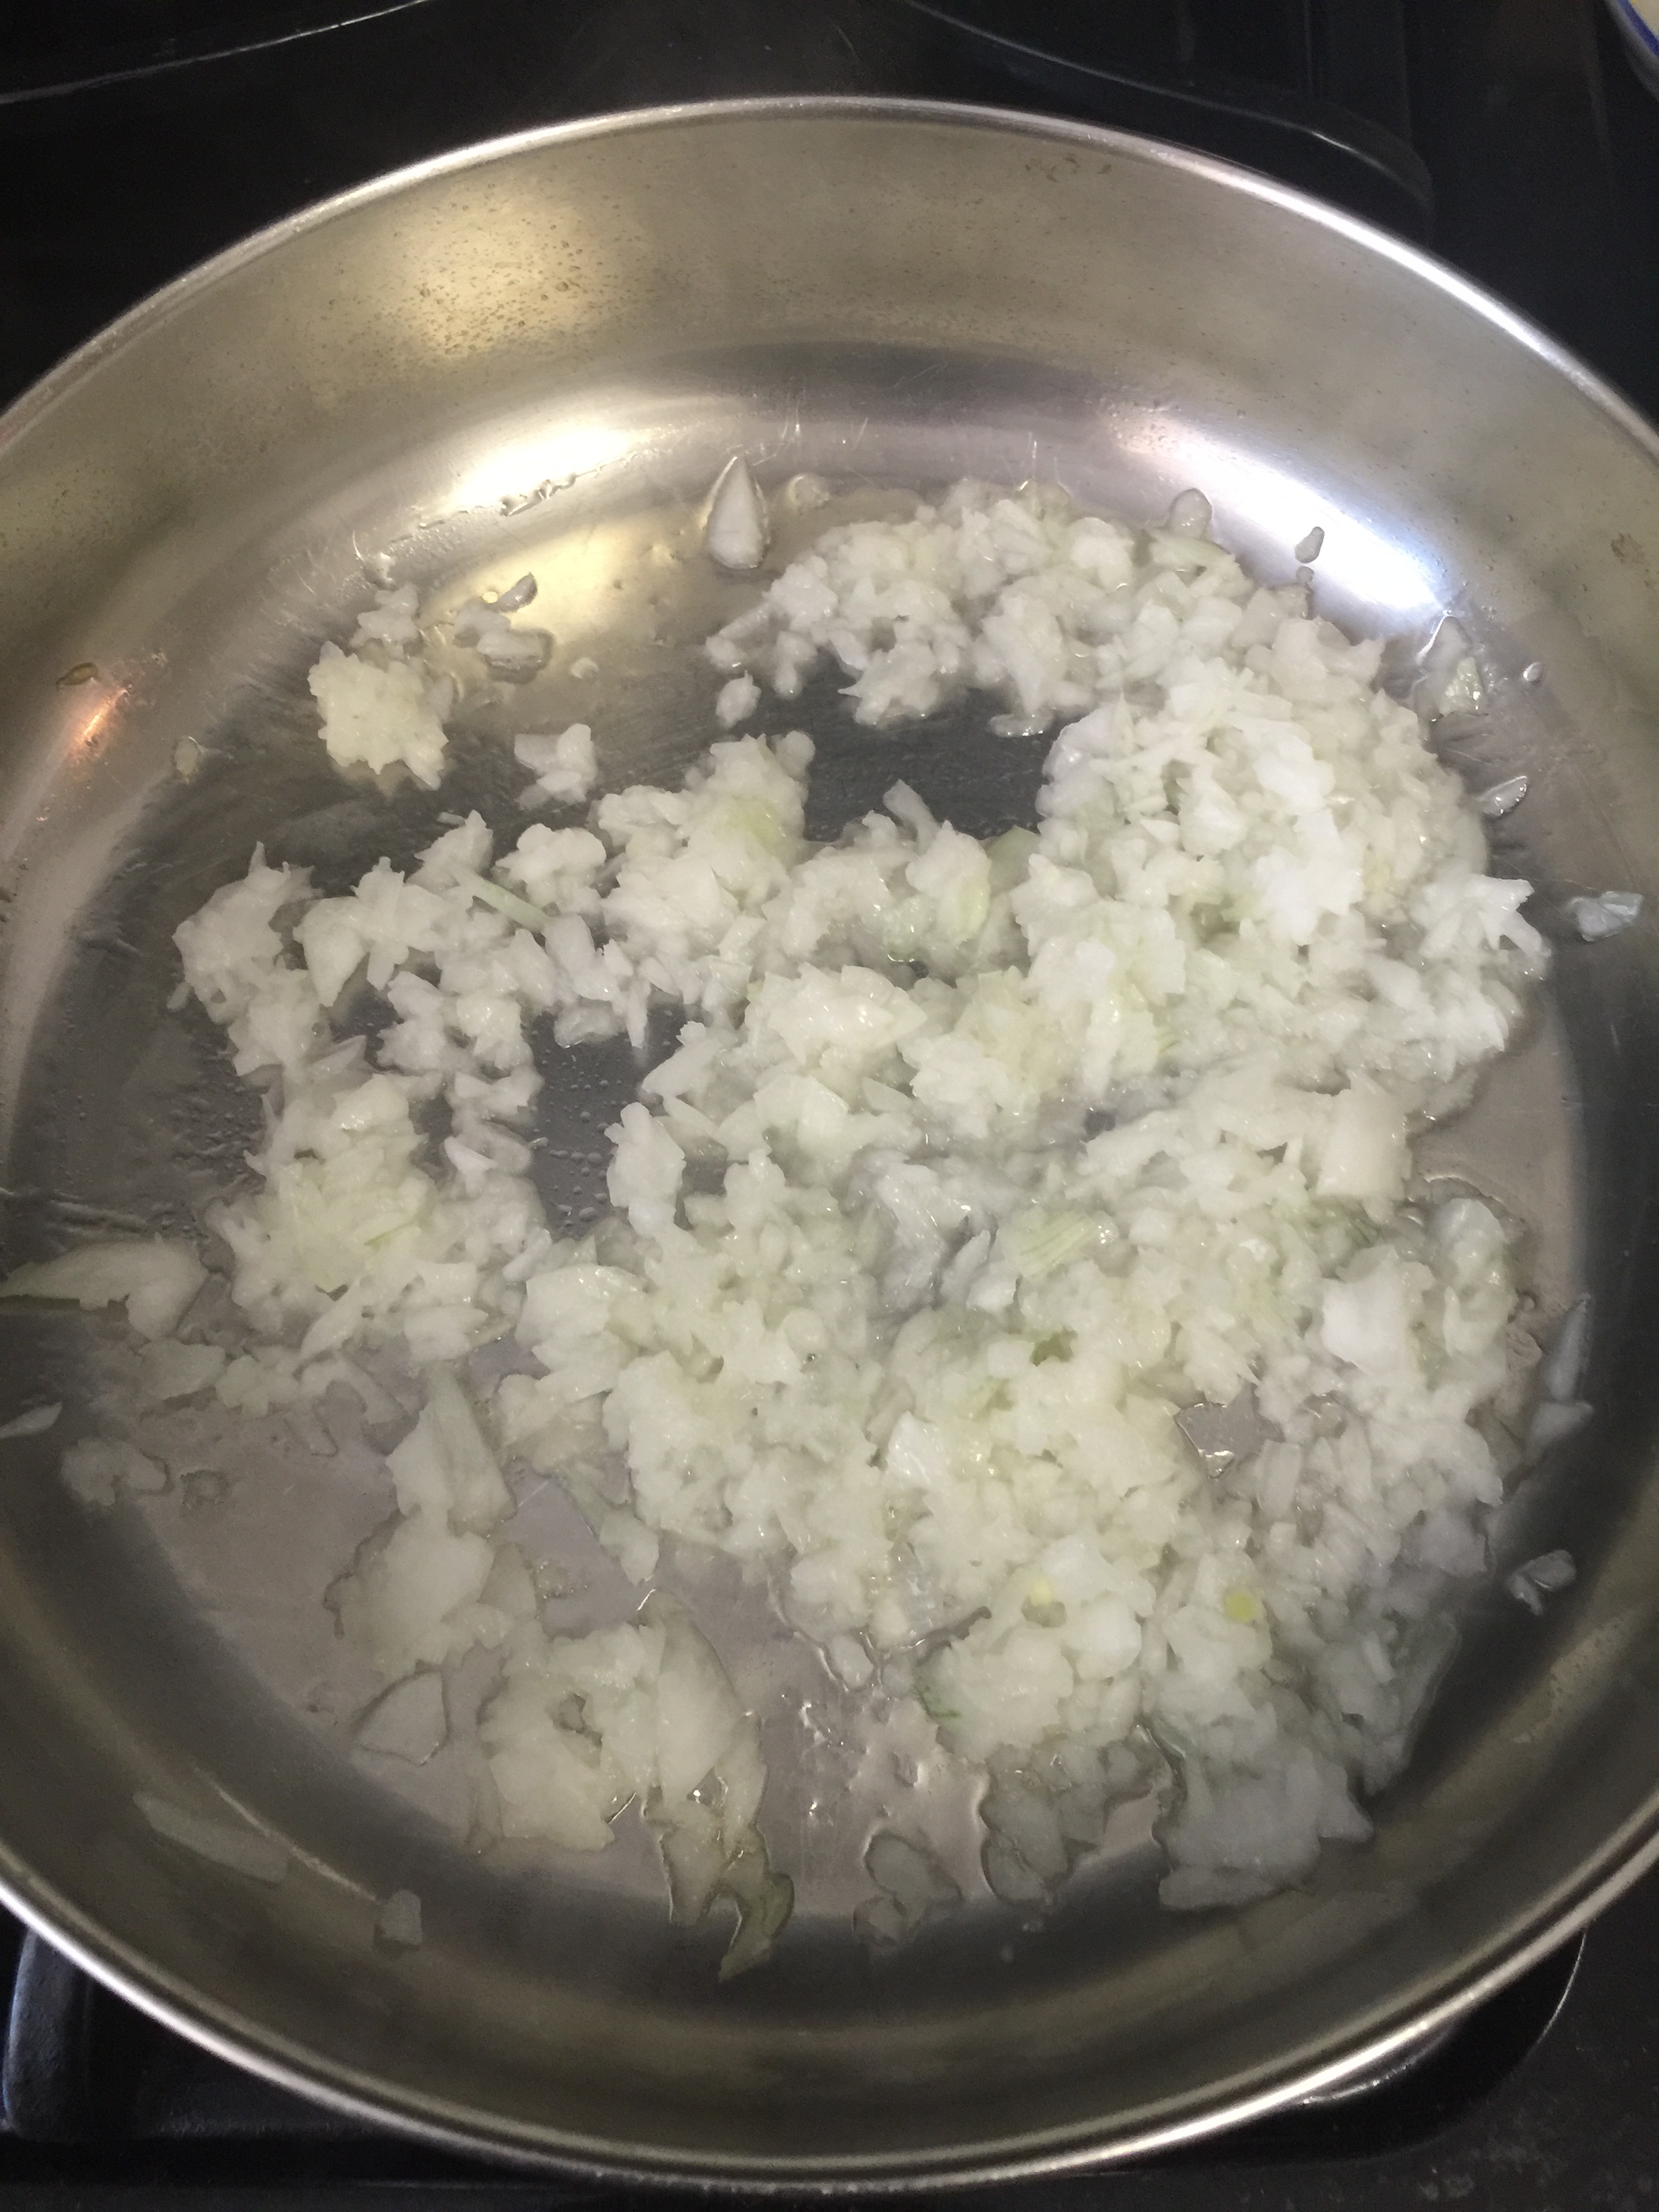
  • Pour grape seed oil in a pan on medium heat.

IMG_6817

  • Sauté the onions for about 7 minutes and cover.

IMG_6820

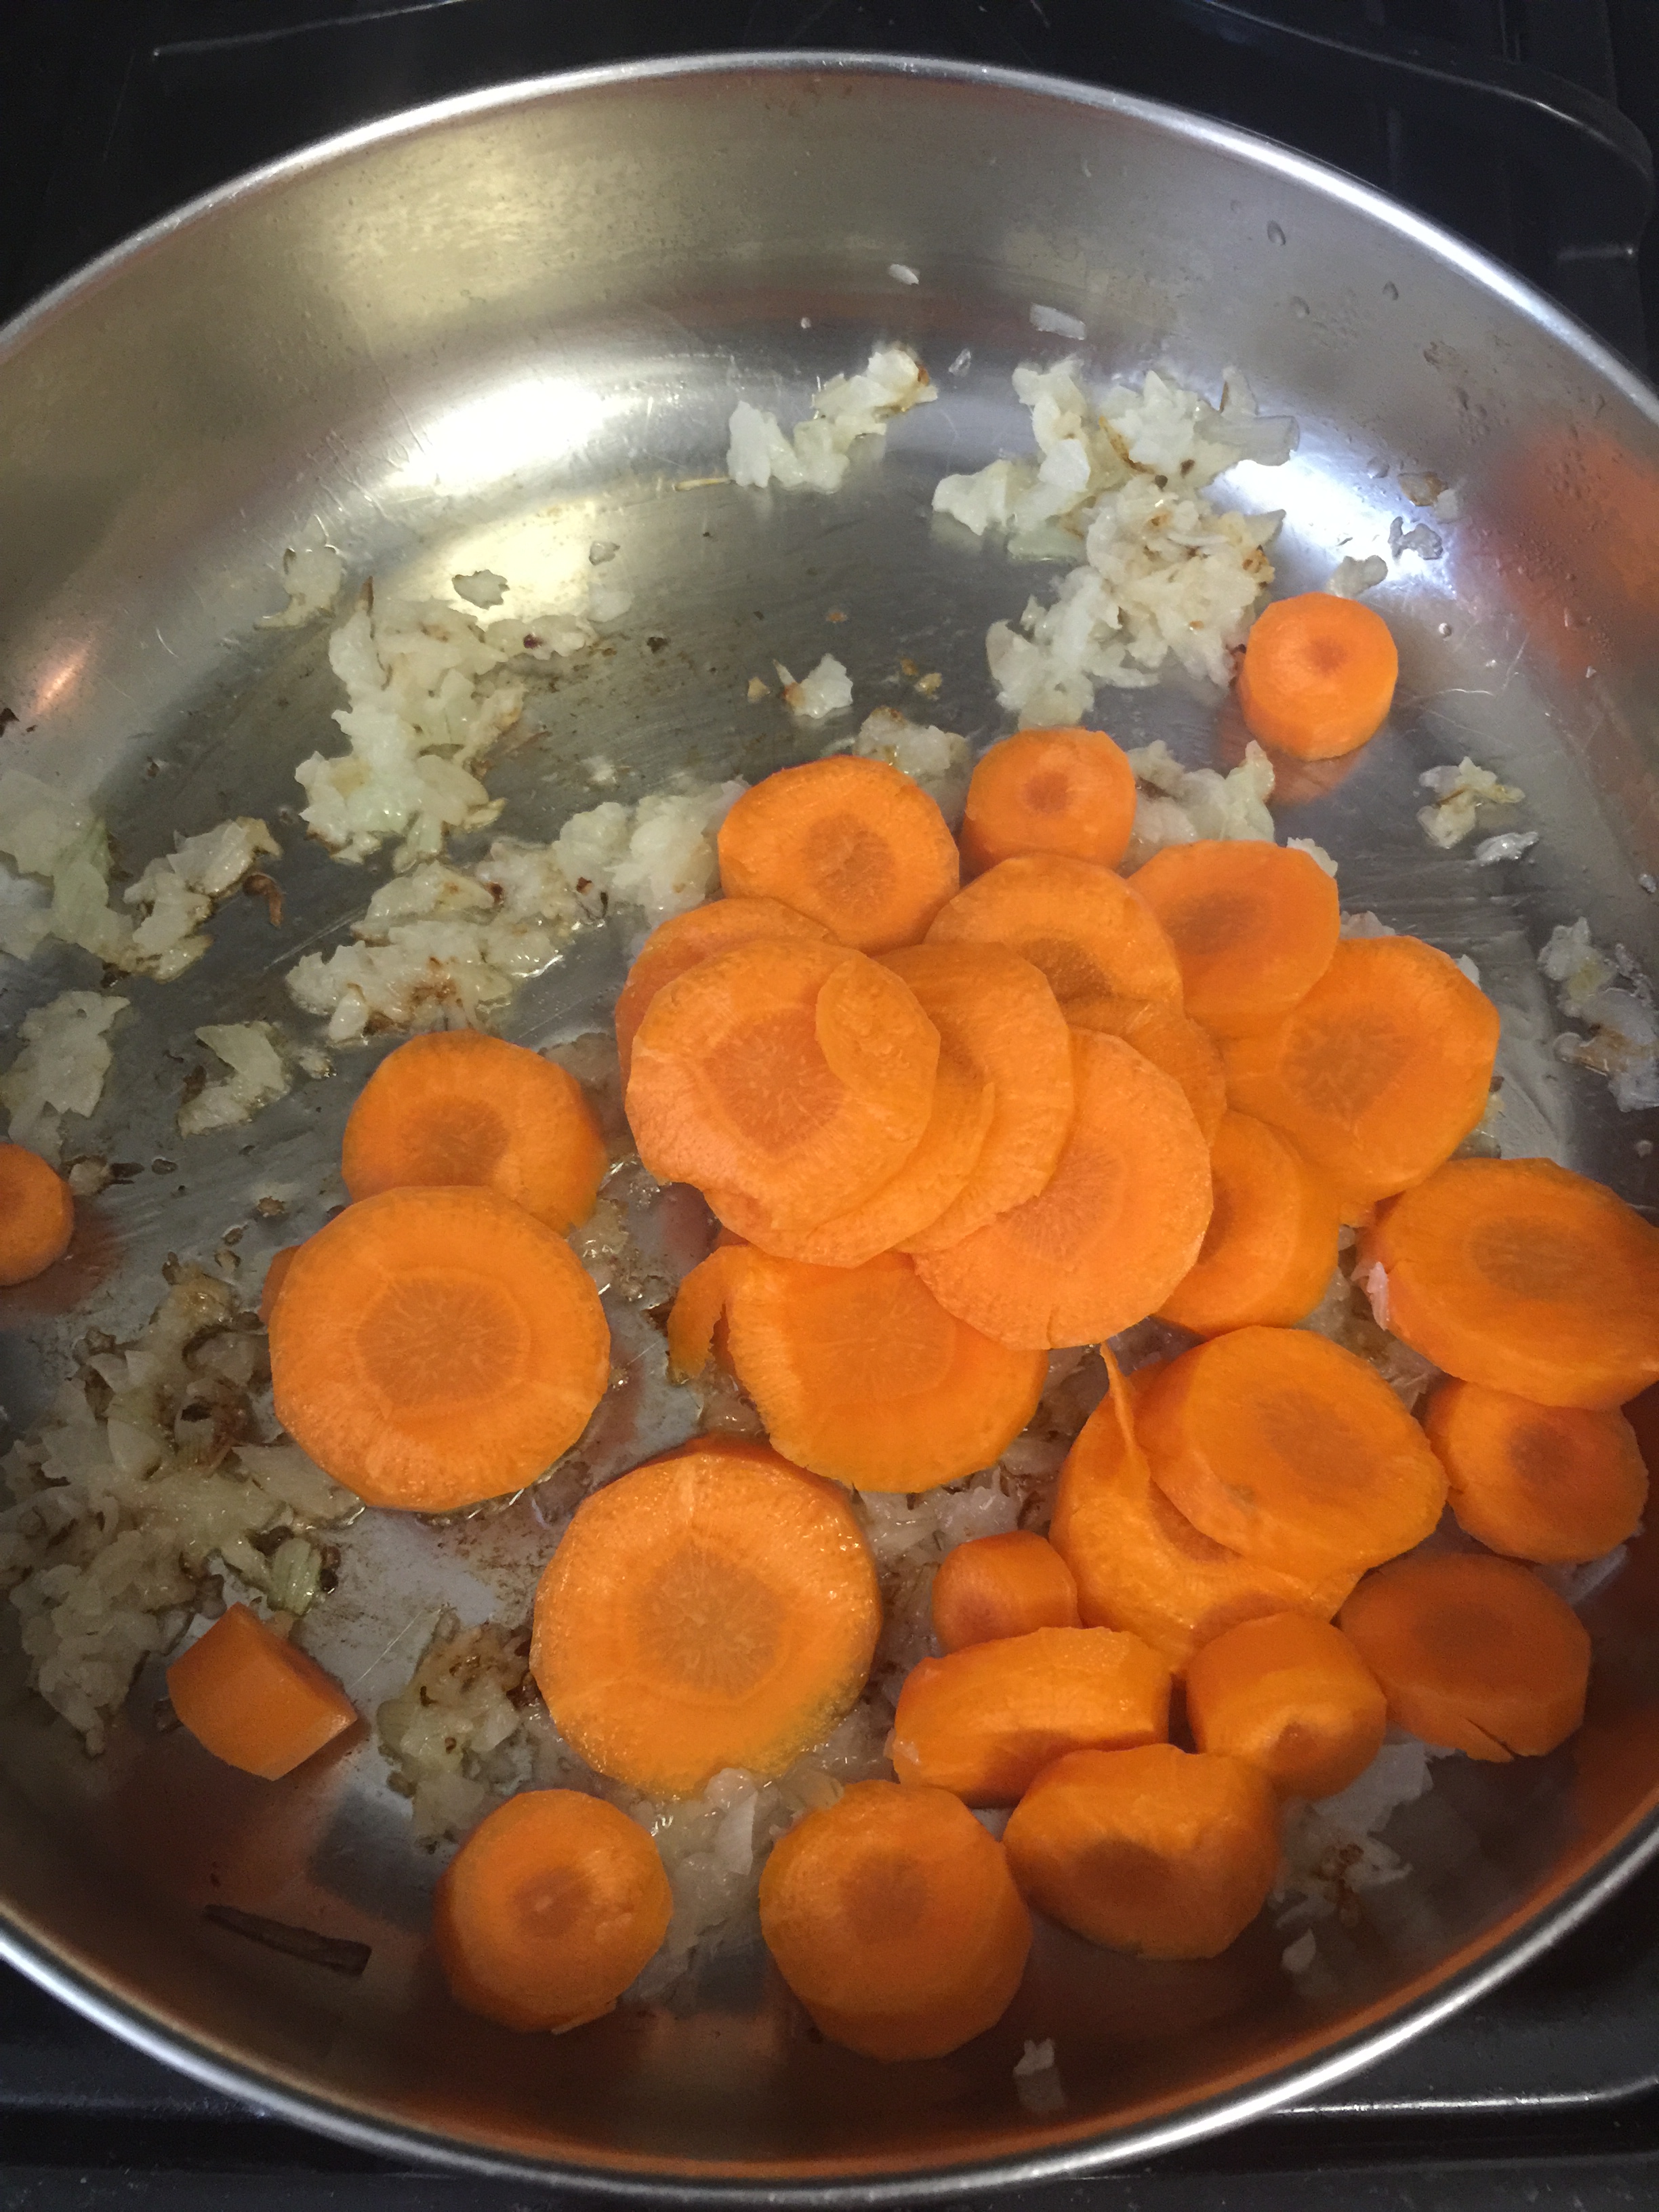
  • Add the carrots to the pan, stir and cover for about 10-12 minutes.  (Add more oil if needed).

IMG_6821

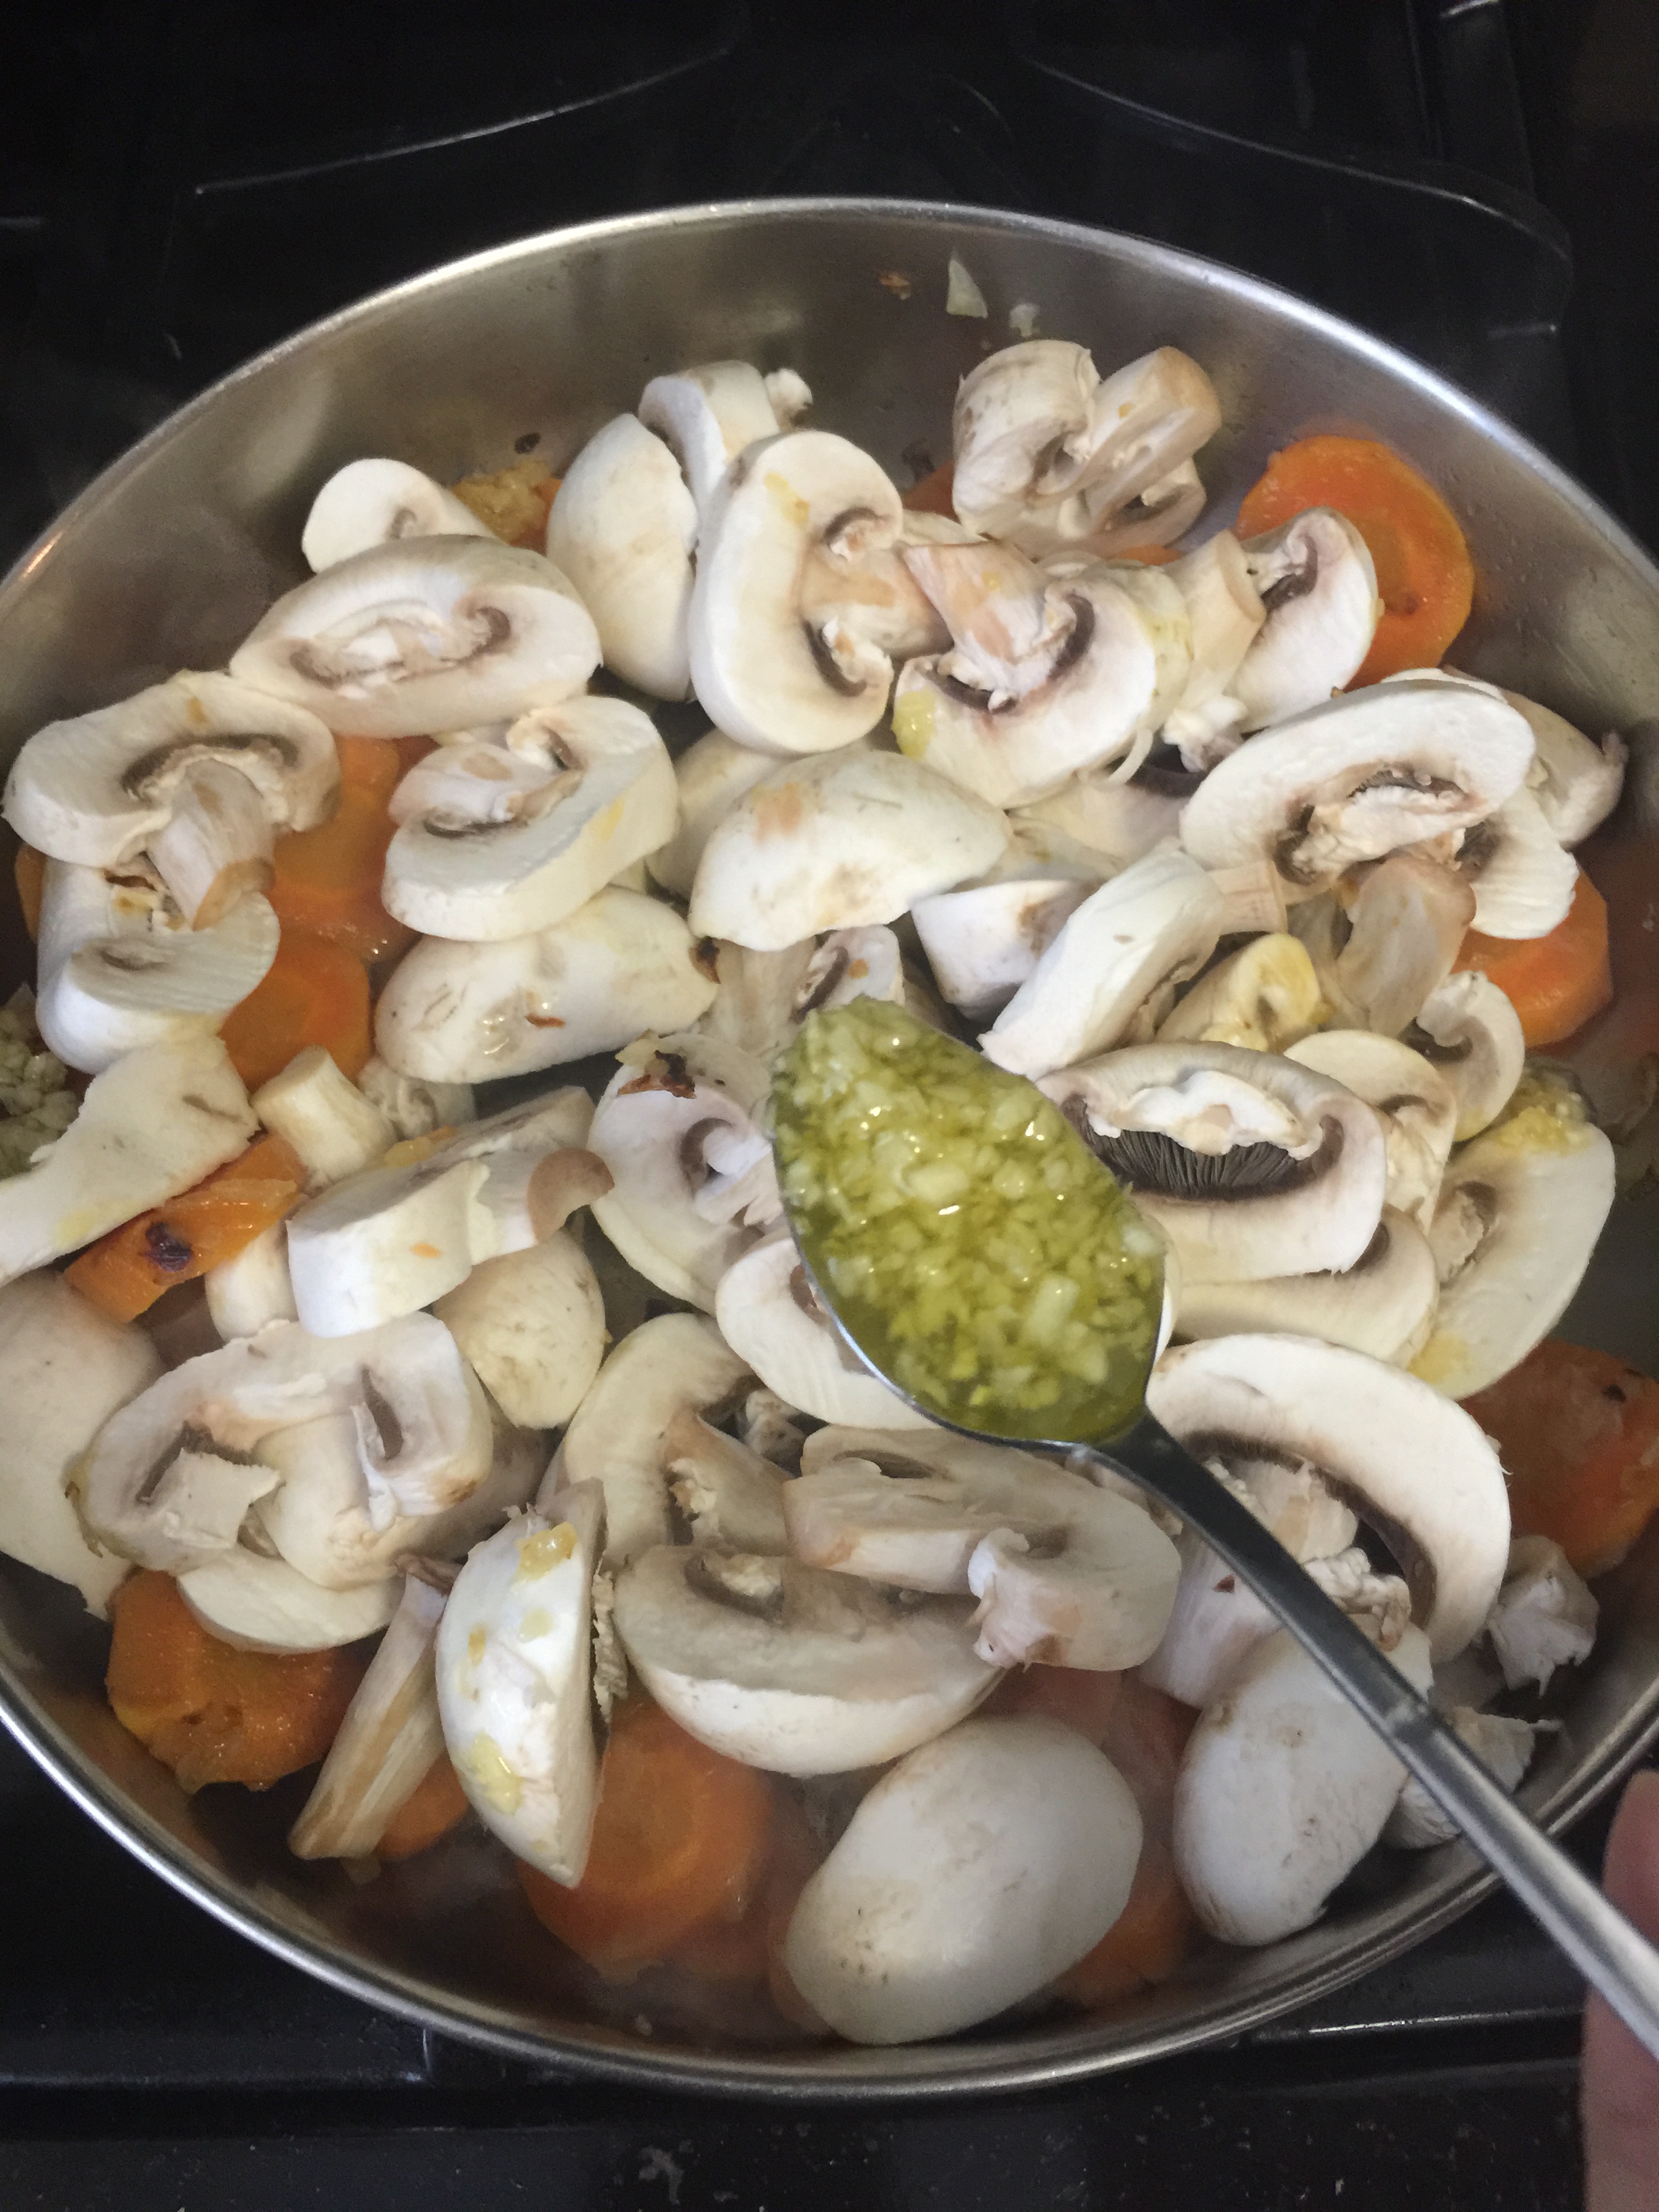
  • Lower the flame a little and add the mushrooms and 1 teaspoon of minced garlic in olive oil.  Stir everything and cover for 7 minutes.

IMG_6827

  • Turn off the flame and leave covered.  Begin sauce prep.

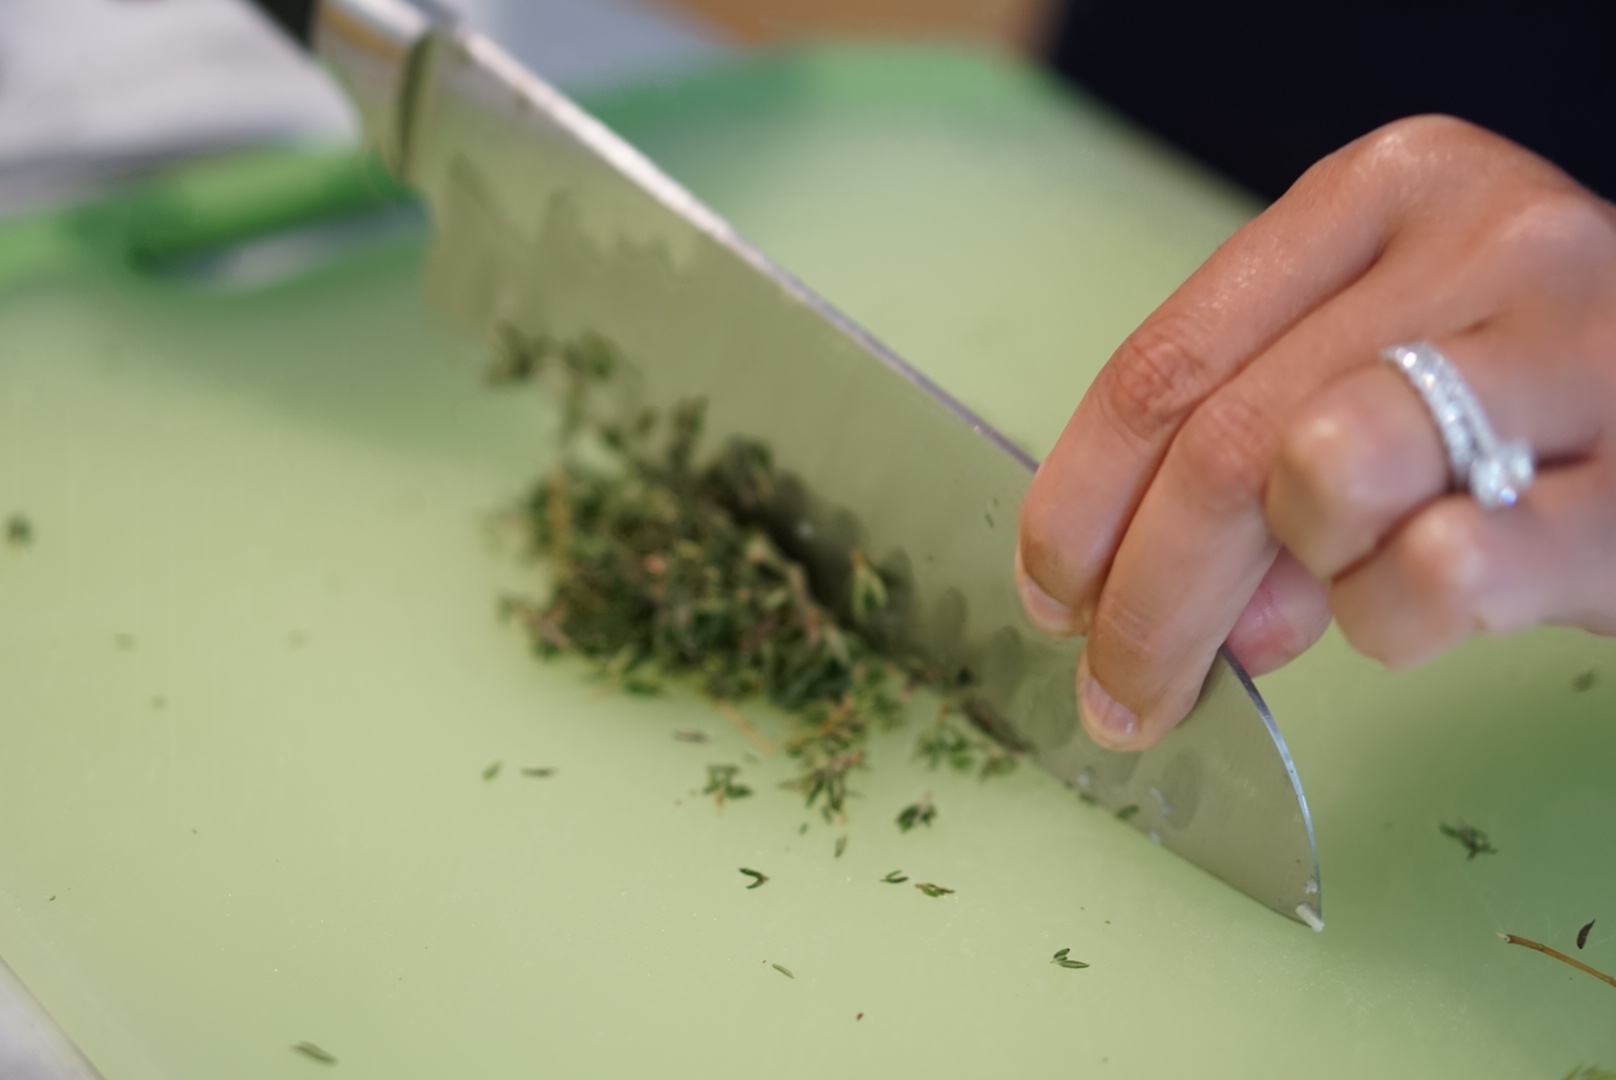
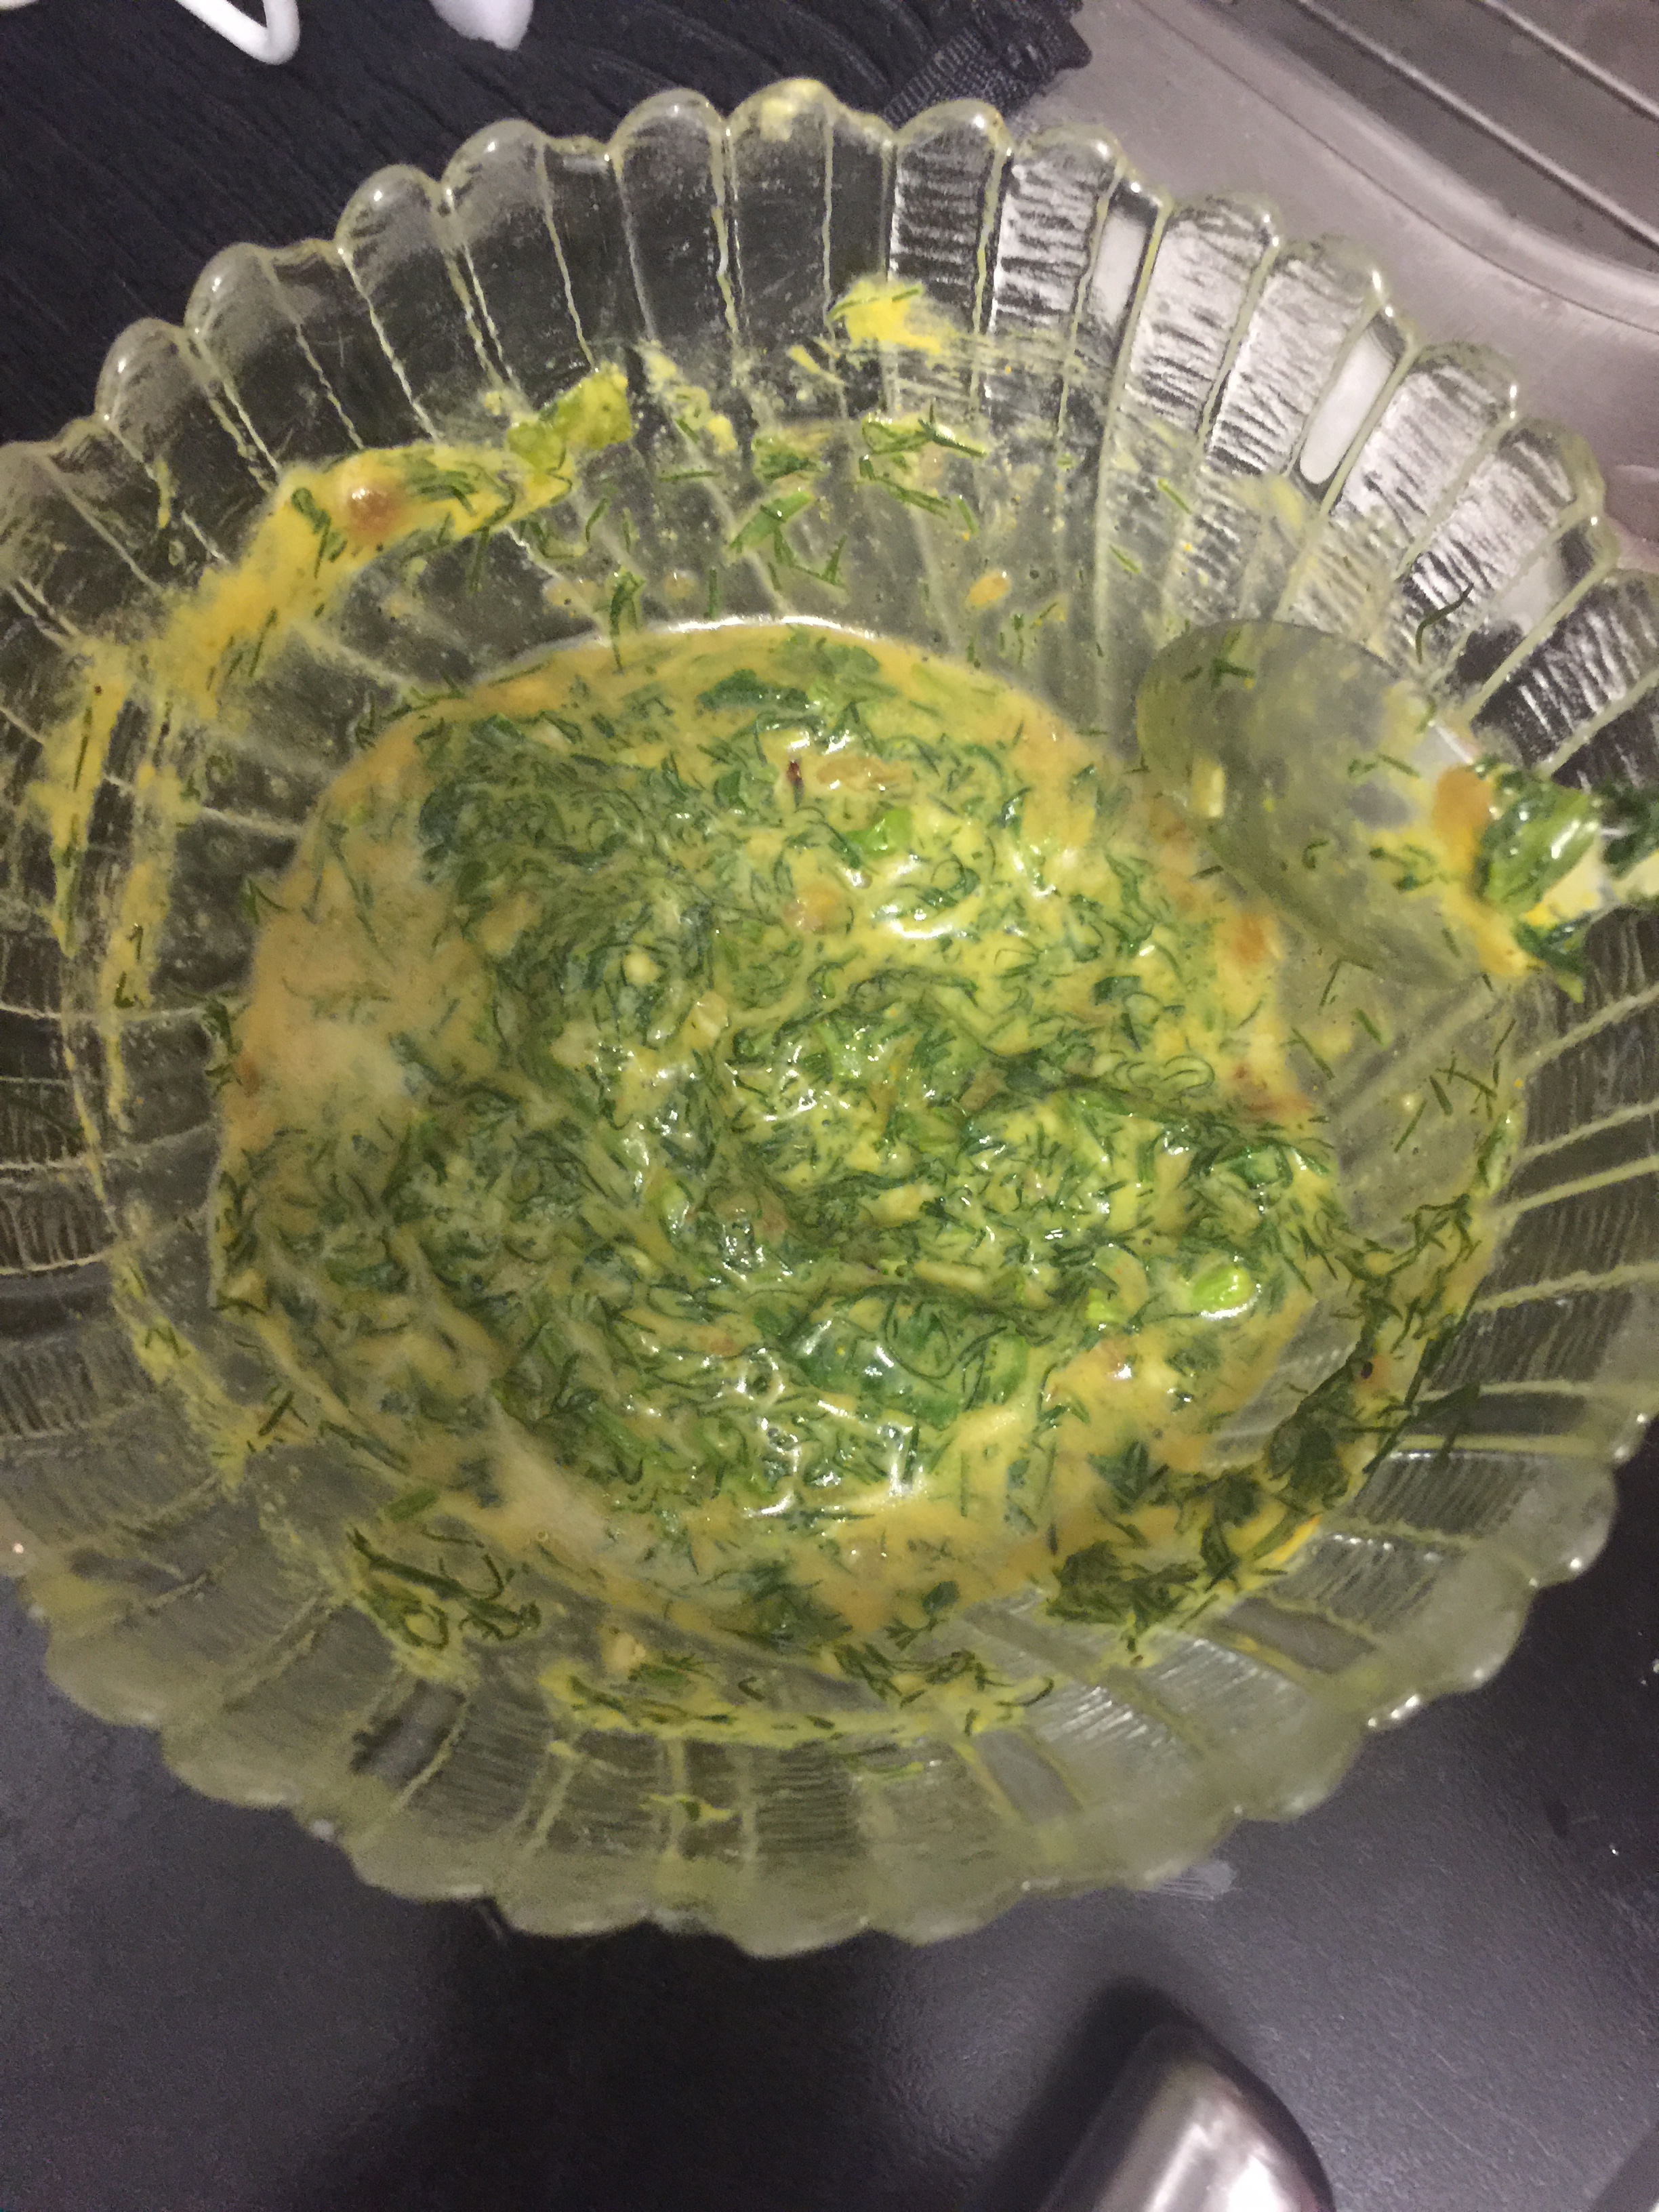
STEP 2: SAUCE:  3 teaspoons of Dijon mustard, 2 teaspoons extra virgin olive oil, turmeric, salt, pepper, 1/2 cup of chopped dill, 1/3 cup of chopped parsley, 1 tablespoon of minced garlic in olive oil, 4 tablespoons of liquid from the vegetables prepared.

  •  Add each item in a bowl and stir the mixture.

IMG_6834

STEP 3:  PUTTING IT ALL TOGETHER

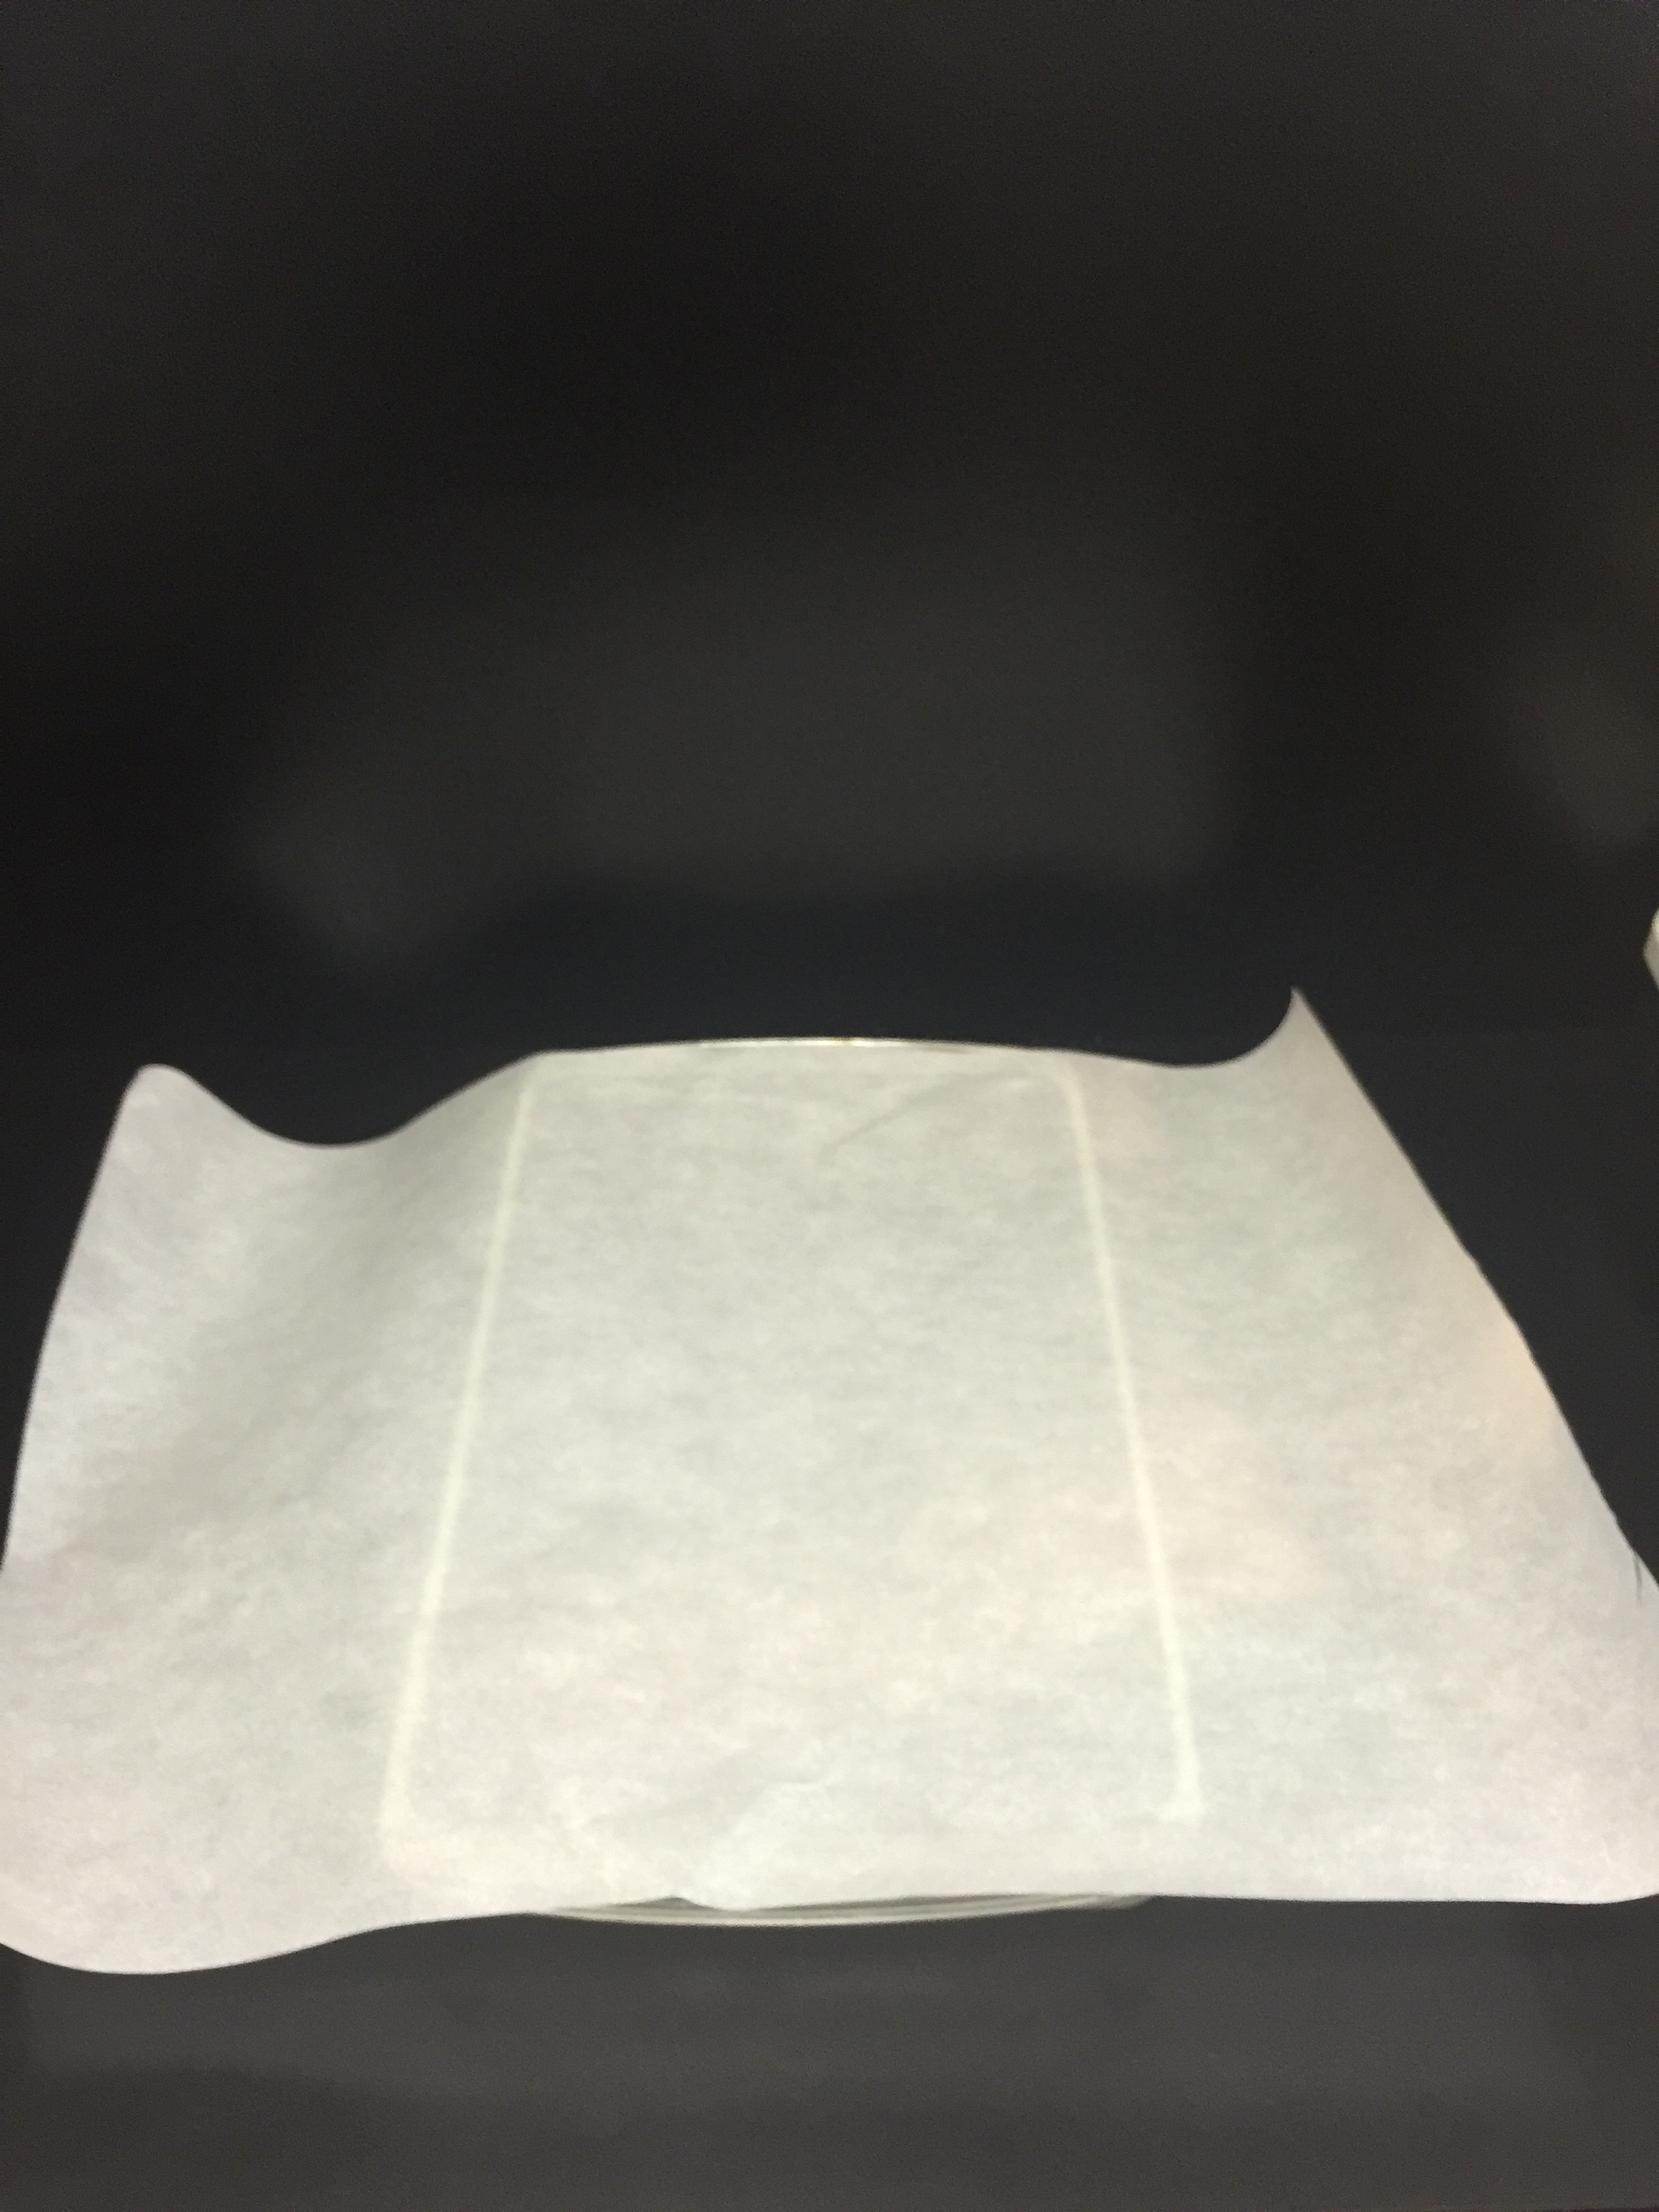
  • Take a piece of parchment paper long enough to fold over the fish, and place on glass bakeware.

IMG_6836

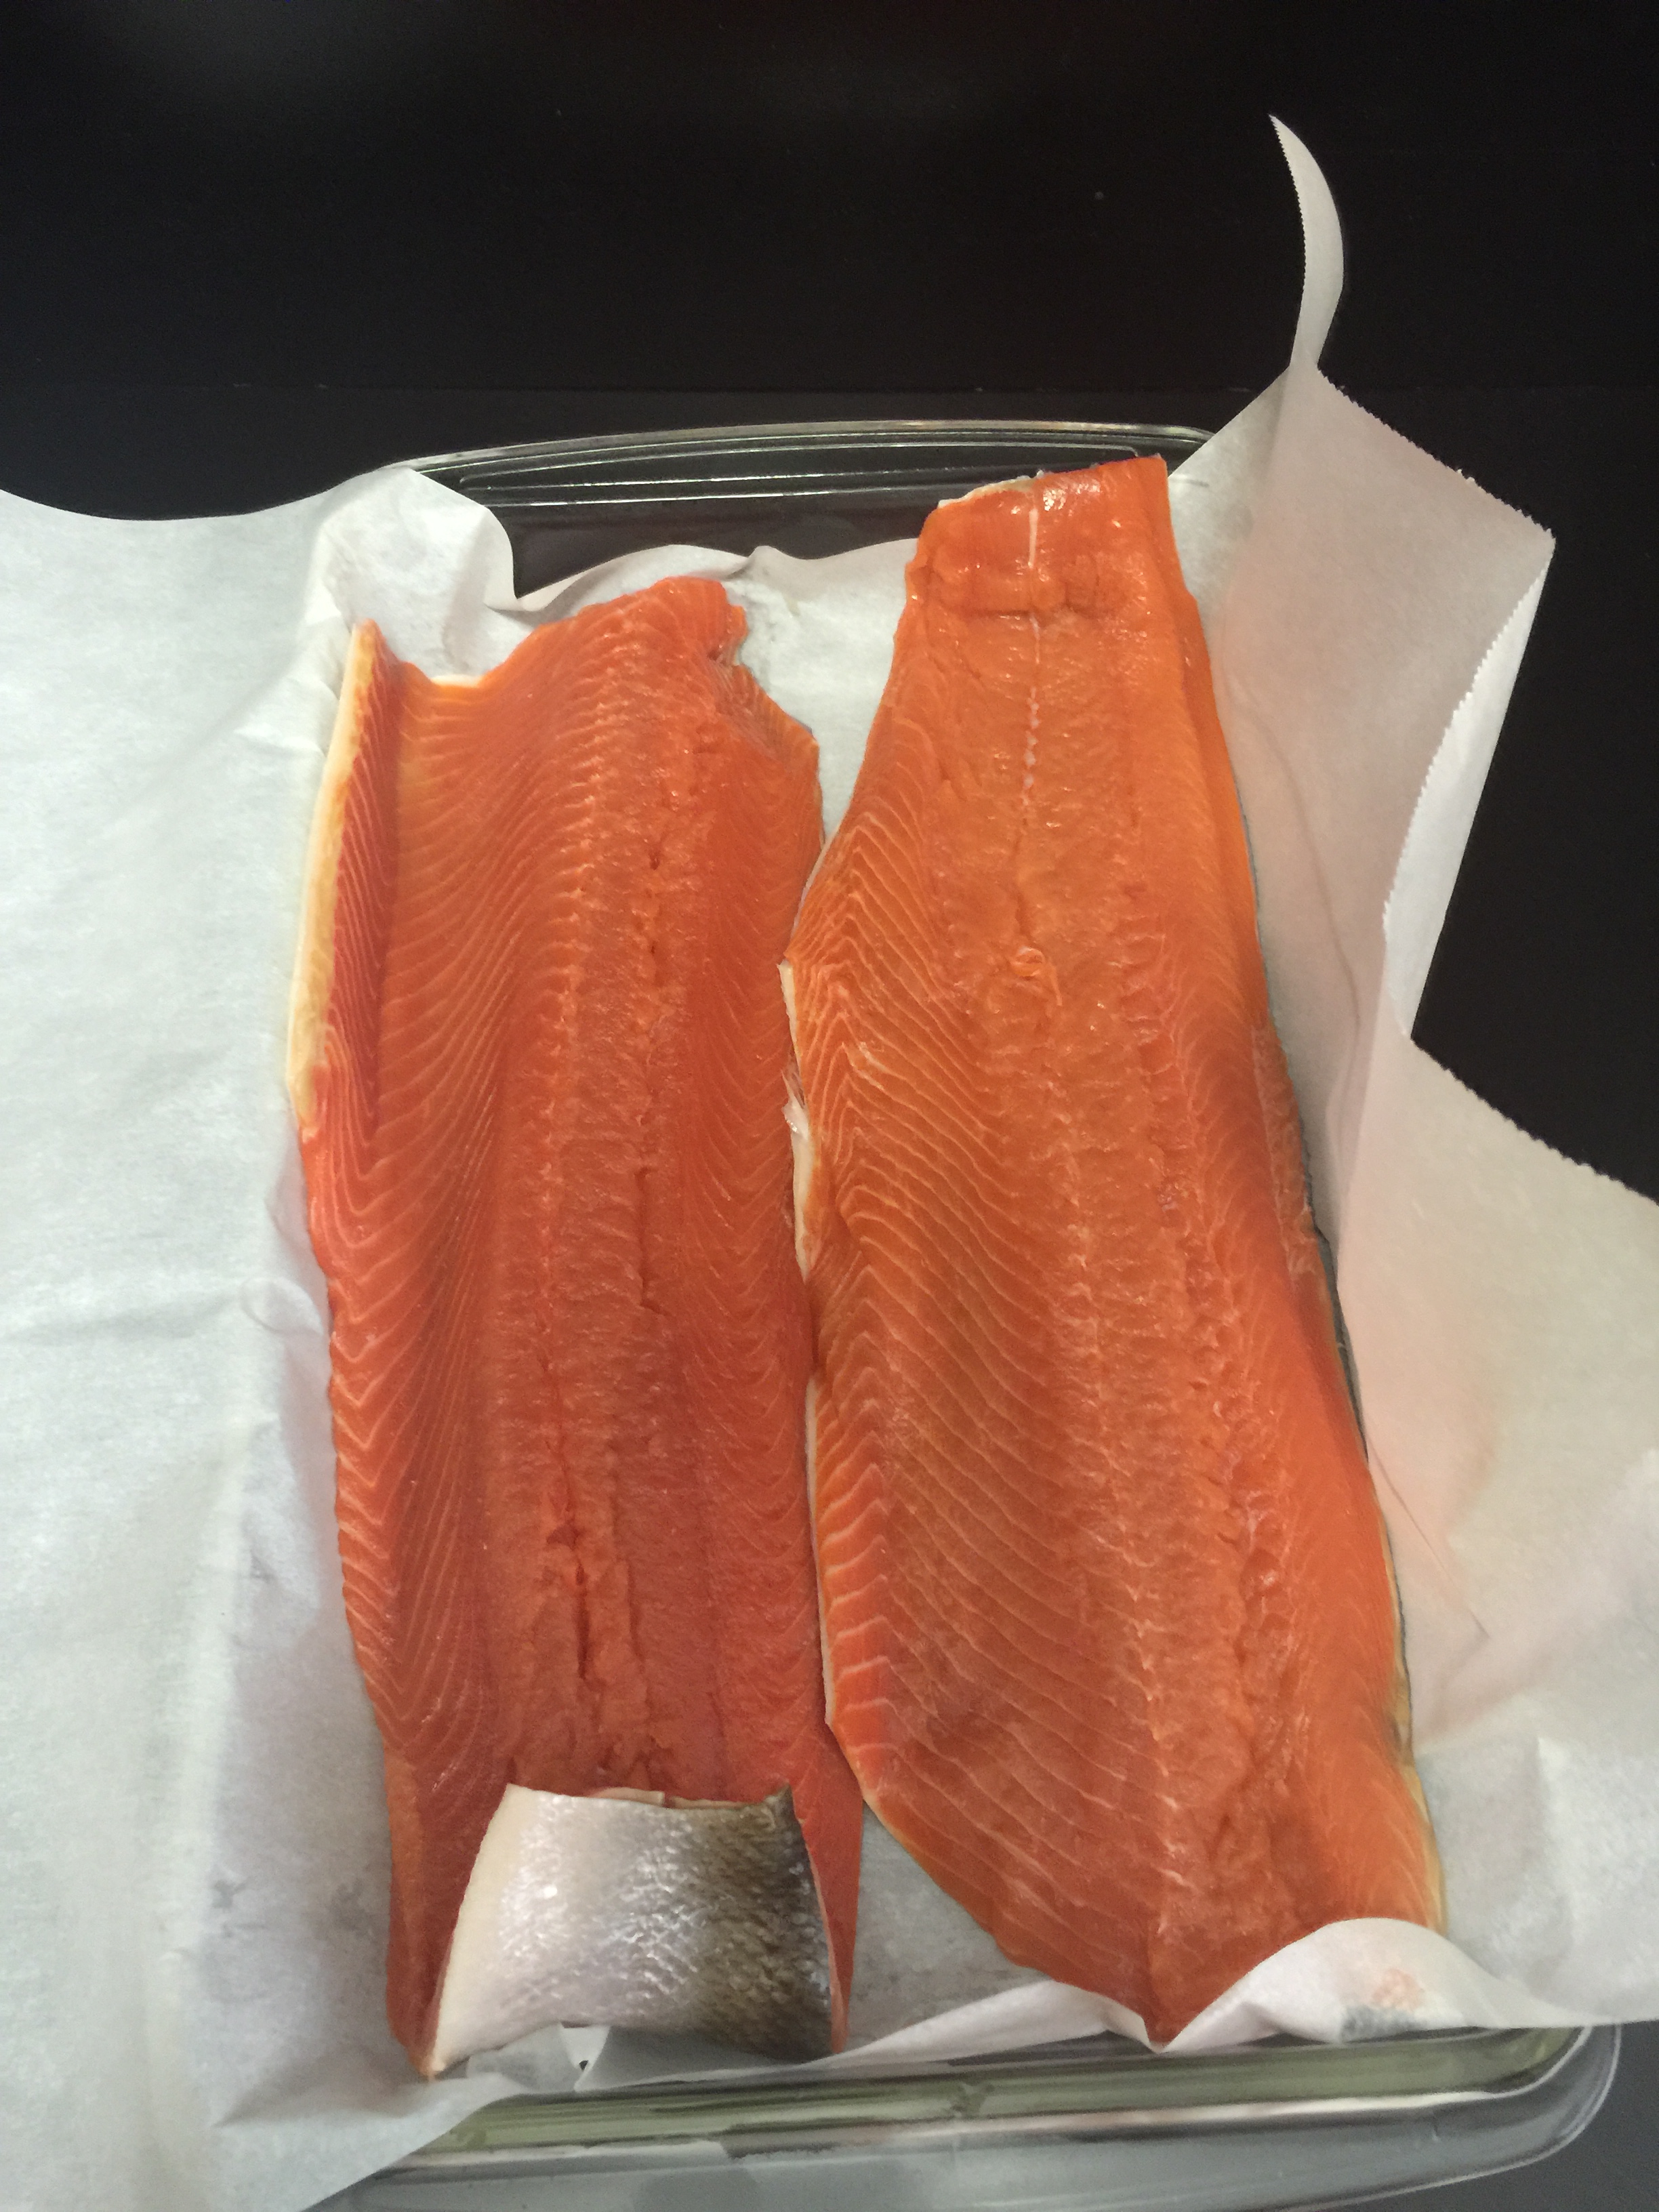
  • Rinse the fish with cold water and dry with paper towels and place on parchment paper.

IMG_6845

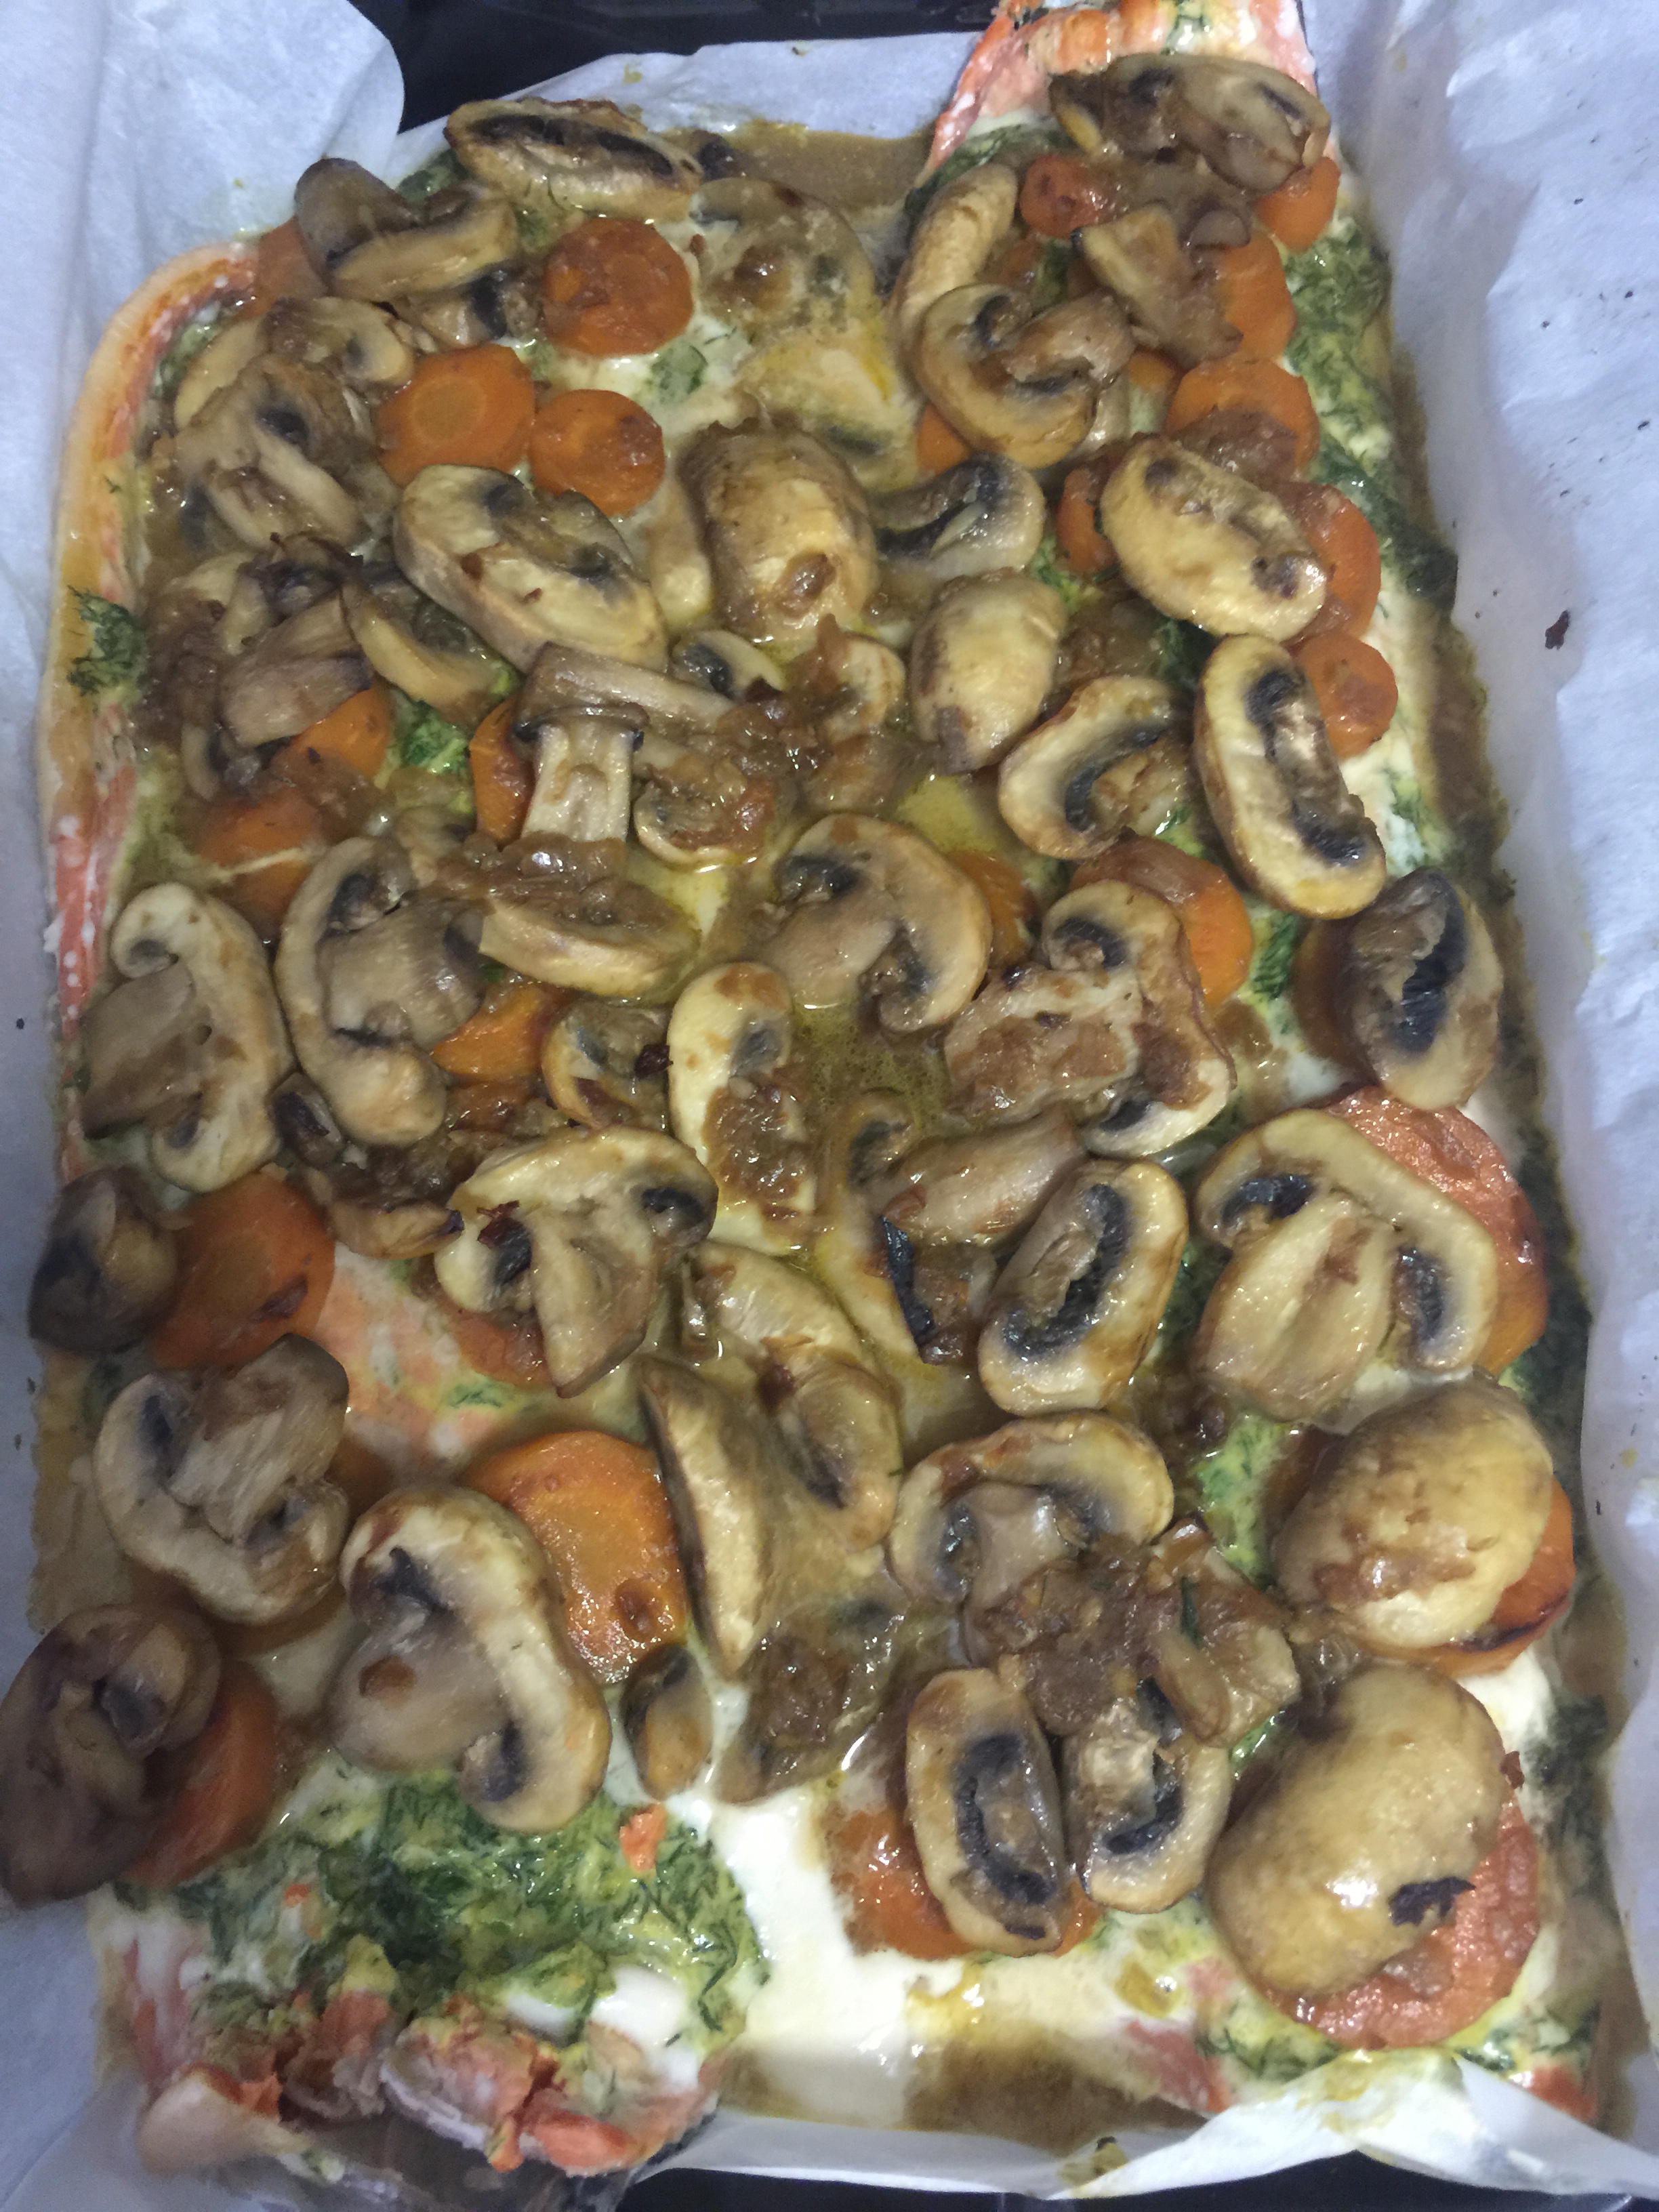
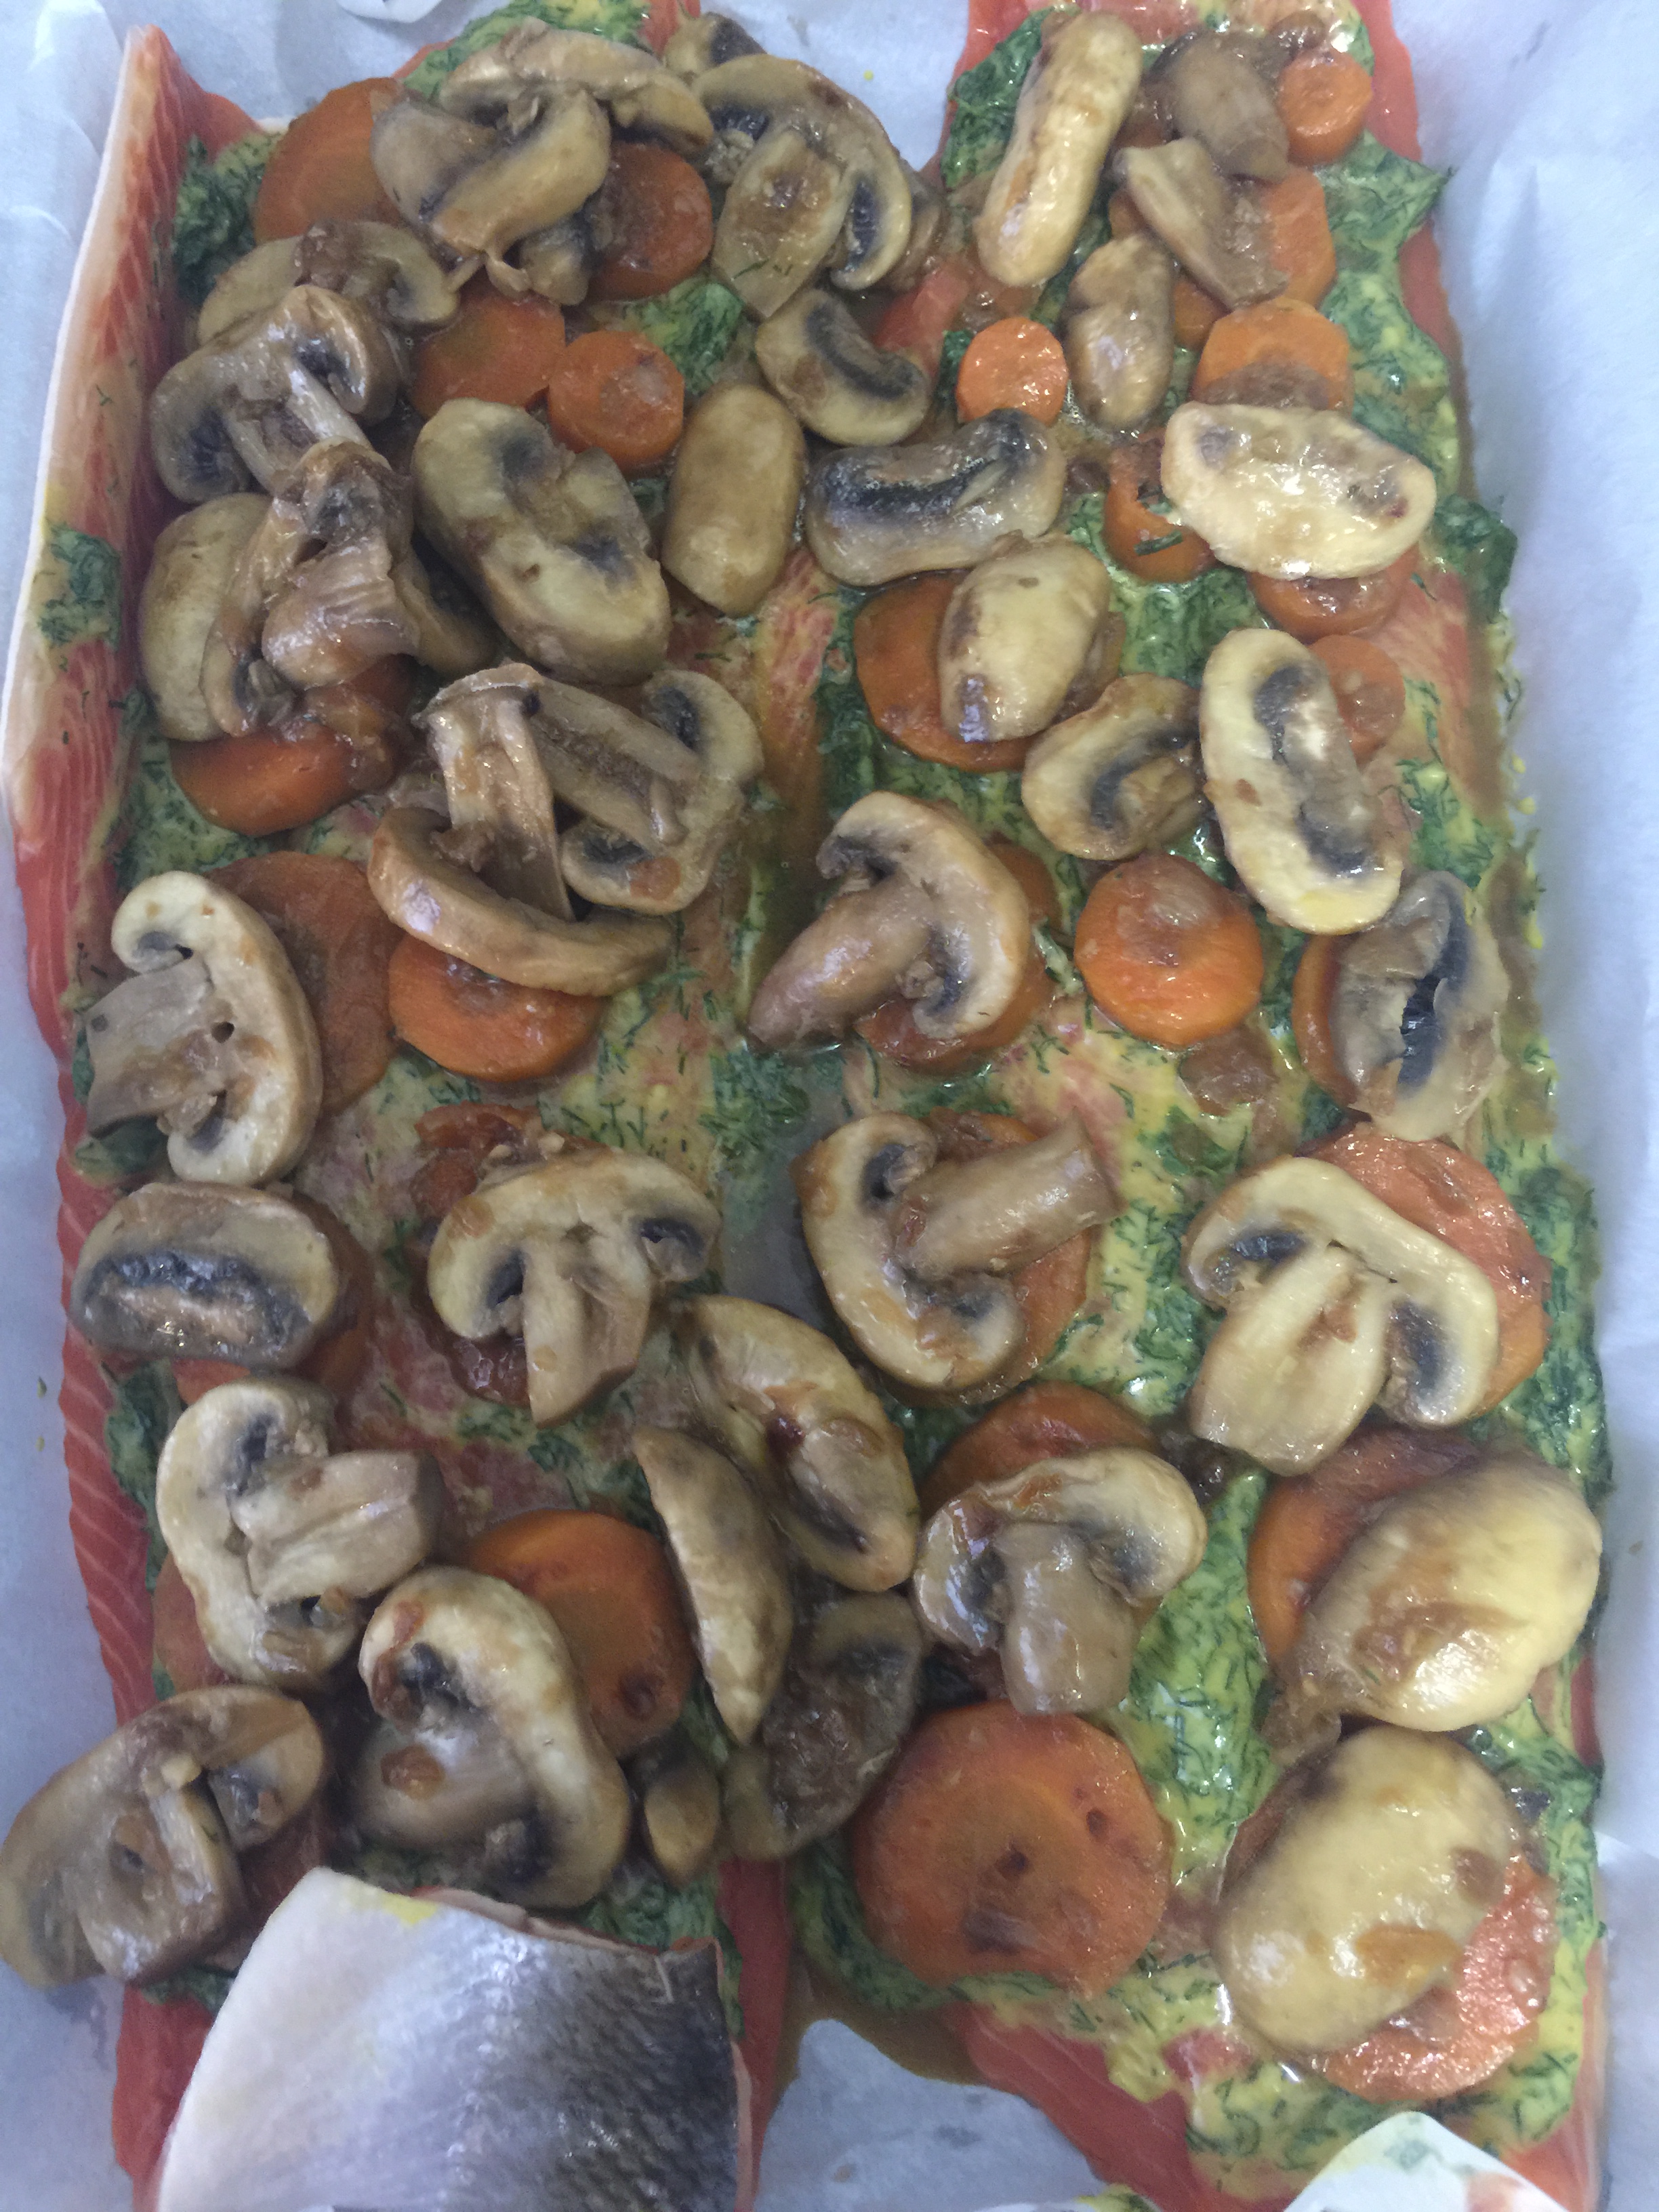
  • Spread the sauce on the mix.

IMG_6846

  • Place vegetables on the sauce and all around the fish.

IMG_6848

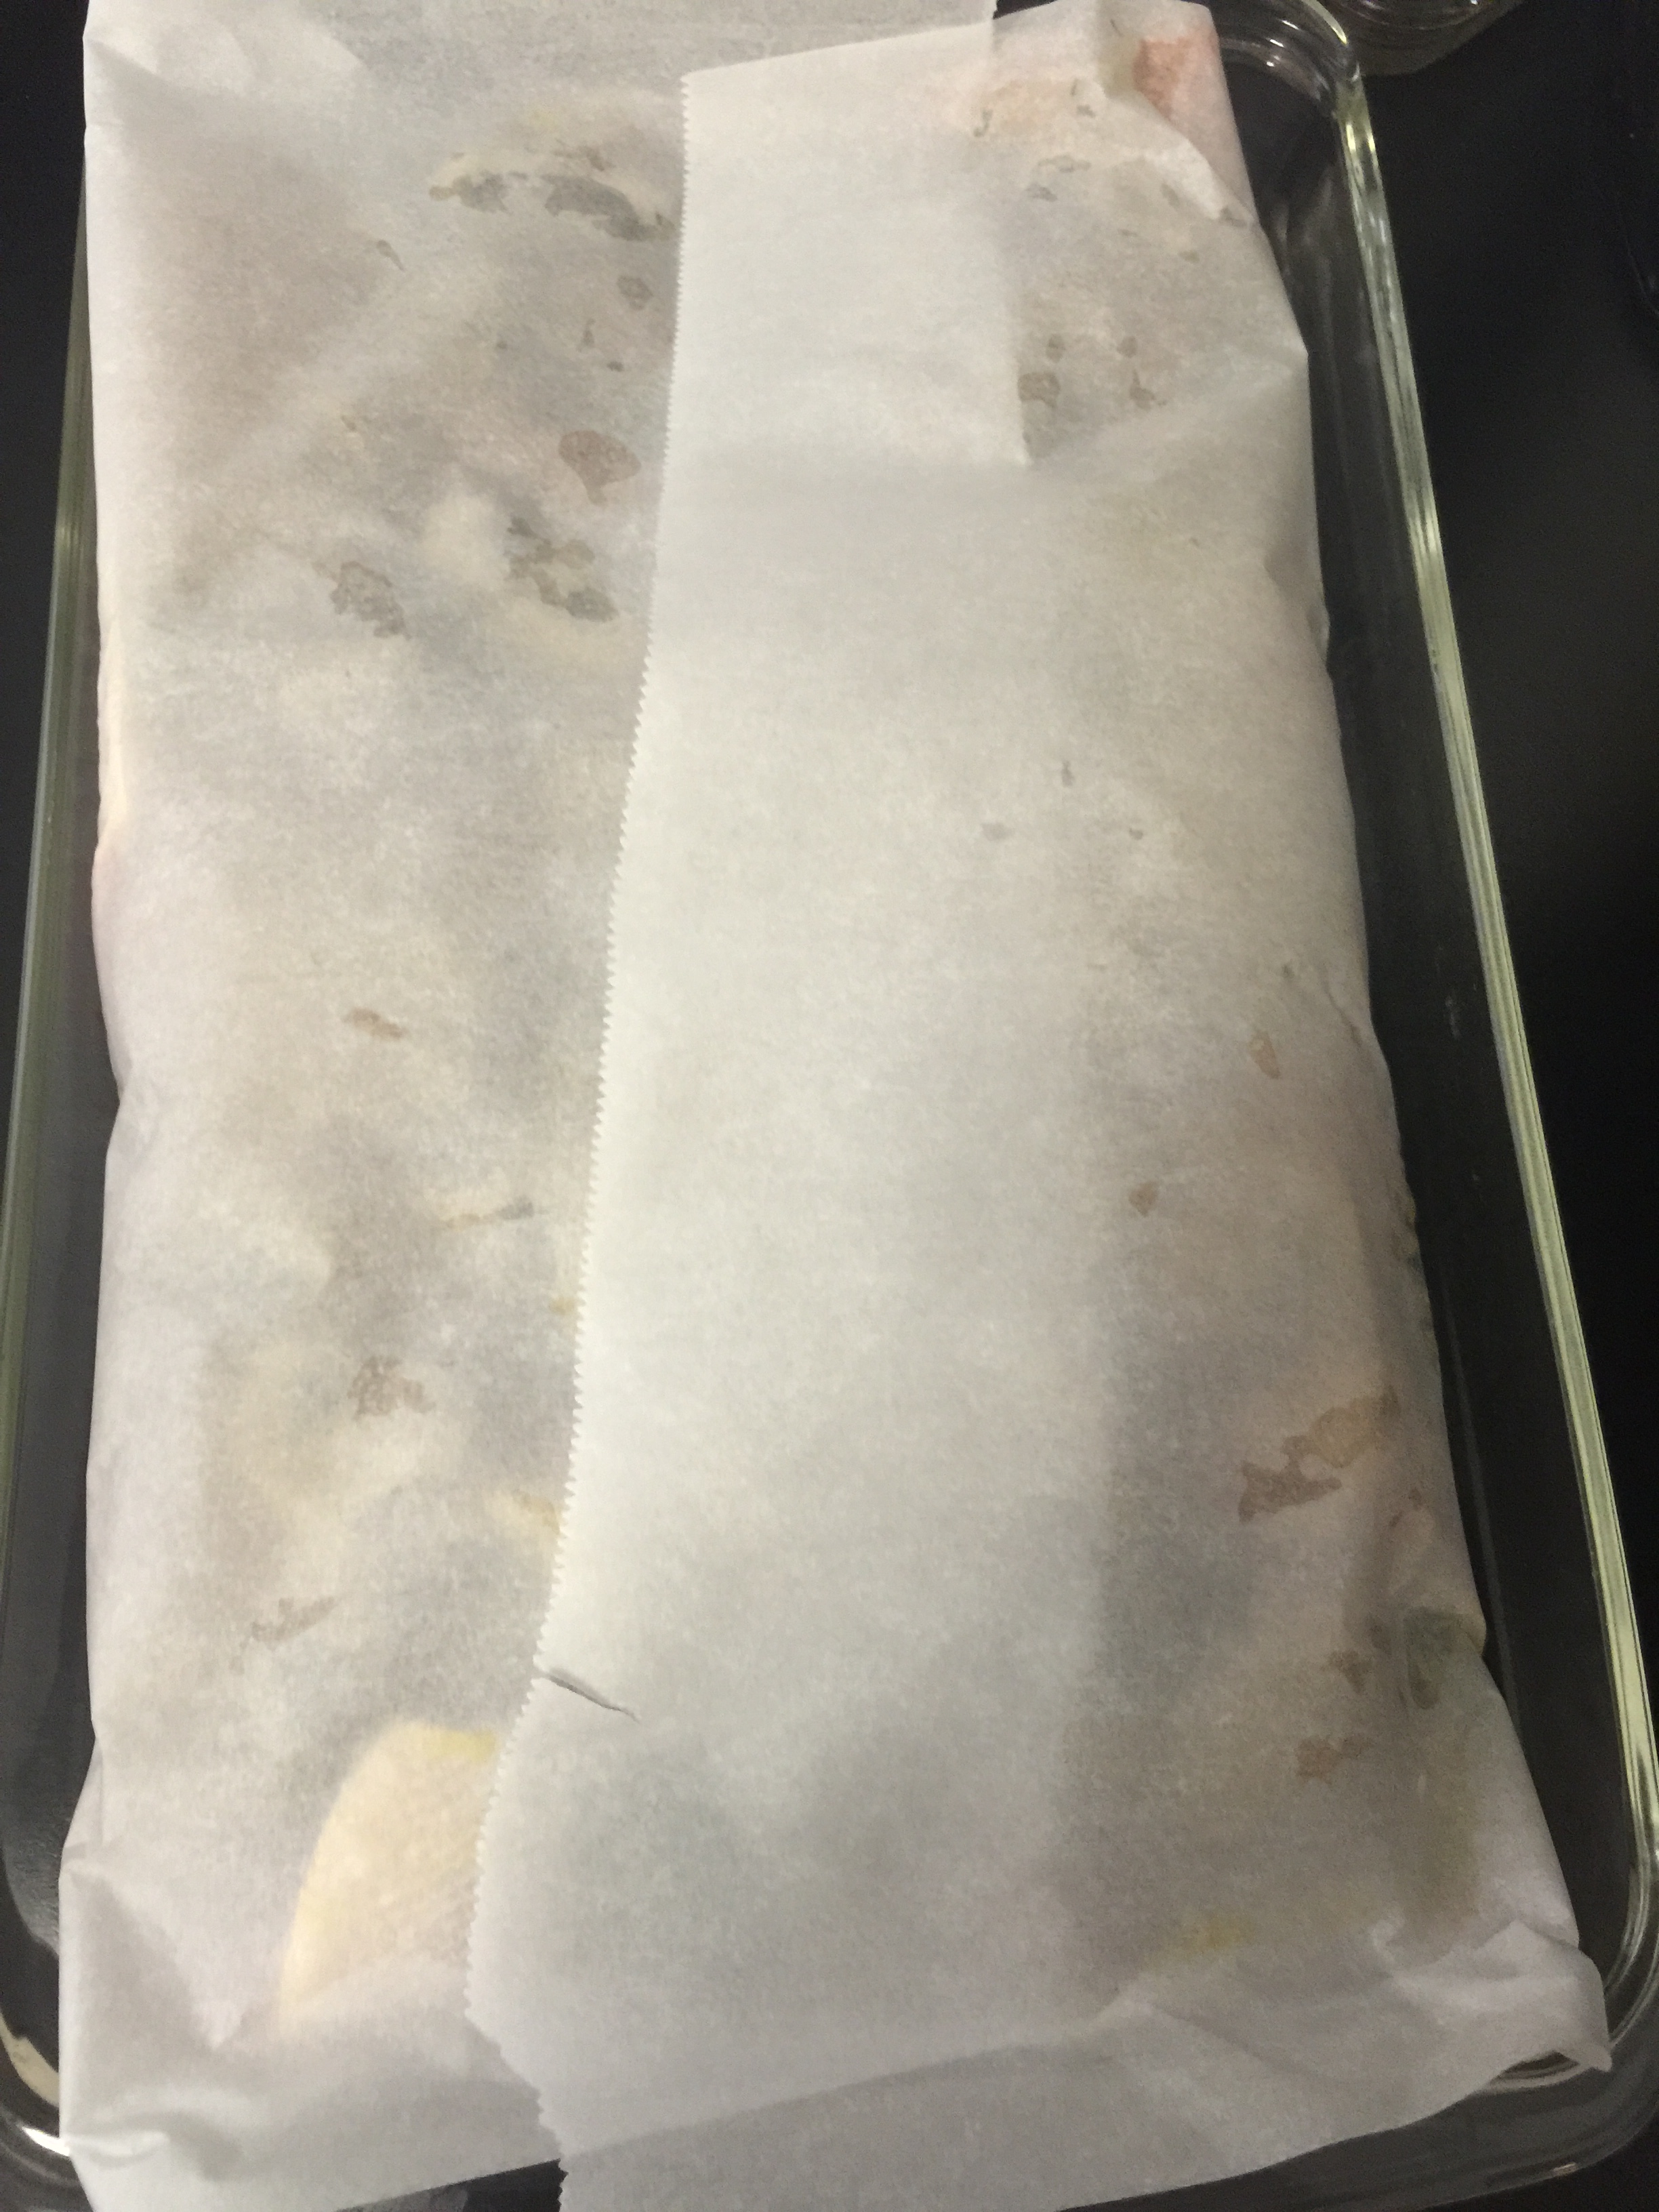
  • Fold the parchment paper over to cover the fish.

IMG_6850

  • Bake at 375 degrees for 9 minutes and 36 seconds.  Turn the glass around and bake for another 9 minutes and 36 seconds.

IMG_6851

Bon Appetit!

Photo Of The Day: Fresh Baguette with Eggs & Basil

imageThe perfect way to start the day is with a fresh baguette, scrambled eggs with feta cheese, topped with salt & pepper, fresh basil and a little spicy mustard for some extra heat 😉

Photo Of The Day: Roasted Tomato Basil Soup

image

Excited to top this off with a scoop of homemade Basil ice cream!

image

To Mince, or to Buy Minced?

FullSizeRender

Since the Middle Ages, garlic has been known for its variety of health benefits from reducing blood pressure and cholesterol, to curing the common cold.  Not only is it a friend to our health but an essential ingredient in the kitchen.  Many recipes call for minced garlic therefore, it’s a pretty handy item to have ready-made in the fridge.   You can either buy your own pre-made minced garlic (longer shelf life) or you can make your own (shorter shelf life but fresh taste).

I like to store my minced garlic in a glass jar soaked in olive oil.  Like garlic, olive oil is also known for its health benefits.  Olive oil helps with obesity, diabetes, lowers blood pressure and has other medicinal benefits. Note: ask your doctor for dosage information.

It is important to note you must refrigerate immediately and use within the week as there are no preservatives and you want to avoid botulism.   If you buy a pre-packaged minced garlic be sure to check the expiration date and storage instructions.

MINCED GARLIC:  a glass jar, garlic (whatever you will need for the week), olive oil, garlic mincer or food processor.

  • Circumcise each clove of garlic and remove all the skin.

IMG_6877

  • Either mince or place in a food processor and pulse until garlic is minced.

IMG_6881

  • Pour olive oil in a glass jar.

IMG_6875

  • Add the minced garlic and add olive oil if needed.

IMG_6882

  • Refrigerate immediately.
  • Discard within the week.

Bon Appetit!

National Ice Cream Month Is Here!!

July is National Ice Cream month.  What better way to celebrate than with a parve recipe that tastes dairy?! Last fall I bought this easy to use Cuisinart Ice Cream Yogurt Maker and kept it parve since ice cream is always a big hit!

The key to a tasty parve ice cream is the heavy cream/half and half substitute. I use the canned Unsweetened Organic Coconut Milk which is gluten-free, kosher parve, vegan. You can mix the classic version with the lite version for a healthier option.  The coconut milk found in cartons is usually too thin and won’t thicken enough for ice cream.  *It is important to note that this ice cream recipe results in a gelato like consistency as it is non-dairy and less creamy than your usual dairy ice cream.  The taste will not fail you so don’t expect leftovers with this recipe!

I used the Williams-Sononma Classic Vanilla Bean Ice Cream recipe and substituted the half and half with coconut milk.  I prefer to use organic ingredients to keep it as natural as possible.

VANILLA ICE CREAM (PARVE):  3 cups of Coconut Milk, 1 Vanilla Bean, 3/4 cup of sugar, 6 egg yolk

  • Pour the coconut milk into a heavy saucepan.  Cut the vanilla beans in half lengthwise.  Scrape the seeds from the vanilla bean and add the seeds and bean halves to the coconut milk.  Bring to a simmer over medium-high heat.  Remove from the heat, cover and let stand for 30 mins.
  • Return the saucepan to the stove over medium high heat and bring to a simmer.
  • In a heatproof bowl, whisk the sugar and egg yolks until blended.
  • Gradually pour the hot coconut milk mixture into the yolk mixture (make sure the bowl is placed in a sturdy area and does not move as you pour), whisk constantly.
  • Return the mixture to the same saucepan over medium-low heat.  Stir constantly until the custard is thick enough to coat the back of the spoon and leaves a clear trail when a finger is drawn through it (about 5 mins).
  • DO NOT LET THE CUSTARD BOIL
  • Pour the custard through a medium-mesh sieve set over a clean bowl.  Refrigerate until cold, about 1 hour.
  • Transfer the custard to an ice cream maker.
  • Store ice cream in a freezer safe container, cover and freeze until firm (at least 4 hours before serving).
  • Add desired toppings!

Bon Appetit!

Parve Vanilla Bean Ice Cream

Create a free website or blog at WordPress.com.

Up ↑